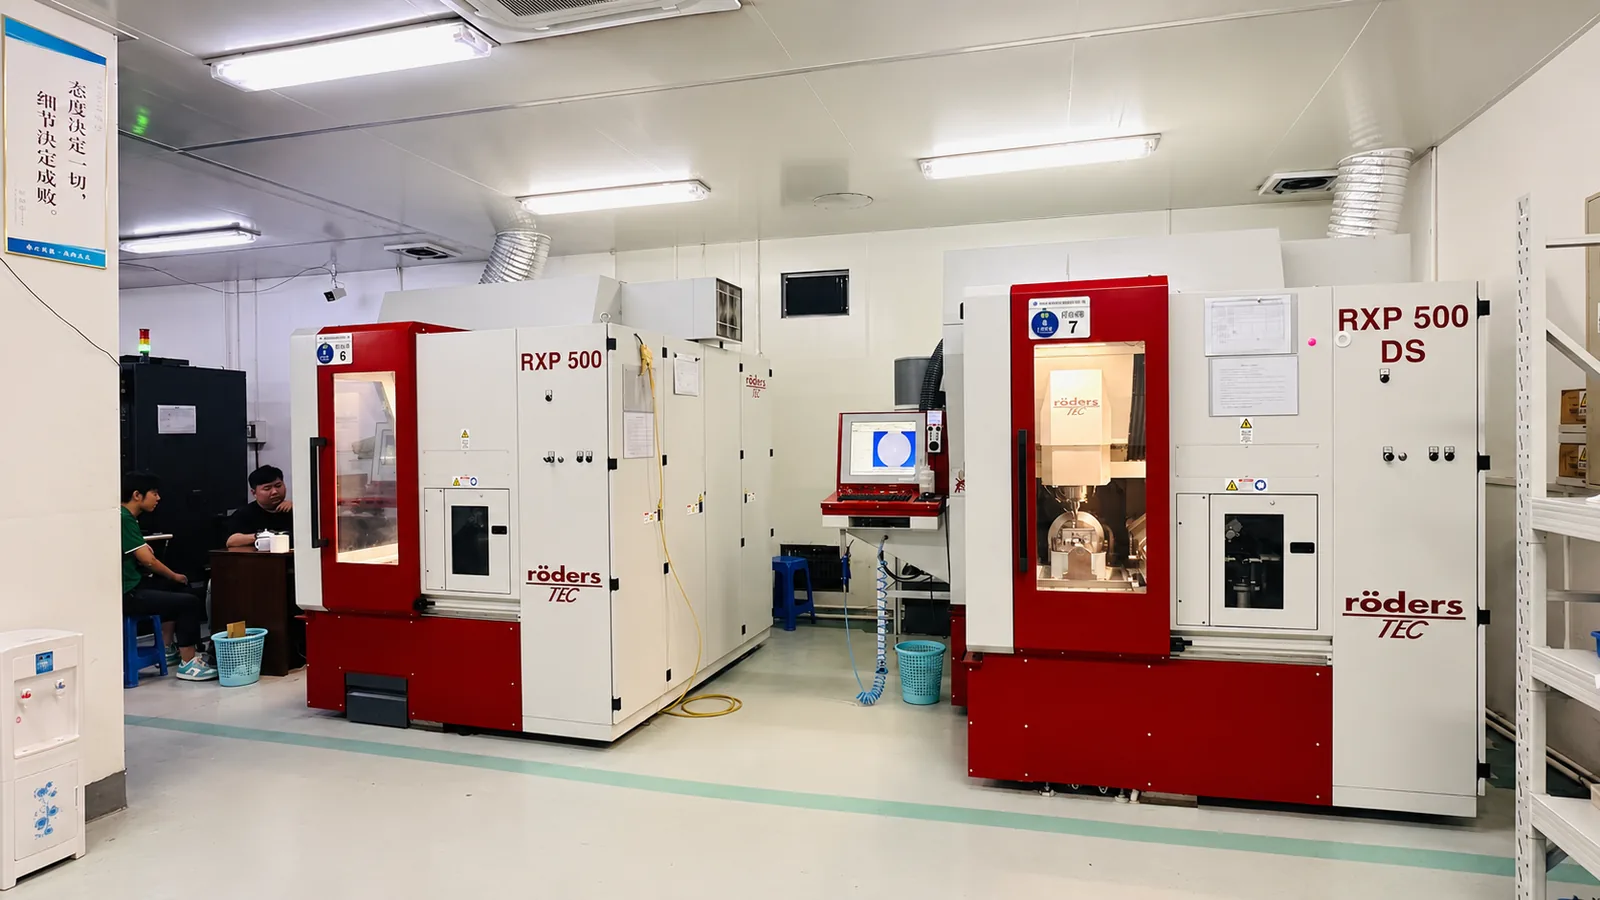
Laboratory Consumables Precision Mold Solution
When a laboratory consumable mold starts giving unstable parts, the problem is often not the whole mold. It may be one thin wall, one sealing edge, one polished area, or one cavity that is only slightly different from the rest.
That is the kind of problem we like to look at. Instead of starting with another polishing pass or cutting more material, we first ask: which insert feature is actually creating the molding problem?
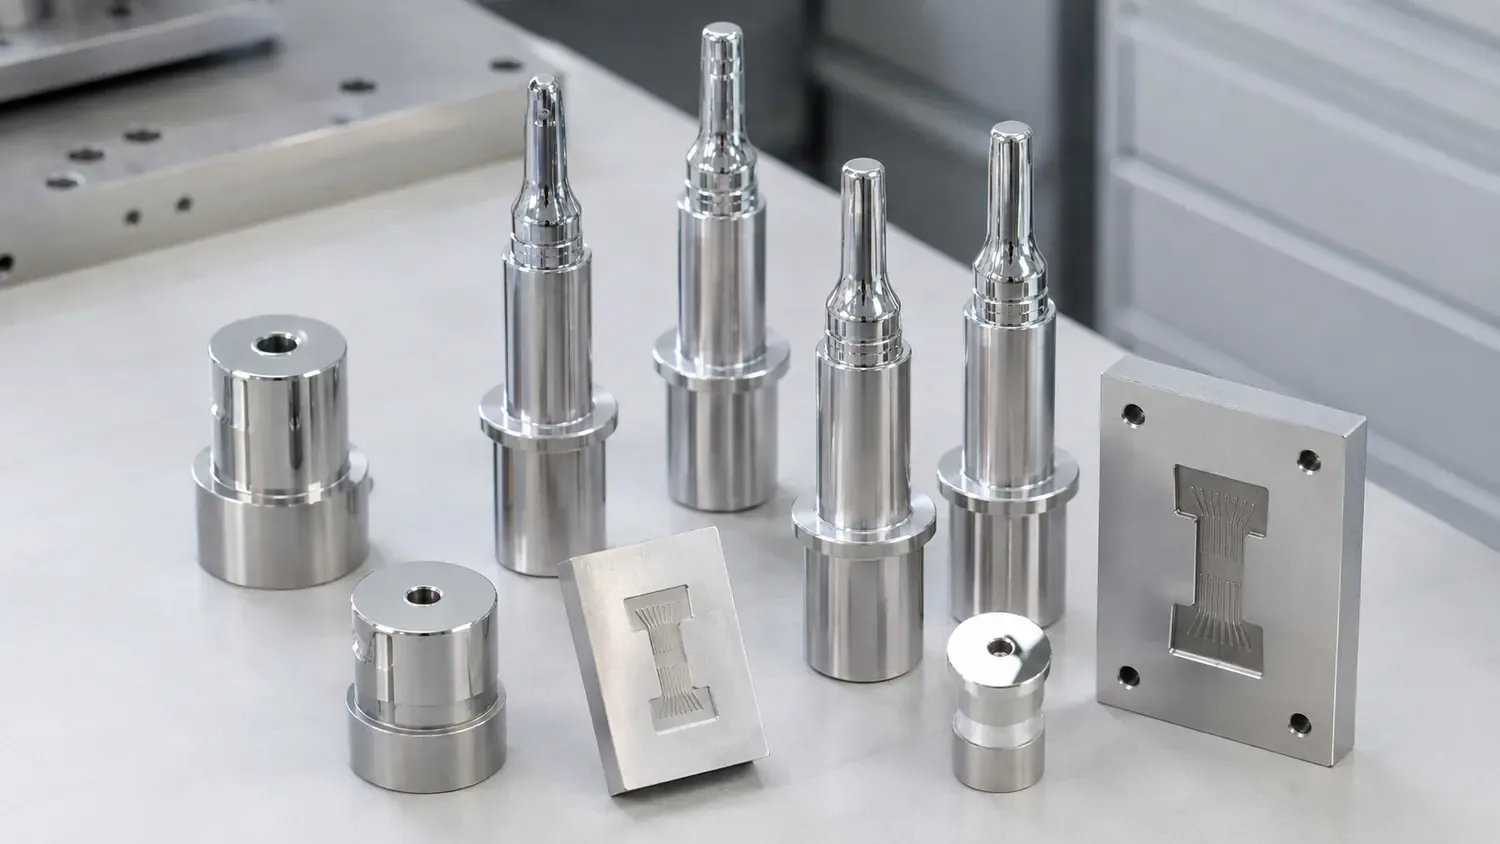
Three small mold-insert problems that can ruin a whole batch
The molded part may only show a tiny difference, but the cause can sit directly in the insert. If we only chase the visible defect, it is easy to make the tooling worse.
A thin wall fills differently
A small change in taper, radius or local thickness-forming geometry can change filling even when the overall size looks correct.
One cavity keeps behaving differently
If the same product comes from several cavities, one local geometry difference can keep showing up as a repeated quality problem.
The polished surface is beautiful—but the part is not
A mirror finish means little if polishing has rounded a sealing edge, changed a local form or shifted the relationship to the datum.
Three things we do not rush into
These are the corrections that often look fast, but can make a precision insert harder to recover.
Different products, but very similar tooling headaches
Whether the end product is a pipette tip, PCR tube, micro-well plate or sample chamber, customers usually come back to the same questions: can the small geometry stay stable, can cavities match, and can the functional surface be finished without changing the part-forming shape?
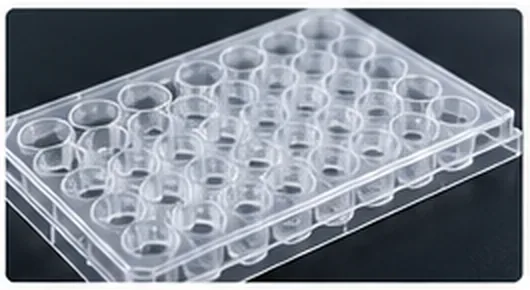 Shown: molded finished part
Micro-well plates
The hard part is keeping repeated well-forming geometry and local flatness consistent across the tool.
These images show the injection-molded end products. What we make is the precision mold insert / tooling behind them.
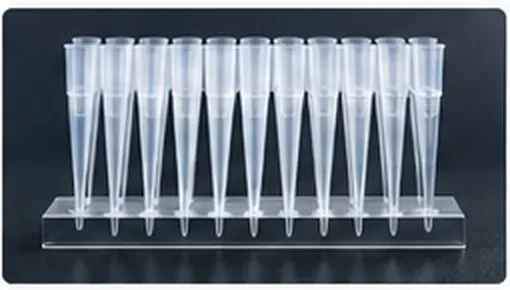 Shown: molded finished part
Pipette tips
Thin walls, concentric features and sealing areas leave almost no room for local machining drift.
These images show the injection-molded end products. What we make is the precision mold insert / tooling behind them.
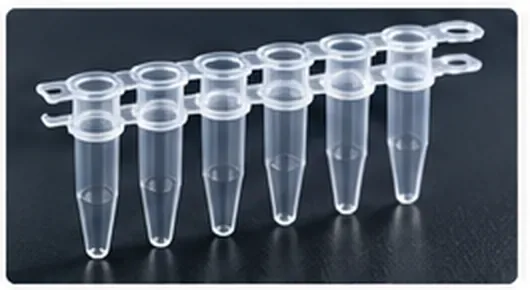 Shown: molded finished part
PCR tubes & strips
Small repeated cavities and tapers need to stay consistent so one position does not behave differently from another.
These images show the injection-molded end products. What we make is the precision mold insert / tooling behind them.
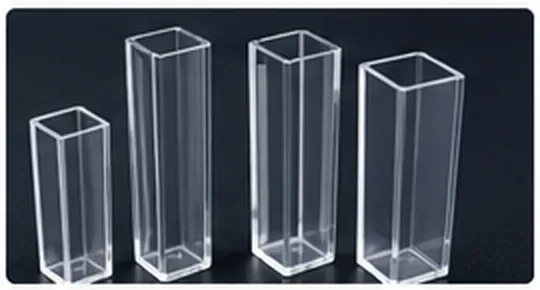 Shown: molded finished part
Cuvettes & sample chambers
Polished functional areas still need accurate walls, edges and transitions after finishing.
These images show the injection-molded end products. What we make is the precision mold insert / tooling behind them.
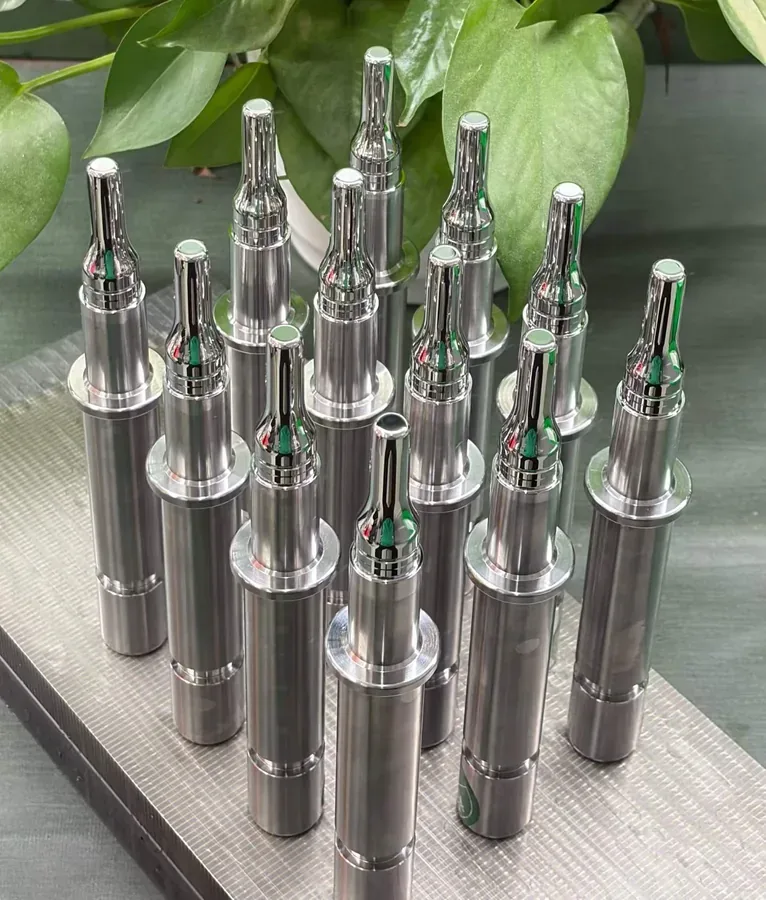
A real Yishun medical consumables multi-cavity mirror-finish insert project.
We once made a set of mirror-finish inserts for a medical consumables project
This was a real medical consumables job we handled. The customer needed a group of small inserts with mirror-finish functional surfaces. Making one shiny insert was not the difficult part. The difficult part was making the whole group stay consistent.
So we did not treat the mirror surface as a separate finishing job. We looked at the mirror area, the surrounding geometry and the repeated dimensions together. The goal was not simply to make the surface brighter—it was to keep the inserts usable as a matched set.
We paid attention to the repeated critical features instead of accepting one good sample as proof that the whole set was stable.
The polished area had to stay clean and reflective, but the nearby edges and local form could not be rounded away.
The process and inspection focus stayed consistent so that one insert would not gradually drift away from the others.
The customer did not just receive mirror-bright parts. They received a more consistent set of inserts, with the surface quality and critical geometry controlled together. That is the same manufacturing logic we bring to other laboratory consumables tooling.
The insert is not one surface—it is several functions packed into one part
A sealing edge, a thin-wall forming area and a polished window may sit only a few millimeters apart, but they should not be treated with the same machining or finishing logic.
Tell us what is actually going wrong—or what absolutely cannot go wrong
So we can see which local features really control function.
Because the same geometry may need a completely different machining route in another material.
Tell us which areas affect sealing, transparency, fit or cavity consistency.
Photos, measurements and cavity differences are often more useful than a general description like “the part is not stable.”
We check the features that affect the molded part, not just the easiest number to measure
For this kind of tooling, one good roughness number or one passing dimension is not enough. The features that control the molded part need to make sense together.
What customers usually want to know before sending us a laboratory consumables project
If your problem is thin walls, repeated cavities, sealing features or a difficult polished surface, these are usually the first questions we discuss.
1. Can Yishun support laboratory-consumable mold insert projects?
2. Have you worked on medical consumables tooling before?
3. Can you machine thin-wall and small-radius features?
4. How do you deal with cavity-to-cavity differences?
5. Can you support polished or transparent functional surfaces?
6. What should I send before quotation?
7. Can you help if the mold has already been trialed and the parts are inconsistent?
8. Do all laboratory consumable inserts use the same machining route?
Send us the drawing and show us where the problem appears
You do not need to prepare a long explanation. Mark the cavity, surface or local feature that is causing trouble, and send the drawing, material and any trial photos or measurements you already have. We can start from there.