One problem we see quite often with mirror mold inserts is this:
The part has already been machined. The dimensions may look acceptable. The polishing team has also worked on the surface more than once.
But under the light, the CNC tool marks are still there.
Sometimes they are fine parallel lines. Sometimes they appear as a repeated wave across a curved surface. On a side wall, they may look more like vibration marks. On another insert, one area becomes bright while the original machining pattern is still visible underneath.
When this happens, our first reaction is usually not:
“Polish it again.”
We first want to know where the marks came from.
Because if the original problem was created during machining, asking the polishing process to remove it can easily create a second problem.
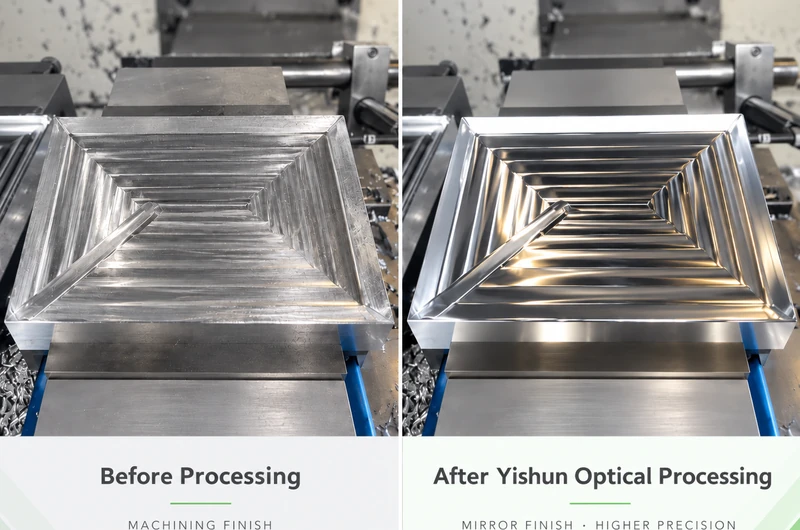
The Tool Mark Is Often Telling Us Something About the Cutting Process
Not every visible line on a machined surface has the same cause.
A regular feed pattern may be related to tool path and step-over.
A repeated ripple can come from vibration, tool runout, spindle condition or an unstable cutting setup.
On a deep side wall, the problem may be a long tool hanging too far from the holder.
Sometimes we also see a local line where two machining paths meet. The surrounding surface may already look good, but that transition becomes obvious once the insert starts reflecting light.
This is why, when a customer sends us a part with persistent CNC tool marks, we do not judge the surface only by how rough or bright it looks.
We look at the direction of the marks, where they start, where they stop and how they relate to the tool path.
That usually tells us much more than simply saying the surface “needs more polishing.”
Deep Tool Marks Usually Become a Polishing Problem Later
A light machining pattern and a deep machining mark are very different situations.
If the remaining marks are shallow, controlled finishing may be enough.
But when the cutting marks are already deep, the polishing team has to remove more material before the surface becomes uniform.
That is where the risk starts to increase.
The more material that has to be removed manually, the harder it becomes to keep every local feature exactly where it was after machining.
An open flat area may tolerate some additional finishing.
A small radius, sharp boundary, narrow rib or dimensional edge may not.
We discussed this separately in our article about edge rounding during mirror polishing, because the surface can become brighter while the geometry slowly becomes softer.
For us, these two problems are closely connected.
Heavy polishing is often not the original problem.
Sometimes it is only the consequence of a poor starting surface.
We Would Rather Improve the Starting Surface Than Ask Polishing to Repair It
When we work on a mirror-finish mold insert, we try to leave the finishing process as little correction work as reasonably possible.
That does not mean every insert must come directly off the machine with a finished mirror surface.
Some materials and structures still need polishing.
The difference is the amount of work we leave behind.
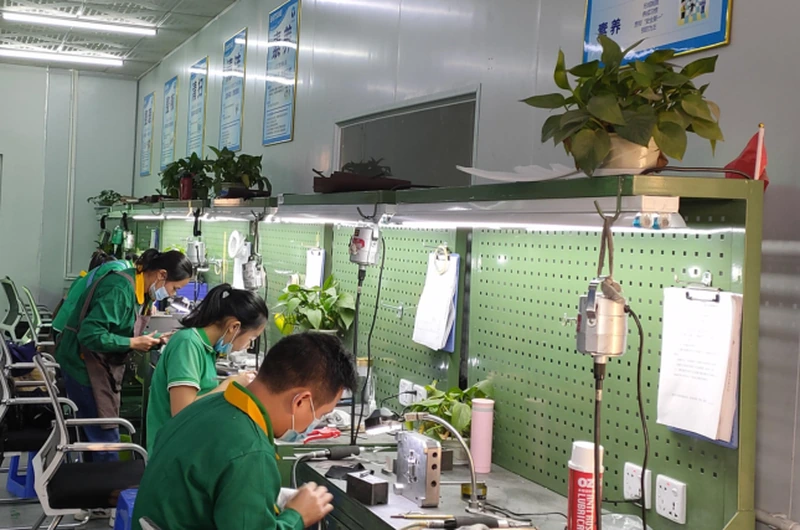
If the machining surface already has stable, shallow and uniform cutting marks, the polishing technician is refining the surface.
If the machining surface has deep lines, chatter or local steps, the technician is effectively trying to correct a machining problem by removing more material.
Those are two very different jobs.
That is why we pay a lot of attention to tool condition, runout, tool overhang, cutting depth, spindle stability and tool-path continuity during precision CNC machining.
A small improvement at this stage can save a surprisingly large amount of work later.
Higher Spindle Speed Helps, but Speed Alone Does Not Remove Tool Marks
For suitable mirror mold work, high spindle speed gives us more room to use small tools and lighter cutting conditions.
For example, we use Toshiba UVM equipment with spindle speeds up to 60,000 rpm for suitable high-precision finishing work.
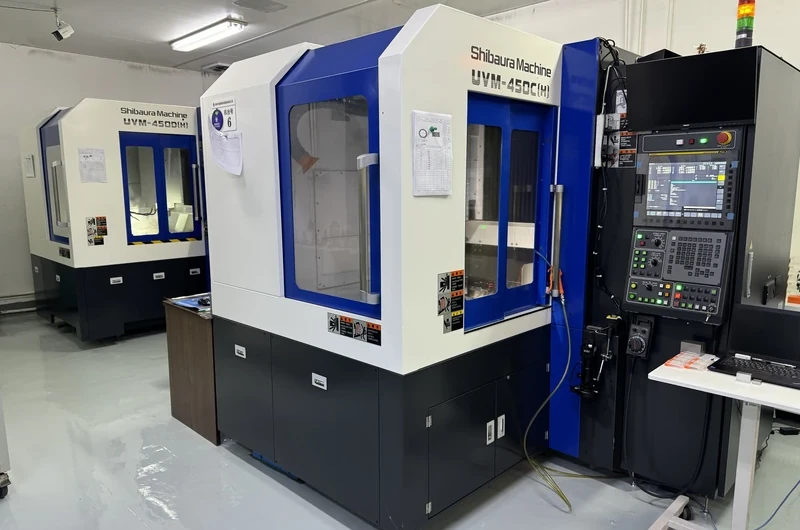
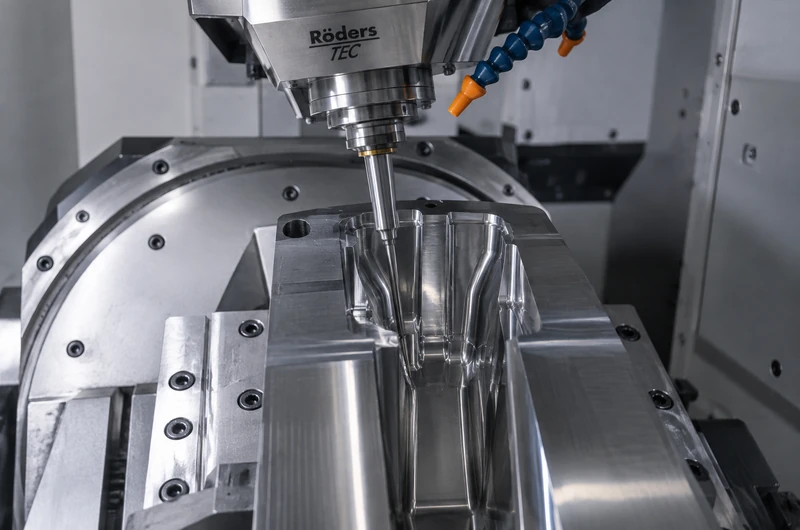
For more complex geometry, our Röders RPT600DSH provides an 80,000 rpm air-spindle option.
But there is an important point here:
An 80,000 rpm spindle does not automatically give you a good surface.
If the tool is unstable, the overhang is too long, the path is poor or the machine setup is not rigid enough, a higher spindle speed can still leave a poor result.
We have seen this many times.
The number on the spindle is only one part of the process.
What matters is whether the complete cutting condition is stable.
Side Walls Are Where Long Tools Often Start Causing Trouble
Complex mold inserts are especially sensitive around deep or steep side walls.
A three-axis approach may force the tool to extend farther from the holder to reach the surface.
The longer that tool becomes, the easier it is for small vibration or deflection to show up on the finished wall.
You may not see a serious dimensional error immediately.
What you see first is often the surface.
The reflection starts to break.
Fine lines appear.
The same area may then require much more polishing than the rest of the insert.
For suitable geometries, 5-axis ultra-precision machining for complex mold surfaces lets us change the tool angle and bring the cutting edge closer to the working area.
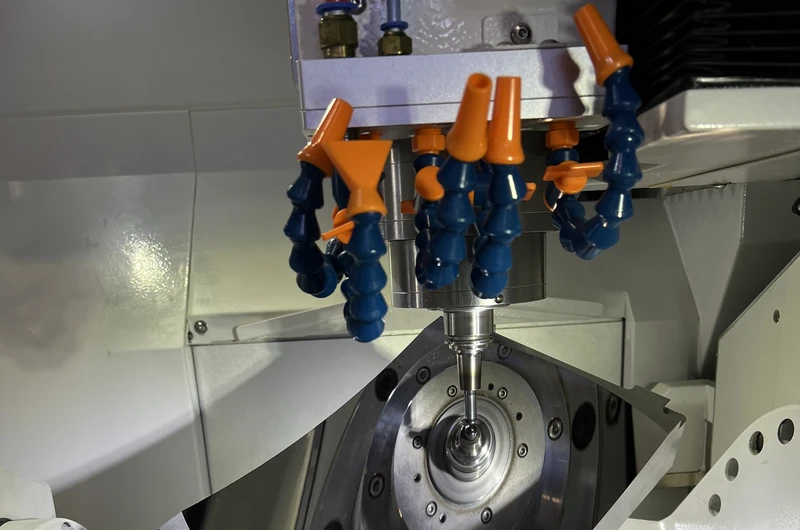
In practical terms, that can mean a shorter tool overhang and a more stable cutting condition.
This is one reason we use five-axis side cutting on difficult mirror surfaces when the structure allows it.
The goal is not to use five-axis machining simply because the machine has five axes.
The goal is to solve the actual access and stability problem.
Sometimes the Correct Decision Is to Stop Polishing
This is probably one of the most important judgments in this type of work.
We occasionally inspect an insert where polishing has already improved the appearance, but one machining line is still visible.
At that point it is tempting to keep working on the same area.
Another ten minutes.
A little more pressure.
A slightly more aggressive polishing step.
But if that mark is deeper than the surrounding finish, removing it may require enough material removal to change the local geometry.
That is when we need to decide whether continuing to polish still makes sense.
If there is enough remaining allowance and the structure allows safe correction, going back to a controlled machining step can sometimes be more predictable than continuing to polish.
If the part is already at final size, the decision becomes more difficult.
Then we have to look at how deep the defect is, whether it is in a functional area, how close it is to an edge and what the customer will actually accept.
There is no universal answer.
And this is exactly why we do not like treating every tool mark as a polishing problem.
A Mirror Surface Should Not Hide the Machining History
When we inspect this kind of insert, brightness alone does not tell us enough.
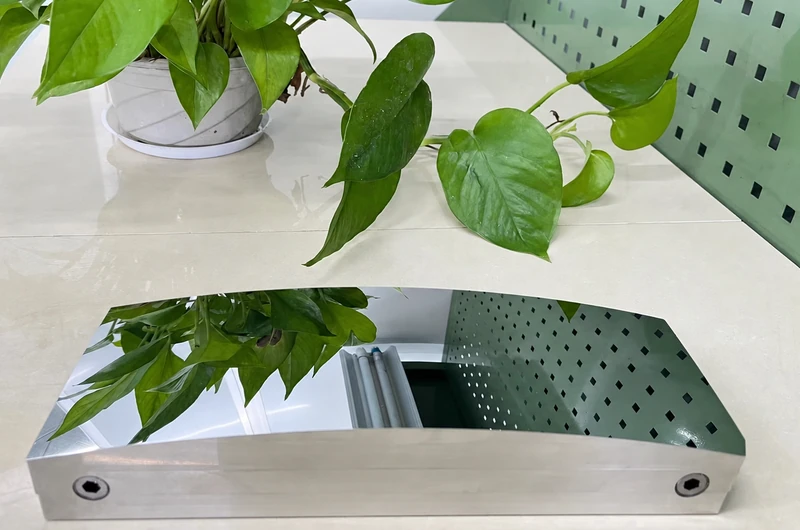
We look at reflected light across the surface and pay attention to whether the reflection changes at the same location as the original tool path.
For smaller features, magnified inspection can help us see whether the remaining mark is a surface scratch, a machining pattern or a local geometric change.
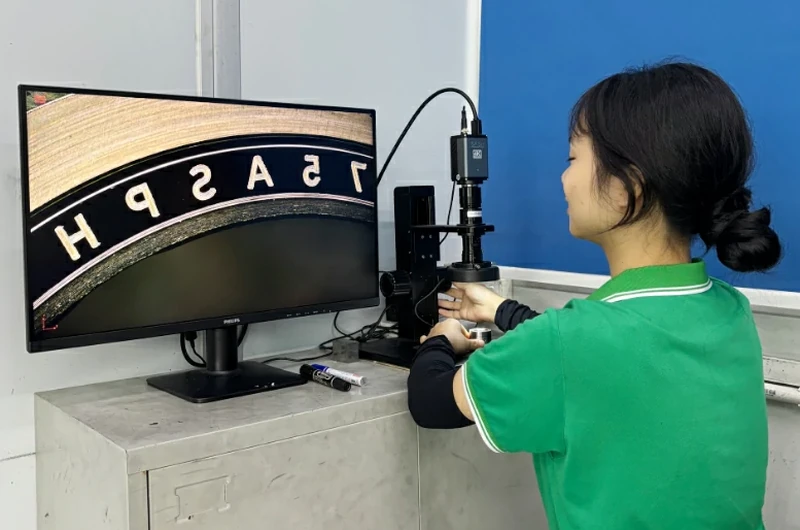
If correction has taken place near an important dimensional feature, that area may also need dimensional verification afterward.
The inspection method depends on the part.
A cosmetic surface, an optical surface and a dimensional boundary do not necessarily need the same acceptance method.
This is also why we prefer to understand the customer’s acceptance requirement before machining begins rather than after the insert is already polished.
Can CNC Tool Marks Always Be Polished Out?
No.
Fine and shallow CNC tool marks can often be reduced through controlled polishing.
Deep vibration marks, chatter or strong path transitions are different.
If too much material has to be removed to make them disappear, polishing may begin to affect the shape of the insert.
Is a Higher Spindle Speed Always Better for Mirror Finish Machining?
Not by itself.
Higher spindle speed can support small-tool, light-cutting strategies, but spindle stability, tool runout, cutting depth, tool path and tool overhang still matter.
A stable 60,000 rpm process can produce a better result than an unstable 80,000 rpm process.
The process has to be looked at as a complete system.
When Should a Tool-Marked Insert Be Re-Machined Instead of Polished?
We usually start considering re-machining when the mark is too deep for light finishing, when continued polishing would threaten a critical edge or dimension, or when the surface defect clearly follows an unstable machining condition.
Whether re-machining is possible still depends on the remaining material allowance and the actual geometry.
What Should You Send Us If Tool Marks Are Causing Rework?
If CNC tool marks are increasing polishing time or causing repeated rework on a mirror mold insert, the most useful starting point is the actual geometry.
Send us the 2D drawing, 3D file, mold material, critical tolerances, mirror-finish areas and photos of the current surface if available.
We can first look at where the marks are appearing and whether the problem is more likely related to tool access, tool overhang, cutting strategy or the finishing process.
Sometimes the answer is better polishing.
Sometimes the answer is better machining before polishing ever starts.