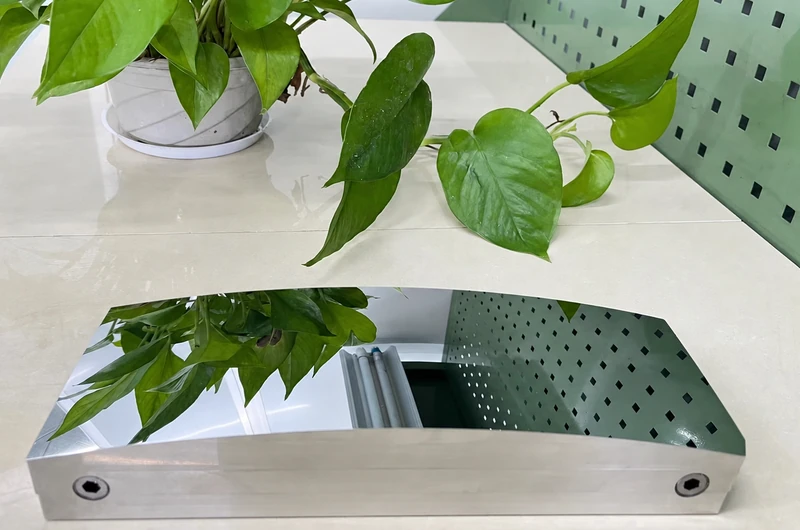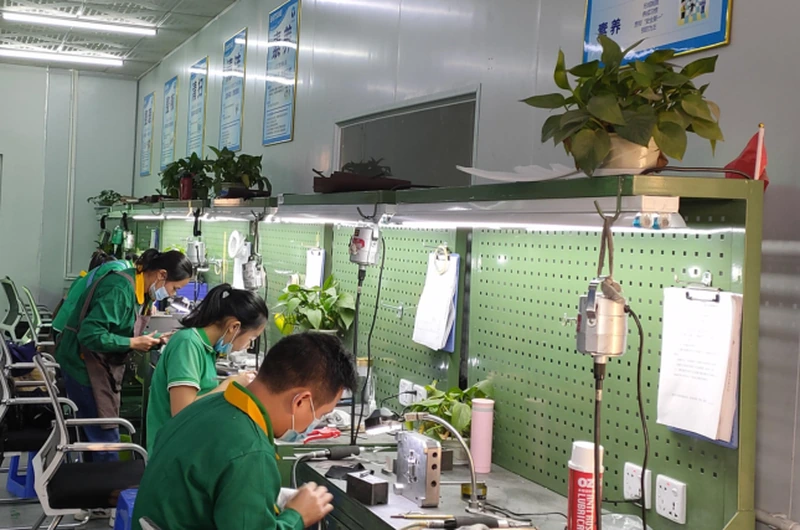
A deep cavity mold insert can look straightforward on a drawing and become difficult as soon as the tool has to reach the bottom.
The problem is not only depth.
As the cavity becomes deeper and narrower, the cutter usually needs more reach. Tool overhang increases, stiffness drops, side-wall vibration becomes easier to trigger, and the bottom of the cavity becomes harder to finish.
If the machined surface is poor, polishing is not necessarily an easy rescue because the polishing tool may have the same access problem.
This is why we treat the cavity as both a machining-access problem and a finishing-access problem from the beginning.
Deep Cavities Change the Cutting Condition
On an open surface, we have more freedom to select a short, rigid tool and a stable cutting direction.
A deep cavity changes that.
The cutter must enter farther into the part. If we simply use a longer tool and keep the same machining strategy, the tool becomes more sensitive to cutting force and vibration.
The result may be side-wall lines, waviness, chatter marks or a surface that looks acceptable near the opening but becomes worse deeper inside.
For a deep cavity mold insert, these marks are especially expensive because they are located exactly where later hand finishing is most difficult.
We therefore do not start by asking only what tool diameter fits.
We also look at how far the tool must extend, which surface actually needs the mirror finish, what direction the cutter can approach from, and whether the side wall can be machined with a more stable tool posture.
Shorter Tool Overhang Usually Gives Us a Better Starting Surface
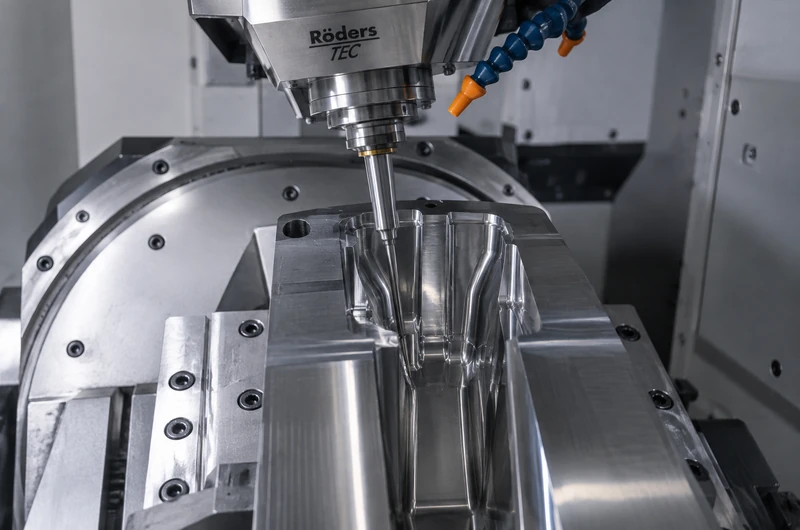
One of the most useful advantages of 5-axis ultra-precision machining for complex mold surfaces is that we can change the tool angle instead of forcing one long cutter to reach every area from the same direction.
For suitable geometry, this kind of 5 axis mold machining can reduce the amount of long-tool cutting on critical walls.
On a suitable deep cavity mold insert, tilting the tool can allow the cutting edge to work closer to the spindle and reduce unnecessary overhang.
That does not magically remove every deep-cavity problem.
The cavity opening, draft angle, minimum radius and neighboring walls still decide how much freedom we actually have. But when the geometry allows it, improving tool posture can make the cutting condition much more stable.
That often matters more than simply increasing spindle speed.
A fast spindle with a long, flexible tool can still leave poor side-wall marks.
We would rather improve rigidity first, then optimize speed, path and cutting load around that more stable setup.
The Side Wall and the Bottom Should Not Be Treated as the Same Surface
A common mistake in process planning is to think of the cavity as one mirror area.
In practice, the bottom, side walls and transition corners may need different strategies.
The bottom may be relatively easy to reach but difficult to keep smooth near the transition.
The side wall may need a different cutter orientation.
The corner may be limited by the smallest tool radius that can physically enter.
Separating these zones helps us decide where high-speed finishing is realistic and where another process or controlled local finishing is safer.
This is also why we prefer to review the 3D model instead of relying only on a sectional dimension.
A depth value alone does not tell us enough.
Two cavities can have the same depth but completely different machinability because the opening width, taper, corner radius and surface direction are different.
Deep Cavity Polishing Can Become the Real Limitation
Even when a cavity can be machined, the polishing tool may not reach it well.
Deep side walls can block the hand tool.
Narrow openings reduce the polishing angle.
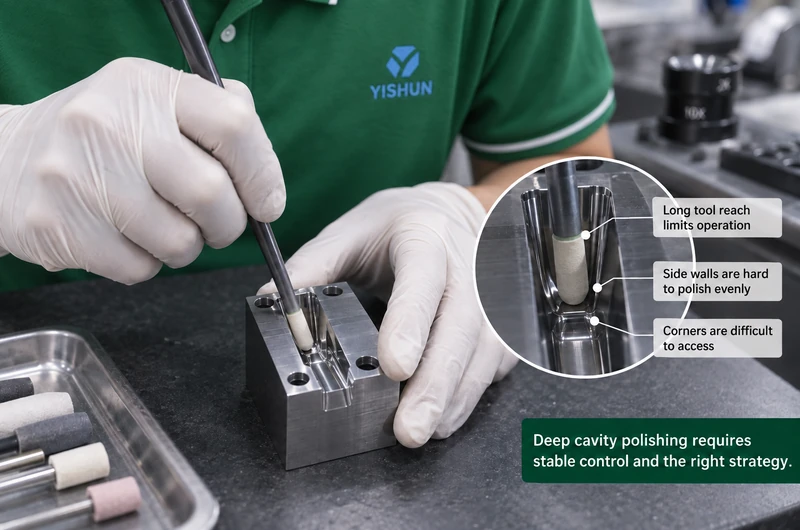
Small corners make it difficult to keep uniform contact.
If the operator has to work with a long polishing stick or an awkward tool position, pressure becomes harder to control.
That is why we do not want a deep cavity mold insert to arrive at the polishing bench with heavy cutter marks.
If the polishing technician has to remove a large amount of material in a hard-to-reach area, the risk changes from making the surface brighter to changing the geometry while trying to make it brighter.
Our goal is to use precision CNC machining and controlled mirror cavity machining to leave the cavity as close as practical to the required surface condition before local finishing begins.
Polishing should refine the surface.
It should not be asked to rebuild the machining process.
More Polishing Is Not Always the Safer Recovery
When deep side-wall tool marks remain, it is tempting to keep polishing until they disappear.
We do not always recommend that.
If the defect is deep and the polishing access is poor, continuing to remove material may create a local depression, change the wall profile or enlarge a transition radius before the original mark is fully gone.
For a deep cavity mold insert, there is a point where re-machining may be safer than continuing to polish.
The decision depends on how much material remains, where the defect is located and whether the critical geometry can still be protected.
This is one reason our optical polishing services are not treated as a separate “make it shiny” step.
The finishing route has to follow the machining condition and the geometry that must remain unchanged.
Sometimes the correct polishing decision is to stop.
Draft Angle and Minimum Radius Affect the Process Before Cutting Starts
When we review a deep cavity, four drawing details immediately affect our process decision:
- cavity depth
- opening width and draft angle
- minimum internal radius
- exact mirror-finish area
These values tell us whether the tool can enter, whether the spindle or holder may interfere with the wall, and whether a stable cutting posture is possible.
The same information also tells us how realistic polishing will be later.
For example, a small internal radius may force a smaller cutter, which usually reduces stiffness.
A nearly vertical wall can limit tool orientation.
A narrow opening may make both machining and polishing access worse.
This is why the best time to evaluate the cavity is before the process route is fixed.
Once the cavity has already been EDM-machined or rough-finished with heavy marks, the available recovery options become narrower.
We Try to Reduce Finishing Work Where Access Is Worst
The deeper the cavity, the more carefully we think about where material should be removed.
Accessible areas can tolerate more finishing flexibility.
Hard-to-reach areas should ideally leave machining with less correction still required.
On a deep cavity mold insert, that may mean adjusting the tool path, dividing the cavity into separate machining zones, changing tool posture between the wall and bottom, or leaving different finishing allowances in different areas.
There is no single allowance that is correct for every surface.
The important point is to avoid creating a process where the most inaccessible surface also needs the heaviest manual correction.
That is usually where time, consistency and geometry control begin to fight each other.
Inspection Has to Follow the Geometry, Not Only the Surface Shine
A mirror-looking cavity can still have a dimensional or profile problem.
After finishing, we want to know whether the wall, bottom and transition areas still match the drawing—not only whether the surface reflects light.
The suitable inspection method depends on the feature and access.
Some dimensions can be checked directly.
Some surface areas may need profile or surface-topography evaluation.
Very deep or narrow features may also have inspection-access limits that should be considered before manufacturing starts.
For us, the insert is complete only when the surface condition and the geometry are both acceptable for the project requirement.
Deep Cavity Mold Insert Review Starts With Tool Access
When customers send us a deep-cavity project, we prefer to see the 2D drawing and 3D model together.
The most useful information is the cavity depth, opening size, draft angle, minimum radius, material, critical tolerances and the exact surfaces that require a mirror finish.
With that information, we can judge where five-axis machining can reduce tool overhang, where polishing access may become risky, and where another process should be considered before machining begins.
The purpose is not to force every deep cavity mold insert into the same process.
It is to avoid discovering the access problem after the part is already difficult to recover.
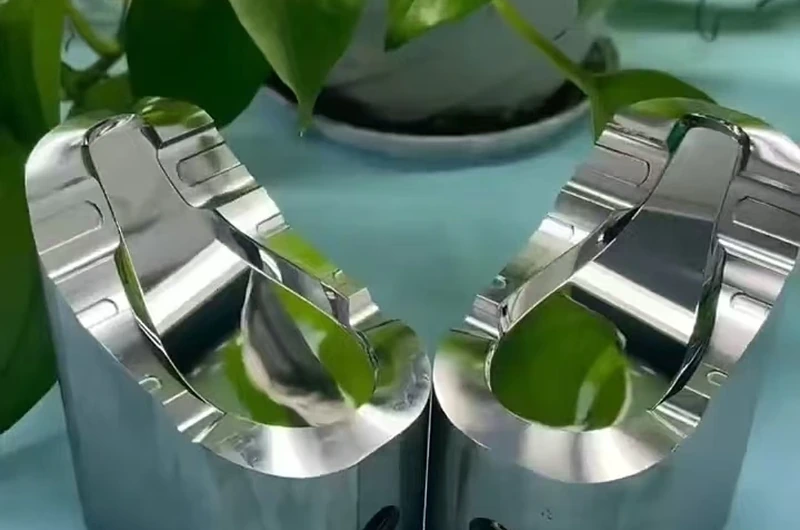
Does Every Deep Cavity Mold Insert Need 5-Axis Machining?
No. If the cavity is open enough and the surface can be reached with a short, rigid tool, a simpler machining route may be sufficient.
Five-axis machining becomes useful when changing the tool posture improves reach, rigidity or surface control.
Can Deep Cavity Polishing Remove All Side-Wall Tool Marks?
Not safely in every case.
Light marks may be refined, but deep marks in a narrow cavity can require too much material removal.
Re-machining may be safer when further polishing threatens the wall profile or corner geometry.
Which Drawing Details Matter Most for a Deep Cavity Mold Insert?
Cavity depth, opening width, draft angle, minimum internal radius, material, tolerance and the exact mirror-finish zones are the most useful starting points.
What Should Be Reviewed Before Quotation?
Send the 2D drawing and 3D model with the mirror areas marked.
We can evaluate tool access, likely overhang, side-wall strategy and polishing risk before the process route is fixed.