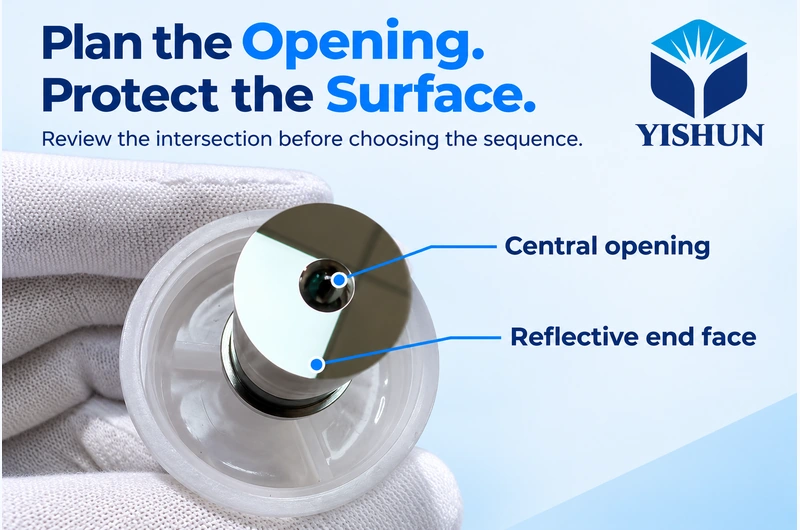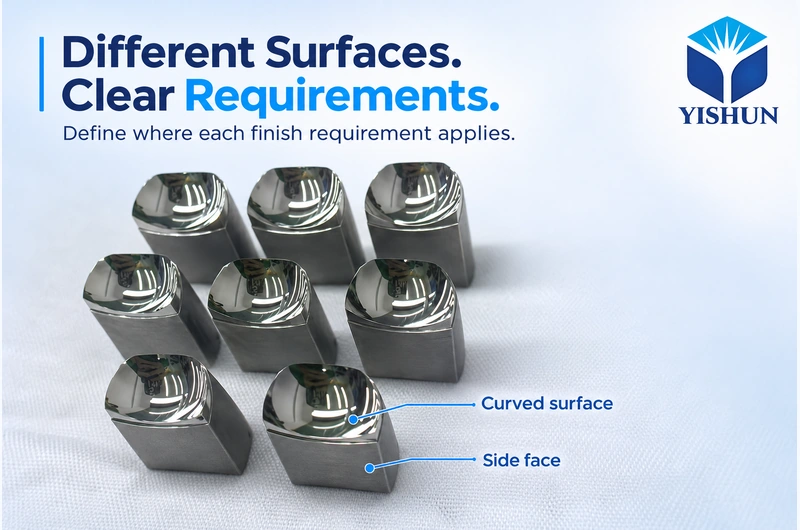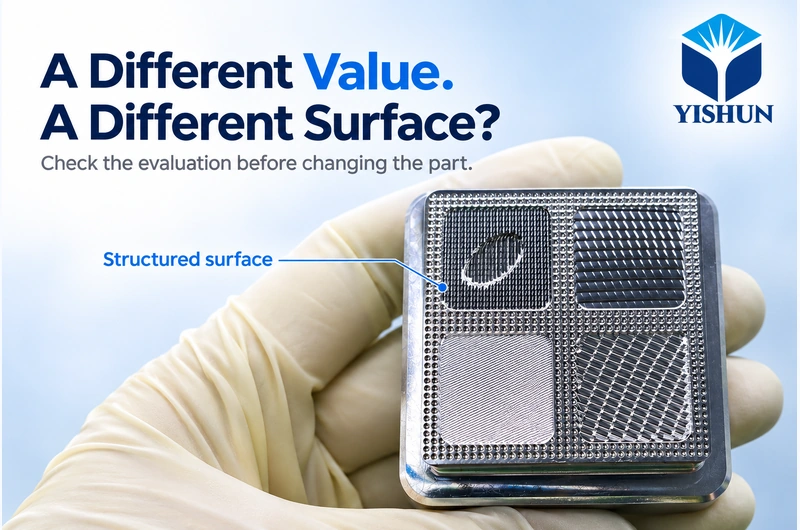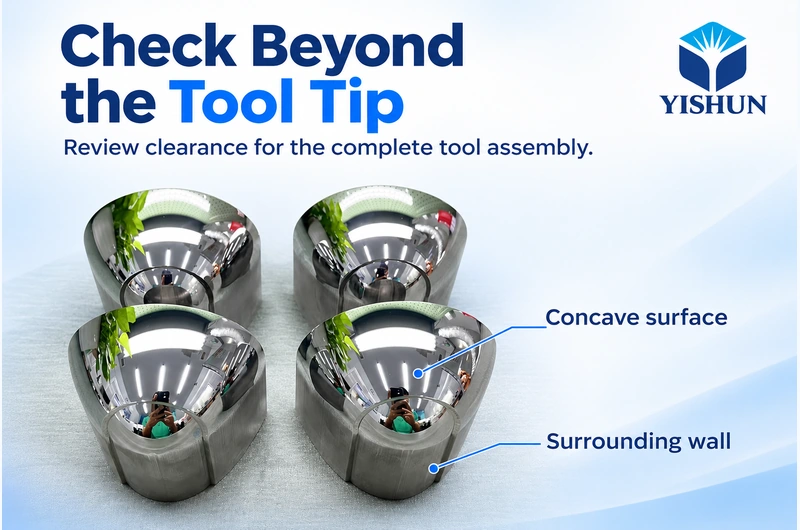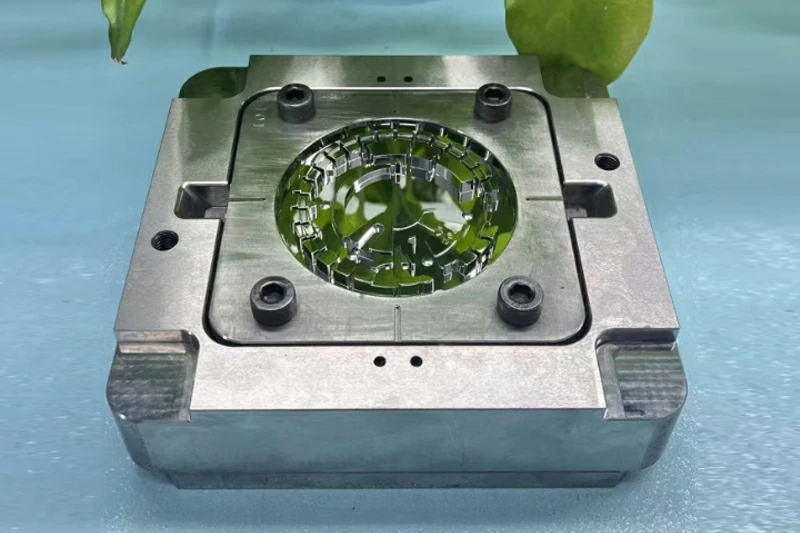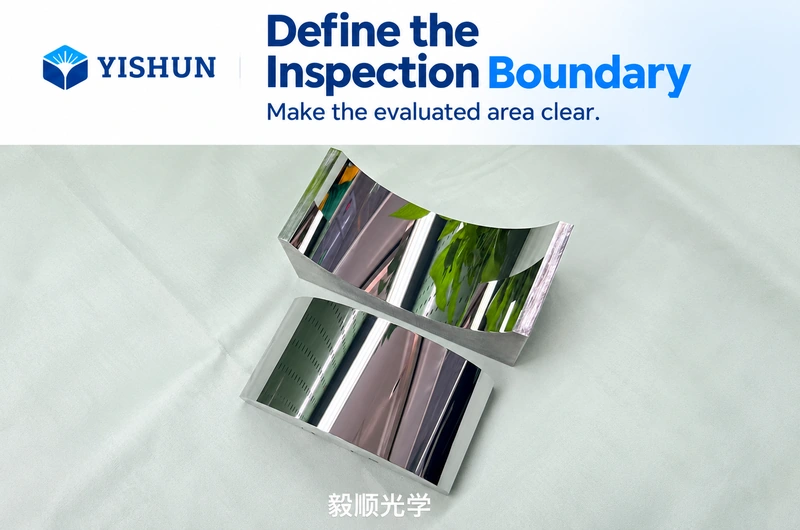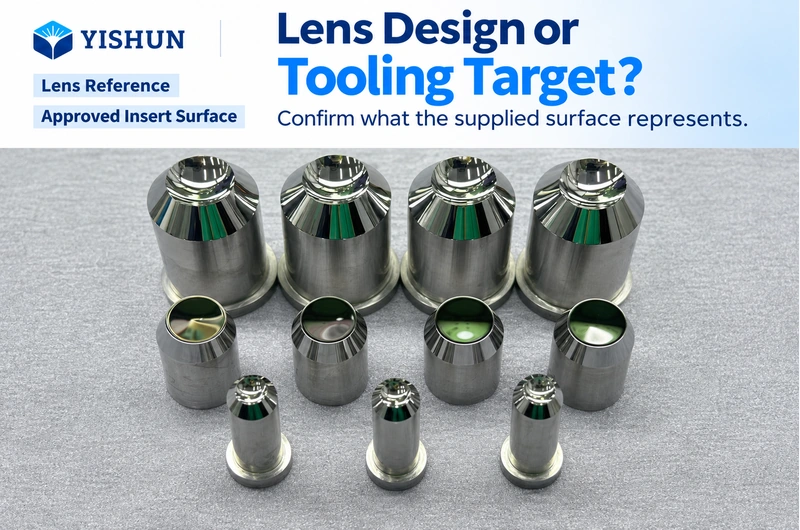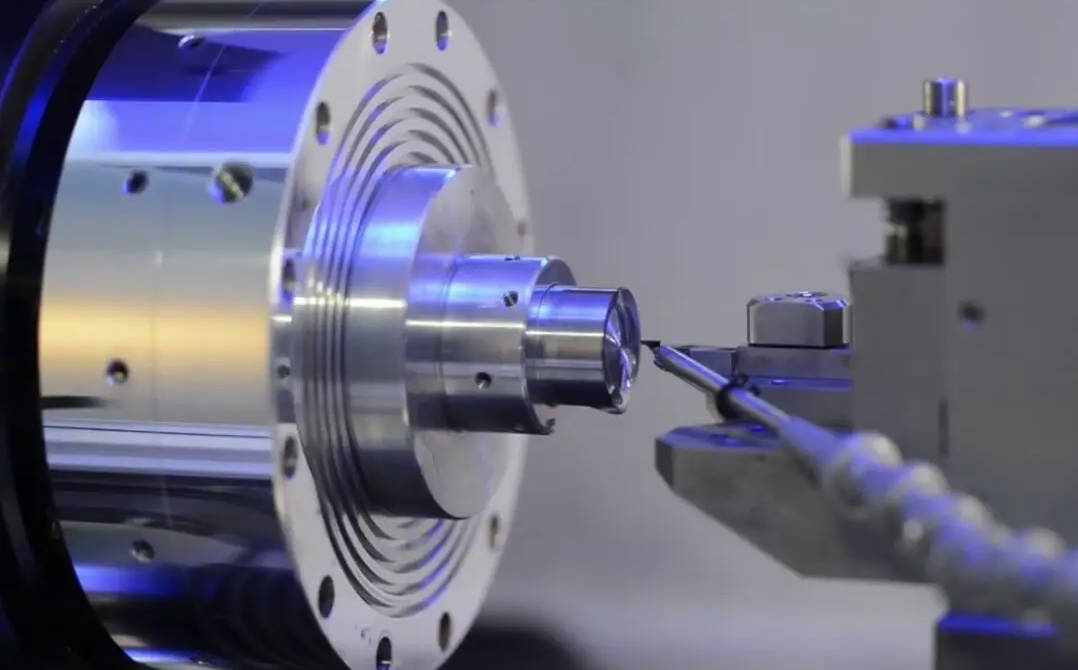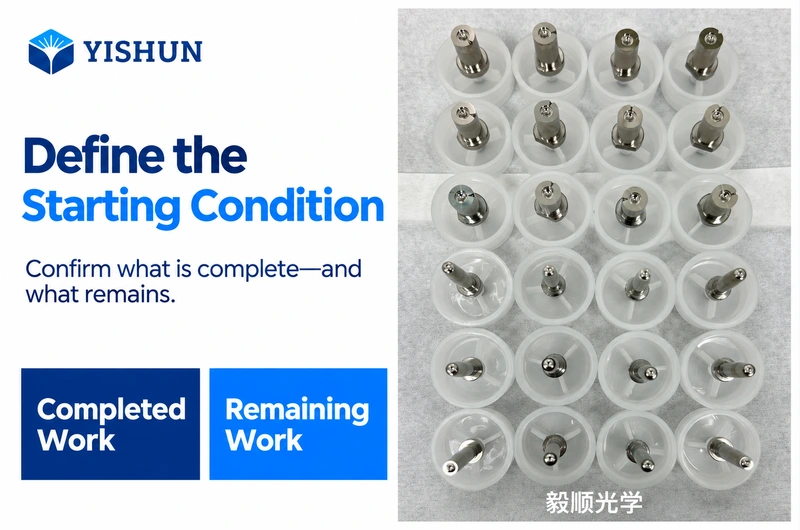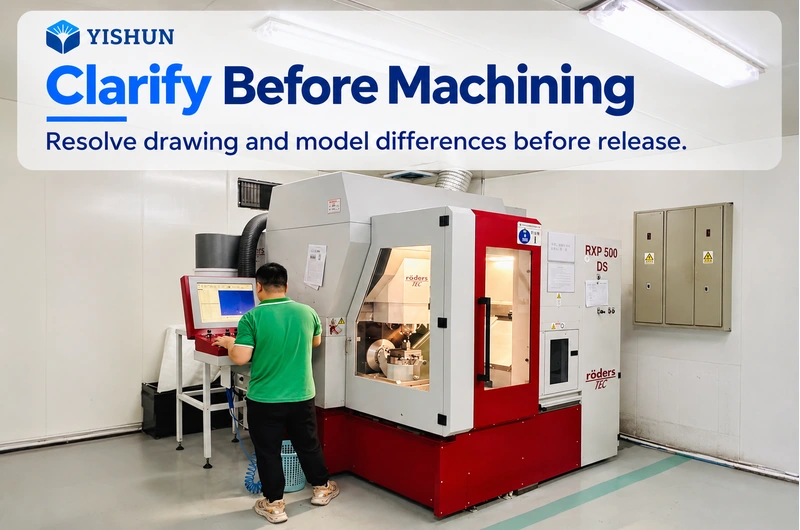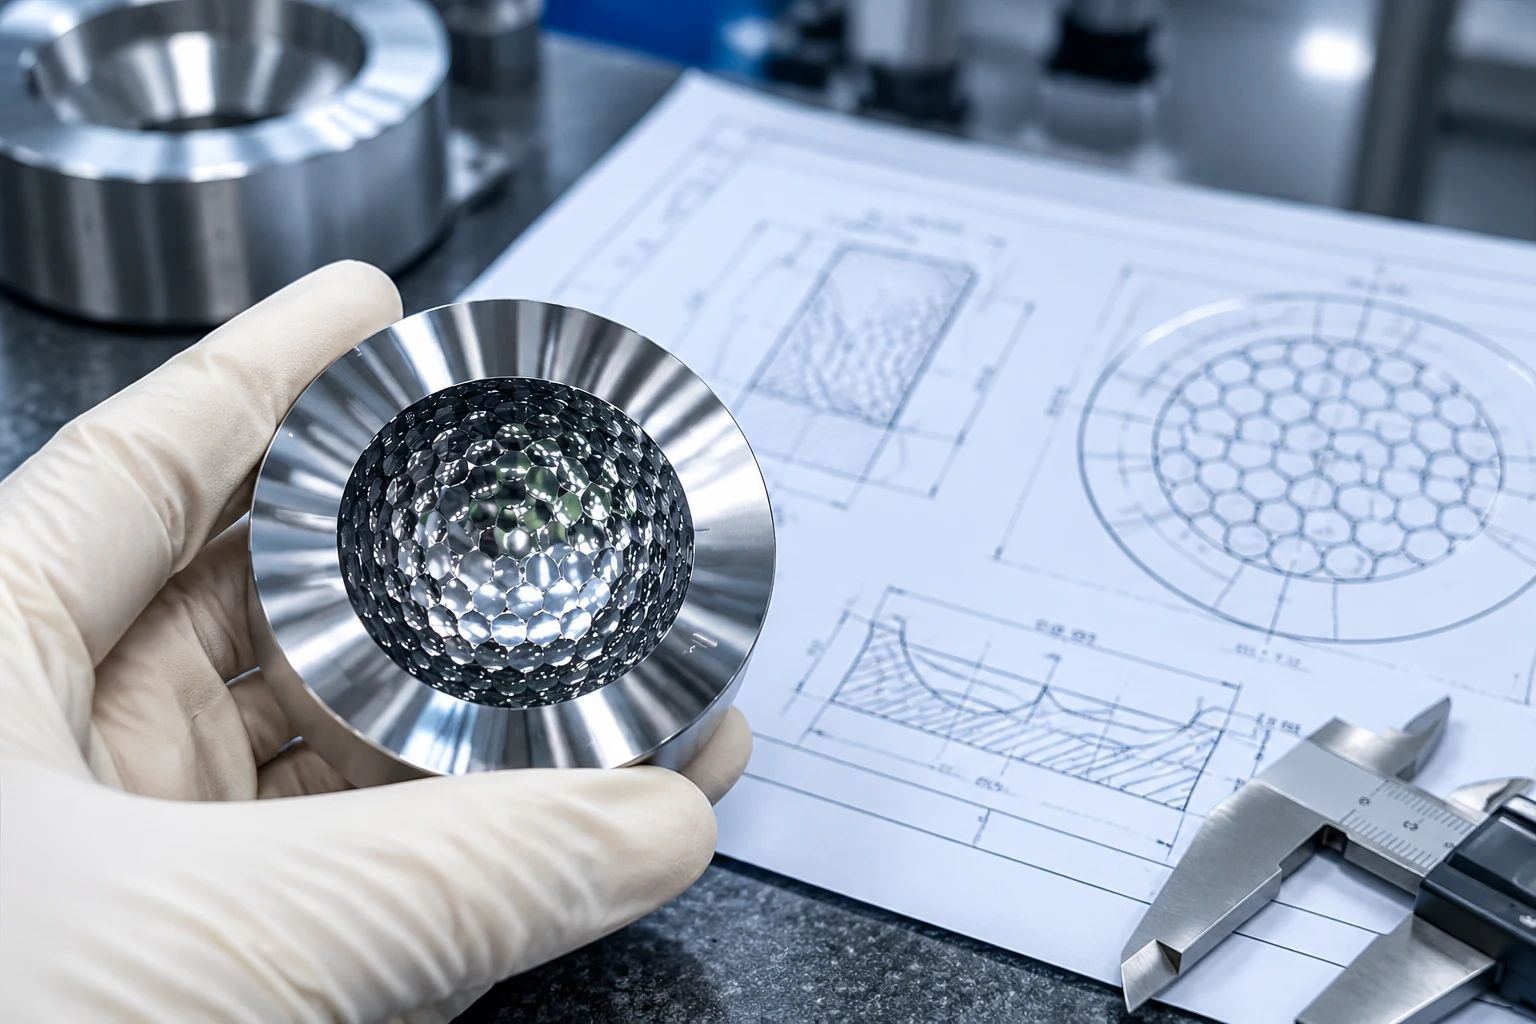
A diamond-turned mold insert arrives with a reflective surface. Under a different light, fine lines become visible. The immediate request is familiar: “Can you polish it a little more?”
Before approving another operation, establish what those lines mean for the part. Are they outside an agreed requirement, associated with a functional concern, or simply more visible under unfamiliar viewing conditions?
Polishing diamond-turned mold inserts should begin with a defined problem. Otherwise, the supplier receives an instruction to remove material without a clear basis for deciding when to stop.
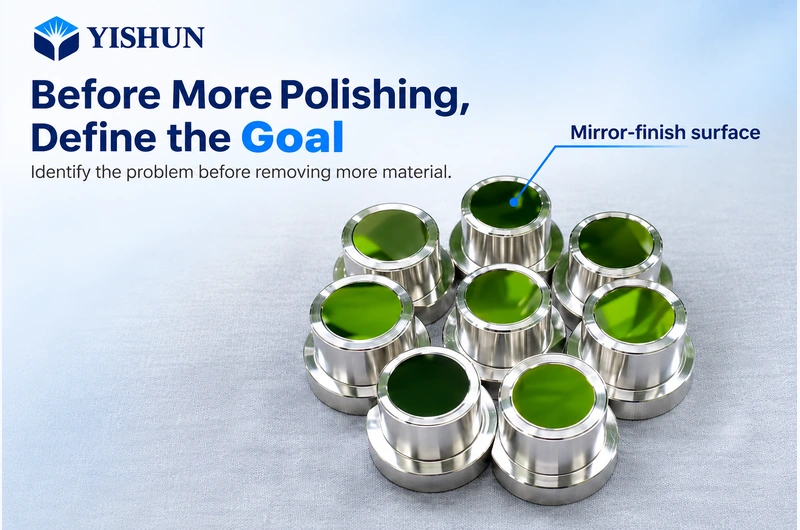
Replace “Better Finish” With a Specific Outcome
“Better” may mean fewer visible lines, a different measured texture, removal of a local scratch, or preparation for a later surface treatment. These requests are not equivalent.
Describe the observed condition separately from the desired result. For example, “regular lines visible under directional lighting” records an observation. “Reduce those lines to satisfy the agreed appearance standard” describes an objective.
If the concern is functional, identify the evidence connecting the surface condition to that concern. An appearance difference alone does not establish that the insert caused a problem in a replicated component.
The useful starting point is an acceptance gap that both parties can explain.
Confirm What Is Actually on the Surface
Fine, regular cutting texture can remain after single-point diamond turning. A handling scratch, residue or an isolated pit requires a different investigation.
Use an agreed cleaning method before assessing an uncertain mark. Record its location and appearance under consistent lighting, with suitable magnification where necessary. Avoid making an irreversible finishing decision from a compressed phone photograph alone.
Ask whether the feature repeats across the surface, follows the machining pattern or appeared after handling. These observations help frame the investigation; they do not replace measurement or prove the cause.
If the condition is contamination rather than damaged material, polishing may introduce unnecessary work.
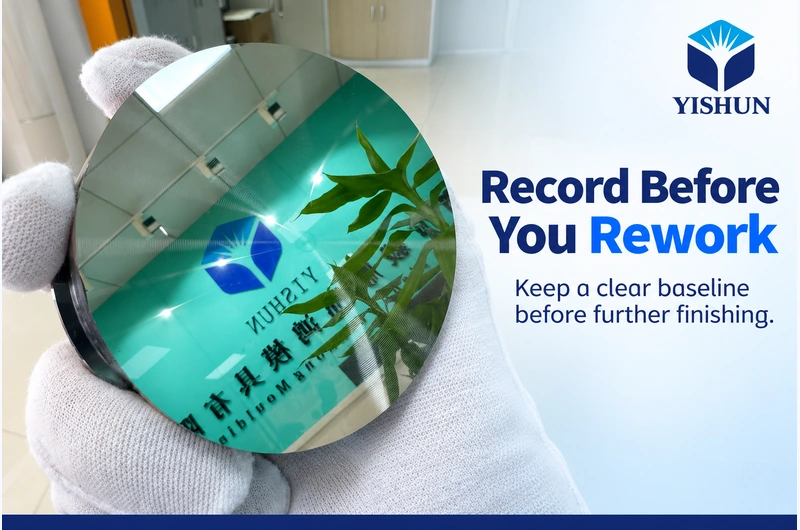
Keep a Baseline Before Removing Evidence
Once polishing starts, the original surface condition may no longer be recoverable. Record enough information to support a meaningful before-and-after comparison.
Depending on the concern, this may include identified photographs, local surface measurements, a form result and the component’s current processing history. Use the same part identification throughout.
A baseline also protects the investigation from hindsight. If the suspected mark disappears but the reported problem remains, the team needs evidence of what changed rather than a recollection that the surface “looked different.”
For a returned insert, distinguish the original delivery condition from damage or changes introduced during use.
Check Whether the Proposed Removal Is Feasible
Removing a depression or scratch may require removing surrounding material. The necessary depth cannot be determined reliably from how dark the mark looks in a photograph.
Review the remaining allowance, functional profile and nearby features before promising complete removal. Where the working surface includes a coating or plated layer, confirm its specification, available thickness information and prior rework history.
A local operation can also affect a wider area through blending. Ask how the proposed treatment will transition into the surrounding surface without creating an unacceptable local shape change.
When the condition cannot be corrected within the remaining limits, consider a different route rather than extending polishing indefinitely.
Decide Whether to Correct This Part or the Process
An isolated handling mark and a recurring machining pattern lead to different decisions.
For a single component, controlled finishing may be worth evaluating. If the same unwanted condition appears on every insert, adding polishing to each part can conceal an unresolved upstream issue and create an extra production dependency.
Review whether machining conditions, tool condition or the specified process route should be reconsidered before the next batch. This does not mean changing a validated process without approval.
Keep the immediate disposition of the current part separate from the action intended to prevent recurrence. A successful repair is not automatically the preferred manufacturing sequence.
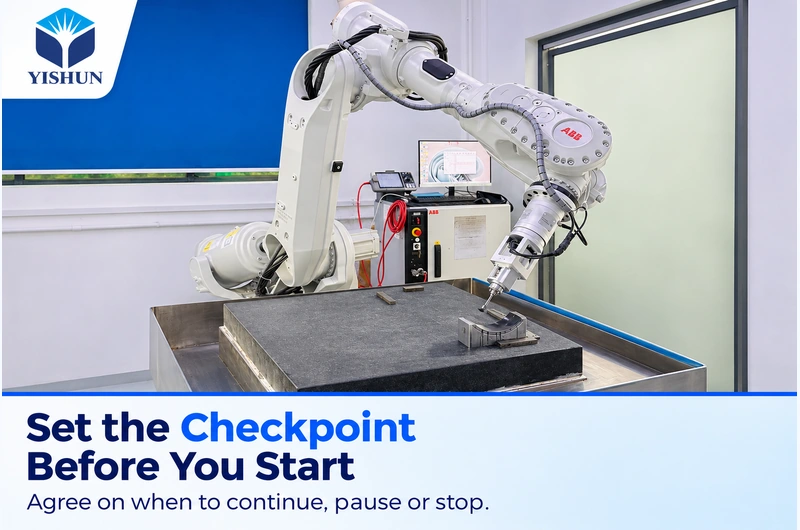
Define a Checkpoint and a Stopping Rule
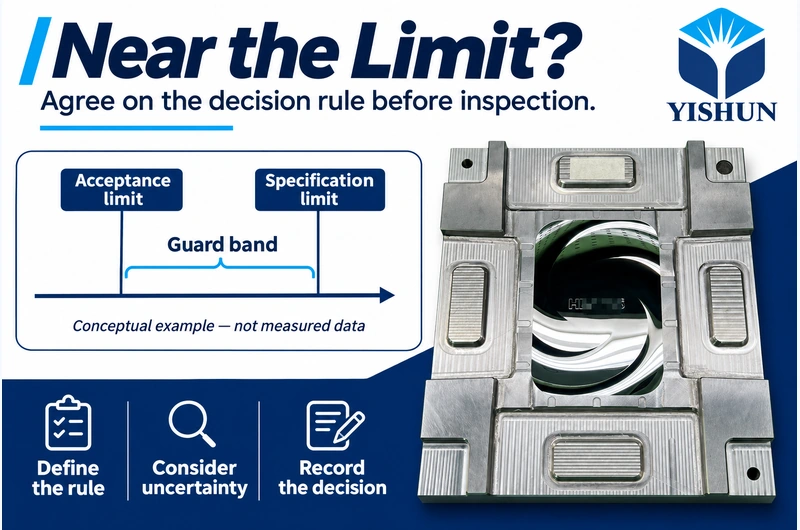
“Continue until the lines disappear” leaves too much to visual judgment. Agree on what will be checked after a controlled stage of work and what result would justify continuing.
The checkpoint should address the original objective and the characteristics that must remain acceptable. It may lead to release, another approved step or a pause for engineering review.
Set the escalation condition before work begins. If improvement is insufficient, new marks appear or remaining allowance becomes uncertain, stop and reassess. Additional processing time is not evidence that the next attempt will succeed.
Close the Request With Comparable Evidence
The final review should answer the question that triggered the work. If the objective concerned appearance, compare under the agreed viewing conditions. If it concerned a measured characteristic, use an appropriate, consistent evaluation method.
Also verify the characteristics that the operation could affect. A visually smoother surface does not by itself demonstrate that the insert remains acceptable.
YISHUN Optical supports custom mirror-finish mold inserts and ultra-precision component machining. For a proposed post-turning finishing operation, send the current drawing, material or coating details, baseline observations and intended acceptance requirement.
Explain what prompted the request and which characteristics already meet specification. That gives the machining review a practical question to resolve: whether further material removal offers a controlled improvement for this particular insert.