We have seen this kind of problem more than once.
A mold insert is already within tolerance after machining. The geometry looks good, the critical dimensions are correct, and the part is ready for final surface finishing.
Then it goes through mirror polishing.
The surface becomes brighter and cleaner, but after measuring the insert again, something has changed.
A small radius is slightly larger.
An edge is no longer as sharp as before.
A local surface has moved.
Or a critical fitting dimension is no longer where it should be.
That is a frustrating result because visually, the insert may actually look better than before.
Dimensionally, however, it may already need rework.
For precision mold inserts, this is why we do not treat polishing as a purely cosmetic process.
Polishing still removes material.
And when tolerances are tight, even a small amount of uncontrolled material removal can matter.
The Problem Often Starts Before Polishing
When an insert changes dimension after polishing, people naturally look at the polishing process first.
Sometimes that is where the problem is.
But not always.
In many cases, the real issue started earlier, during machining.
If the machined surface still has deep tool marks, vibration marks or local cutter traces, the polishing team has to remove enough material to make those marks disappear.
That immediately increases the risk.
Polishing should ideally be a finishing operation, not a process used to correct a poor machined surface.
If a surface already needs heavy material removal before it can become visually acceptable, then the polishing allowance may already be too large for a precision feature.
We normally want the machining stage to do as much of the geometry and surface work as practical.
The less polishing has to correct, the easier it is to protect the final dimensions.
Small Edges and Radii Are Usually the First Areas We Worry About
Large open surfaces are generally easier to finish than small local features.
The risky areas are usually things like sharp boundaries, small radii, narrow ribs, local steps and transitions between two different surfaces.
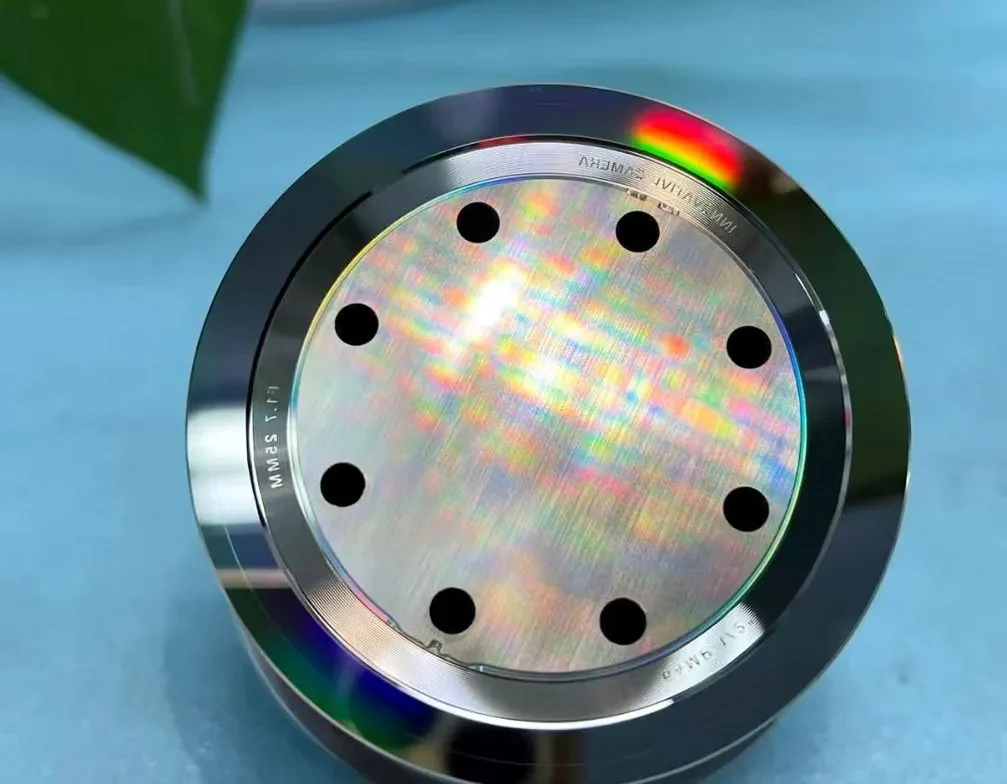
These features are easy to change without noticing immediately.
For example, a small R may be correct after machining.
But if the surrounding surface still contains visible tool marks, the operator may spend more time polishing around that corner.
The surface gets smoother.
The marks disappear.
But the radius may slowly open up at the same time.
We have seen cases where the corner looked cleaner after polishing, while the geometry had actually moved farther away from the drawing.
The same thing can happen to an edge.
Polishing pressure near an edge is not always the same as it is in the middle of a large surface.
Repeated finishing can gradually soften that edge.
For a normal cosmetic part, that may not matter much.
For a precision mold insert, that edge may define a product boundary, fitting feature, optical transition or matching surface.
At that point, a very small geometric change can become important.
Complex Surfaces Cannot All Be Polished in the Same Way
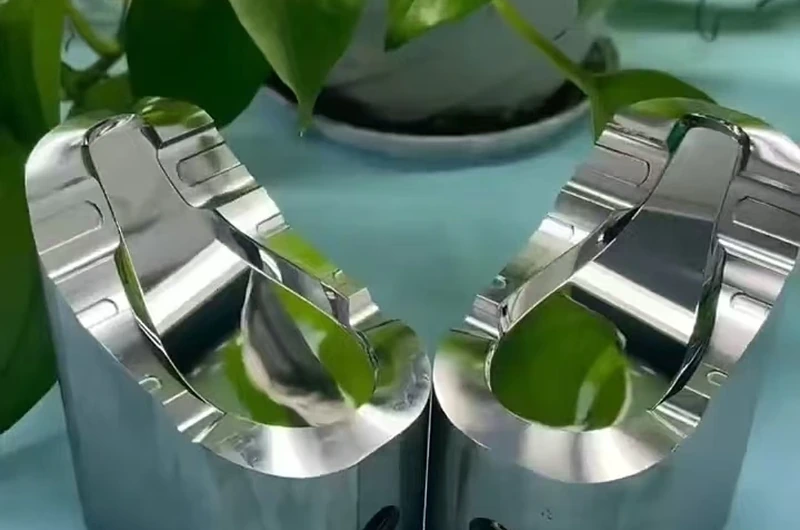
A mold insert may contain an open curved area, a deep side wall, a narrow groove and several local transition zones on the same part.
Those areas do not behave the same during finishing.
Tool access is different.
The contact area is different.
The pressure is different.
The time needed to remove a mark can also be different.
So we do not like treating the entire insert as one polishing zone.
For critical parts, it makes more sense to look at the geometry area by area.
Which surfaces are mainly cosmetic?
Which areas control dimensions?
Which corners must stay sharp?
Which surfaces can tolerate a little more material removal, and which ones cannot?
That information should be clear before polishing starts.
A Mirror Surface Is Not Enough If the Geometry Has Changed
This is probably the most important point.
A part can look excellent and still be wrong.
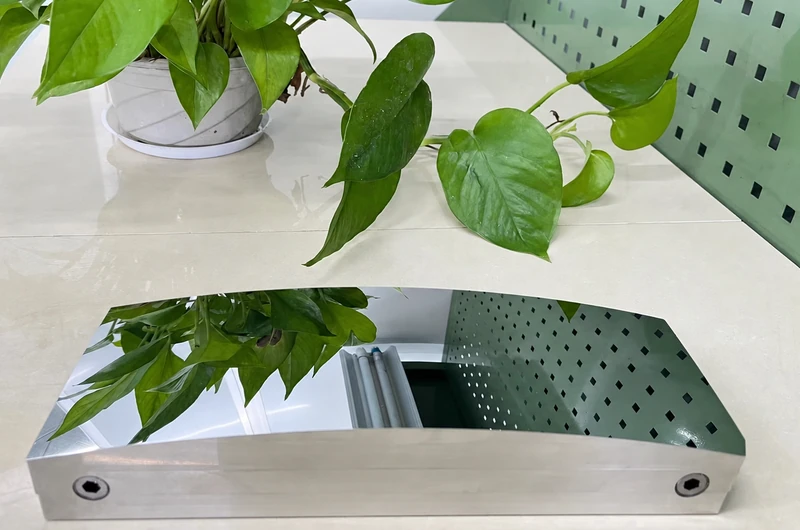
When a customer asks for a mirror-finish mold insert, the surface appearance is only one part of the acceptance requirement.
The insert still has to meet the drawing.
For us, a mirror surface is only useful if the part is still the size and shape the customer designed.
That is why we pay a lot of attention to the condition of the surface before final polishing.
If we can reduce cutter marks and achieve a finer machined surface first, the finishing stage becomes much easier to control.
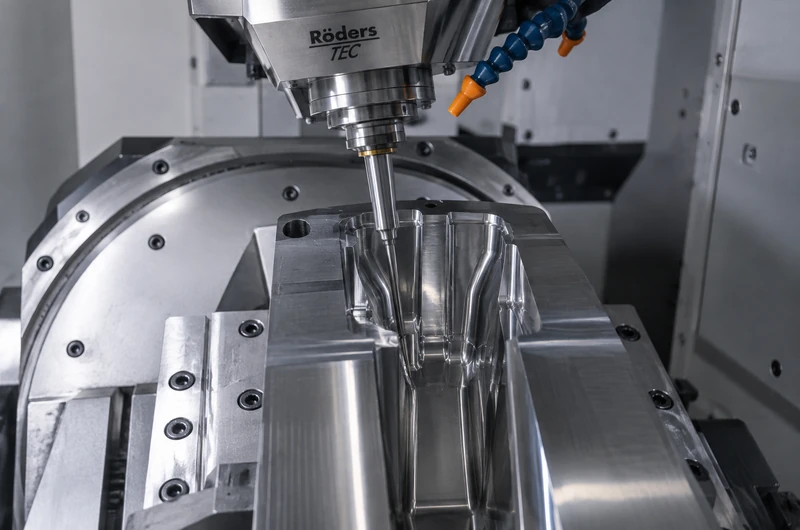
On suitable parts, we may use high-speed precision milling or other mirror-machining processes to improve the starting surface before any manual finishing is done.
This does not mean every mold insert can be finished directly from machining.
Some materials, geometries and surface requirements still need polishing.
But there is a big difference between light surface refinement and using polishing to remove deep machining marks.
The second situation carries much more dimensional risk.
How We Usually Approach This Kind of Mold Insert
Before deciding how the surface should be finished, we normally look at several things together.
The first is the drawing.
We want to know where the tight tolerances are, which edges or radii are important, where the mirror area is, and which surfaces control fitting or product appearance.
Then we look at the geometry itself.
An open cavity, a deep wall and a small local corner may need completely different finishing strategies.
After that, we consider how good the surface can be made during machining.
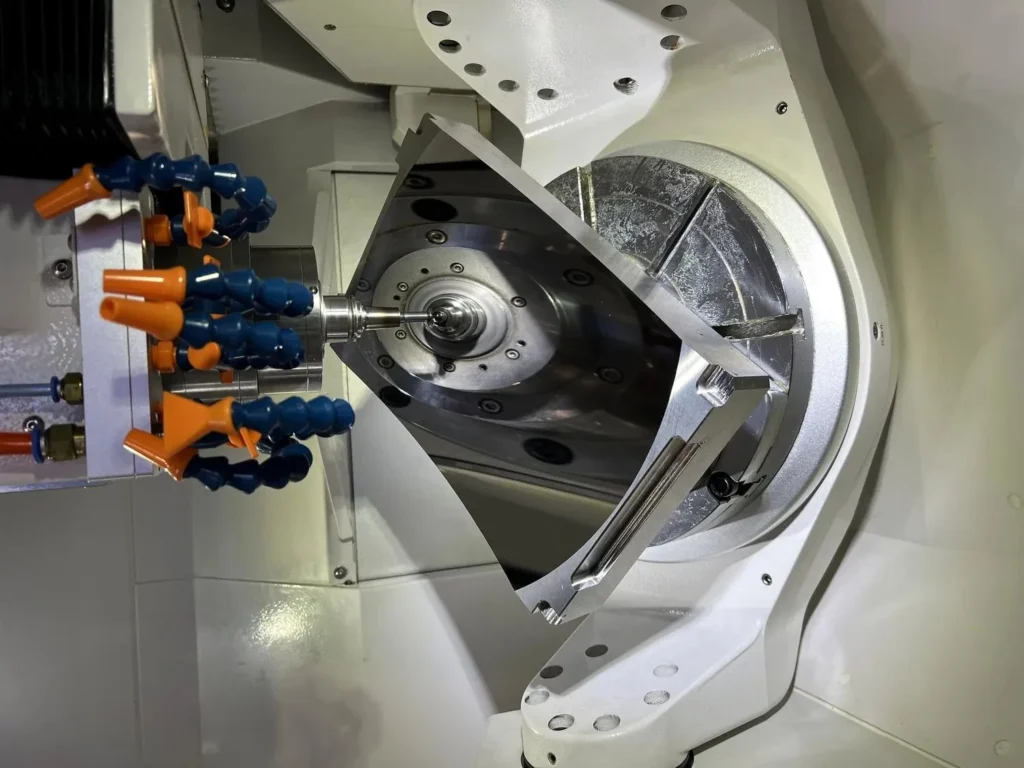
For suitable mold inserts, our Toshiba UVM high-speed mirror-machining equipment can be used on open cavities, curved surfaces and other high-gloss areas where reducing the amount of later polishing is useful.
We do not judge this only from the machine capability.
Material, geometry, tool access, local radius and tolerance all matter.
A part that looks simple in a photo may still be difficult because the tool cannot reach a local area properly.
So we normally prefer to review the actual 2D and 3D data before deciding how much polishing should be left at the end.
We Do Not Only Measure Before Polishing
Another common mistake is to inspect the insert after machining, confirm that everything is within tolerance, and then assume the dimensions will stay the same after finishing.
For critical mold inserts, that assumption is risky.
If material is removed during polishing, important dimensions should be confirmed again afterward.
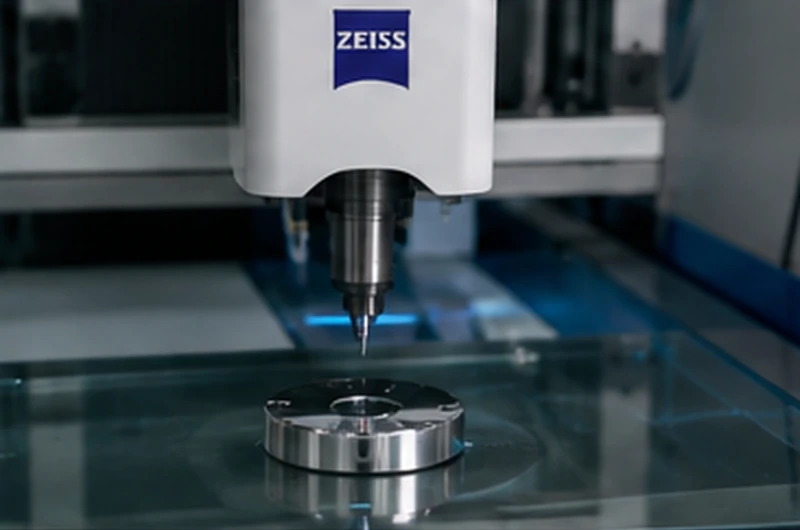
Depending on the project, we may use dimensional inspection equipment such as a ZEISS CMM to verify critical geometry after the finishing process.
That is especially important when the part contains small radii, fitting features, matching surfaces or areas where the mirror finish is close to a tight tolerance boundary.
Surface quality and dimensional accuracy have to be looked at together.
One cannot replace the other.
Sometimes More Polishing Is the Wrong Answer
We also receive inserts that have already been polished several times but still have visible marks.
At that stage, continuing to polish may feel like the easiest option.
But sometimes it is exactly the wrong thing to do.
If the remaining mark is too deep, removing it may require more material than the geometry can safely lose.
In that case, we would rather stop and evaluate the insert again.
Can the surface be re-machined?
Is there enough remaining allowance?
Which dimensions have already changed?
Can the affected area still be recovered without damaging nearby features?
There are projects where another polishing pass is reasonable.
There are also projects where another polishing pass only makes the problem harder to recover.
The important thing is to make that decision before more material is removed.
What We Hope to See on the Drawing
When customers send us a mirror mold insert for evaluation, simply writing “mirror polish” on the drawing is often not enough.
It helps much more if the drawing clearly shows:
- the critical dimensional tolerances;
- the areas that require a mirror finish;
- important small radii;
- edges that must remain sharp;
- fitting or matching surfaces;
- cosmetic surfaces;
- functional surfaces;
- inspection requirements.
This makes it much easier for us to separate the areas where surface appearance is the priority from the areas where geometry has to be protected very carefully.
It also helps us decide whether the part should rely mainly on precision machining, local polishing, or a combination of both.
The Best Time to Protect the Final Dimensions Is Before Polishing Starts
When dimensions change after mirror polishing, the polishing itself is only part of the story.
The machining quality before polishing, the amount of finishing allowance, the geometry of the insert and the way critical areas are protected all affect the final result.
Our preference is always to leave polishing as little corrective work as possible.
Make the geometry stable first.
Improve the machined surface as much as the part allows.
Then use polishing for controlled refinement instead of heavy material removal.
That gives us a much better chance of keeping both the surface and the dimensions where they need to be.
If you are working on a mirror mold insert where the surface looks difficult to finish without affecting a small R, sharp edge or critical dimension, you can send us the 2D/3D drawing, material, mirror-finish area and key tolerance requirements.
We can review the machining and finishing route before quotation and help identify where dimensional risk may appear.