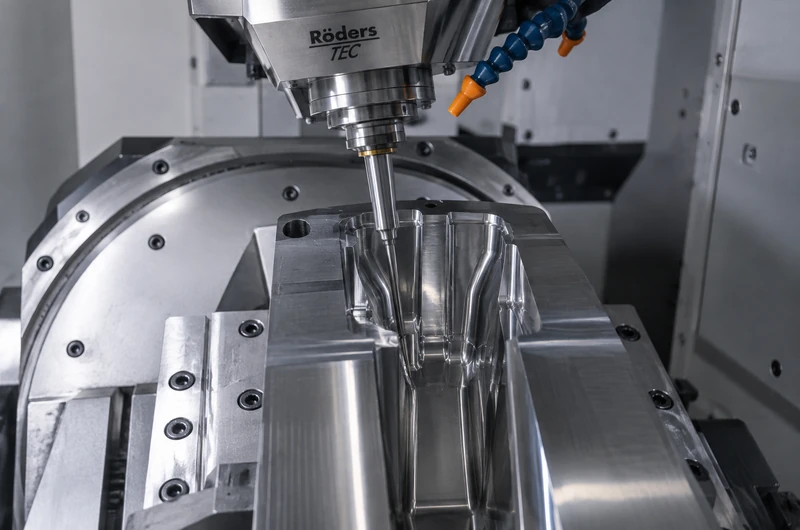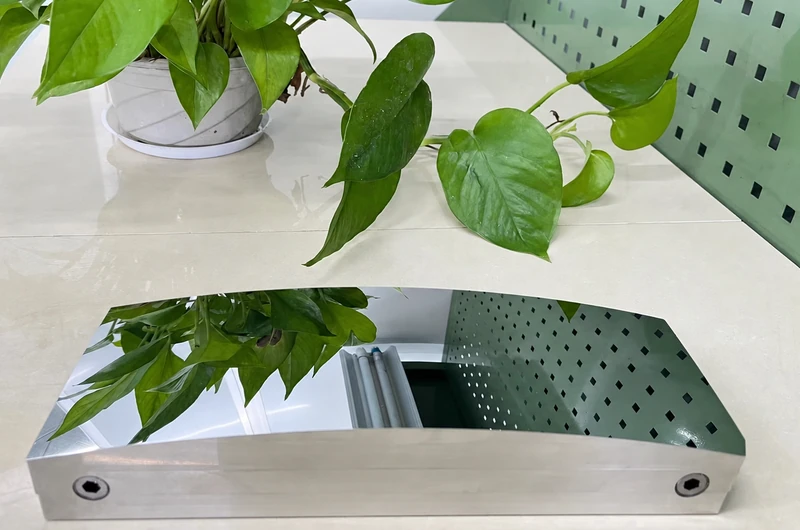
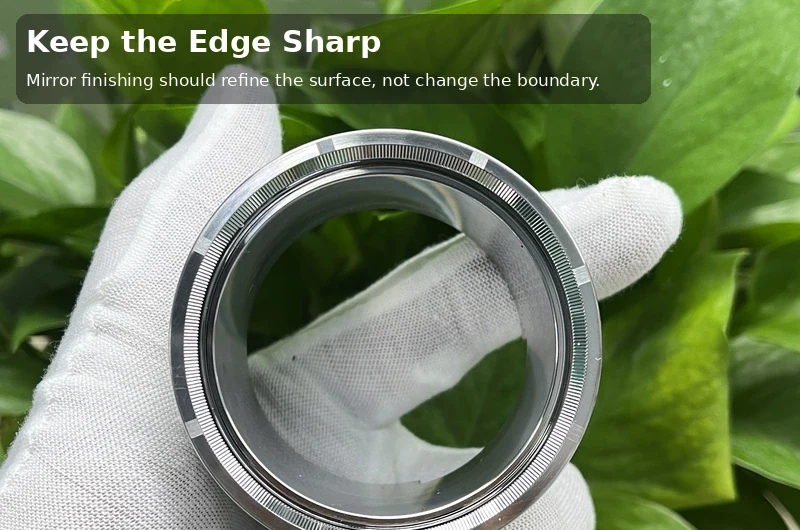
One thing we pay a lot of attention to during mirror finishing is the edge.
Not because an edge is difficult to make shiny.
The problem is that it is very easy to make it shiny and, at the same time, make it wrong.
We often see this kind of situation on inserts with a clear styling line, parting boundary or small sharp transition.
After machining, the edge is still clean.
After polishing, the whole area looks brighter and smoother.
But when you look closely, the line is not quite as crisp anymore.
Sometimes this is already visible on the insert. Sometimes it only becomes obvious after trial molding, when the molded part shows a softer boundary than the customer expected.
That is what we mean when we talk about edge rounding or a collapsed corner during mirror polishing.
The difficult part is that it usually does not happen suddenly.
The edge is not damaged in one obvious moment.
It changes little by little while the surrounding surface is being improved.
The Edge Is Often Not the Original Problem
When we see an edge that has been polished too round, we do not immediately start by asking who polished it.
We first look at the surface before polishing.
Was the machined surface already fine?
Were there still obvious cutter marks?
How much material did the polishing team have to remove before the surface became acceptable?
These questions matter because a lot of edge problems actually start one process earlier.
If the CNC surface still has deep marks, the polishing technician has to keep working until those marks disappear.
On a large open area, that mainly costs time.
Near a sharp edge, it costs something else: geometry.
The longer you work around that area, the easier it is to soften the edge.
We have all seen parts where the geometry was already good after machining, but the surface was not good enough yet. The polishing team then had to keep correcting the surface, and the feature next to it slowly became the new problem.
So in our shop, when a critical edge also sits next to a mirror area, we try not to leave too much work for polishing.
That makes a bigger difference than people sometimes expect.
Heavy Polishing and Sharp Edges Are a Bad Combination
Manual polishing is not the problem by itself.
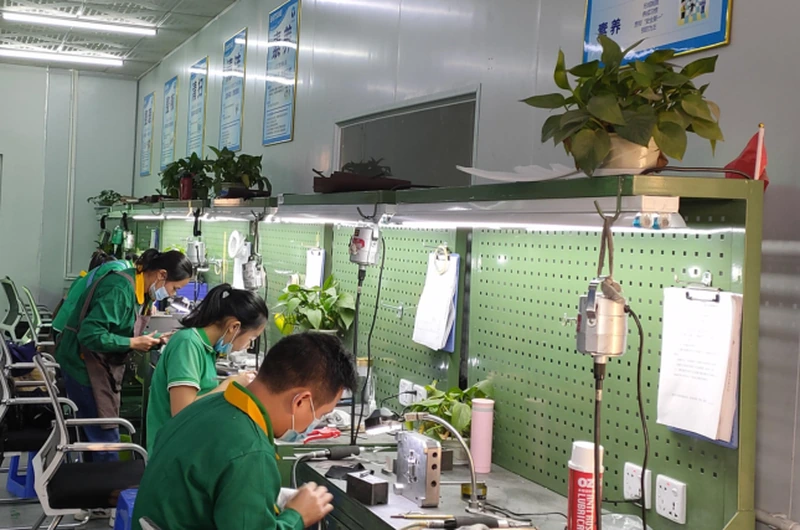
We have a team of experienced polishing technicians, and for many mold inserts manual finishing is still necessary.
But heavy polishing is different from final refinement.
If a technician only needs to remove a very light surface trace, it is much easier to control the edge.
If they need to remove clear cutter marks, the situation changes.
More time.
More abrasive contact.
More passes close to the same corner.
That is where the risk increases.
At an edge, the polishing tool never behaves exactly the same as it does in the middle of a broad surface.
The contact changes as the tool approaches the boundary.
If the operator keeps crossing that line, even very slightly, the corner starts to open up.
At first, you may not notice anything.
Then the surface becomes very clean, you measure or mold the part, and suddenly that sharp line is not what it was before.
For us, this is why the best edge-protection work often happens before the polishing room.
We Try to Leave the Polishing Team a Better Starting Surface
If the geometry and material are suitable, we try to improve the surface as much as possible during precision machining.
High-speed mirror machining is useful here.
The purpose is not simply to say that a machine can produce a shiny surface.
What matters to us is that a better machined surface means the polishing technician does not have to remove as much material afterward.
That changes the whole finishing job.
Instead of trying to erase obvious machining marks, they can focus on the last stage of surface refinement.
For a critical edge, that is much safer.
We still polish many parts manually.
We also use automated polishing on suitable structures.
But whichever method comes next, a good machined starting surface gives us more control.
If the previous process leaves too much to correct, polishing becomes much harder to keep local.
Not Every Area on the Insert Should Be Treated the Same
This is another place where problems can happen.
A complex mold insert may have a large mirror surface, a sharp styling boundary, a small radius and a deeper side area very close to each other.
If you treat all of that as one polishing area, sooner or later the sensitive features will suffer.
So our polishing technicians normally need to know where they can work freely and where they need to slow down.
The broad open surface may need more finishing.
The edge next to it may already be correct and should hardly be touched.
A small corner may only need very limited local work.
That is what we mean by dividing the insert into polishing zones.
It is not complicated in theory.
The difficult part is making the judgment on the actual part.
Sometimes the last remaining mark is very close to an important boundary.
At that point, the question is no longer simply:
“Can we remove this mark?”
The better question is:
“What will happen to the edge if we remove it?”
That is a very different way of looking at polishing.
There Are Times When We Deliberately Stop
This is probably one of the biggest differences between polishing for appearance and polishing a precision insert.
More polishing is not always better.
If a tiny mark remains close to a no-rounding edge, continuing to work on it may improve the surface but damage the feature.
In that situation, an experienced technician needs to stop and look at the whole requirement again.
How deep is the mark?
Is it actually visible on the molded product?
How much R is allowed on the drawing?
Can the area be corrected another way?
Do we still have enough machining allowance?
Sometimes we continue.
Sometimes we go back and discuss re-machining.
And sometimes the right choice is simply not to keep chasing the surface.
Our polishing team includes 15 technicians with more than 10 years of mirror-finishing experience.
For us, that experience is most valuable in moments like this.
The important skill is not only knowing how to make a surface brighter.
It is knowing when another five minutes of polishing may create a problem that is much harder to recover.
Robot Polishing Is Useful, but It Does Not Remove the Need for Judgment
We also use robotic polishing, especially where the area is suitable for repeatable paths and controlled contact.

It can be very useful for consistency.
But we do not see robot polishing as a replacement for all manual finishing.
A robot can repeat a good path very consistently.
It can also repeat a bad path very consistently.
If a programmed path keeps crossing a critical edge, automation does not magically protect that edge.
So before we use robot polishing, we still need to understand the geometry and decide which area is suitable.
Large, repeatable surfaces are usually easier to automate.
Irregular transitions, small local features and sensitive boundaries often still need experienced manual control.
On some inserts, we use both.
The point is not whether the process is manual or automatic.
The point is whether the finishing method fits that particular area of the part.
We Check the Edge After Finishing, Not Only Before
A lot of people inspect the insert after machining, confirm the geometry, and then focus mainly on surface appearance during polishing.
For critical edges, we do not think that is enough.
If polishing is the process most likely to change the feature, then that feature needs to be checked again after polishing.
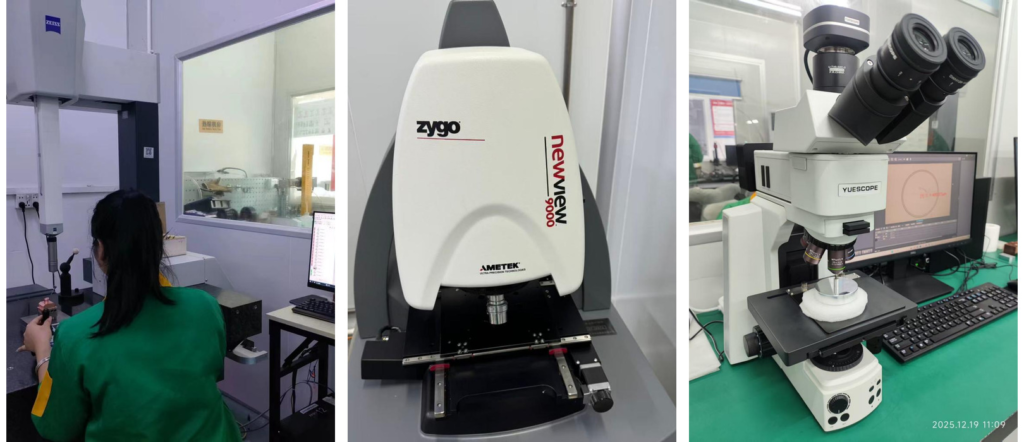
On some parts, a ZEISS CMM can confirm the surrounding dimensions and edge position.
For smaller radii or local profiles, another measurement method may be more suitable.
We decide that based on the actual feature.
What we do not want to do is look at a very bright surface and assume the edge must still be correct.
We have learned to separate those two things.
A good mirror surface tells us the finishing quality is good.
It does not tell us the radius is still the same.
The Drawing Makes a Big Difference
If you have a mold insert with an edge that really must stay sharp, please mark it.
Do not only write “mirror polish.”
That tells us the appearance requirement, but it does not tell us which edge we are not allowed to touch.
What helps us most is very simple information:
which edge must not be rounded, what maximum R is allowed, which area needs the mirror finish, and which boundary affects the appearance or fit of the final molded part.
With that information, we can plan the finishing route around the feature instead of discovering its importance too late.
For these projects, we would rather know from the beginning that one small edge matters more than achieving a slightly better gloss in the area next to it.
That lets us make the right trade-off before material is removed.
For Us, the Goal Is Not “As Bright as Possible”
When we work on a mirror mold insert with sharp boundaries, we are trying to protect two things at the same time.
The surface has to be good.
The geometry also has to stay where the drawing says it should be.
The best result usually comes from controlling the whole process rather than depending on polishing at the end.
Get the machined surface as good as the geometry allows.
Leave less work for polishing.
Separate the sensitive edge from the surrounding finishing area.
Do not keep polishing just because one tiny mark is still visible.
And check the geometry again when the finishing is done.
That is how we try to avoid mirror polishing edge rounding in real projects.
Mark the no-rounding edges and allowed corner radius on your drawing. We can evaluate the safest polishing route for the insert.