A small radius mold insert usually becomes risky long before the polishing stage.
On the drawing, a small internal R or a sharp boundary may look like a simple detail. In production, that detail can decide whether the part still fits, seals, assembles or reproduces the intended appearance after finishing.
The problem is that small corners are easy to change.
If the machined surface still has heavy tool marks, the polishing technician has to remove more material. Around a small R, that extra removal does not only make the surface brighter. It can also enlarge the radius, soften an edge or change the transition between two surfaces.
For us, the safest approach is to protect the geometry before polishing starts.
A Small R Is Not Just a Surface-Finish Detail
When we review a small radius mold insert, we first ask what that radius actually does in the final part.
Some small radii are mainly visual. Others control a sealing edge, snap feature, fit, parting boundary or local optical appearance.
Those cases should not be treated the same way.
If a critical corner grows during finishing, the mold may still look polished but the molded part can change.
This is why the drawing should clearly show the minimum allowed radius and any edge that must not be rounded.
Without that information, a polishing operator may improve the surface while unknowingly moving the geometry outside the customer’s intent.
Why Small Corners Grow During Polishing
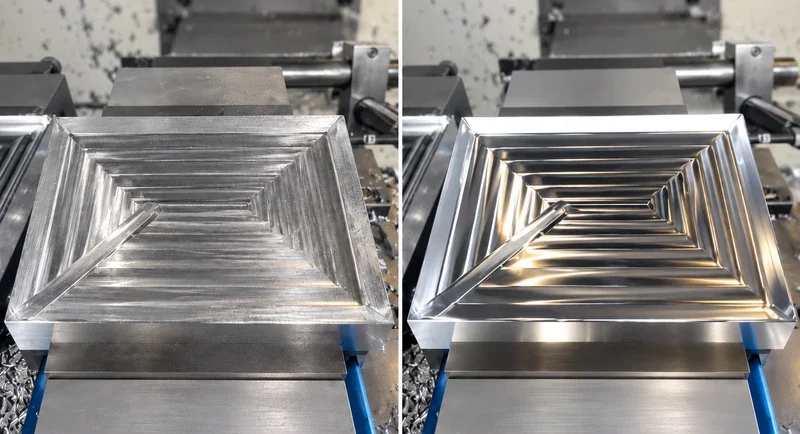
Polishing removes material by contact.
On a broad, open surface, the contact can be controlled relatively evenly.
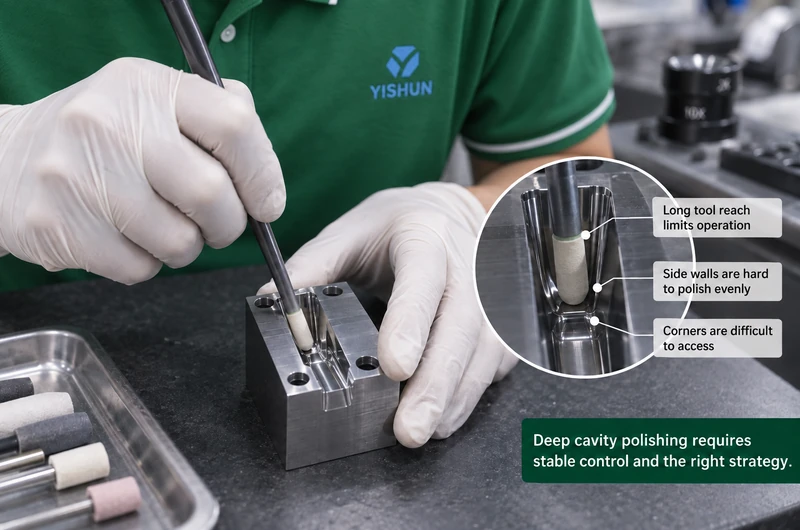
At a small corner, the contact condition changes quickly. The polishing tool tends to touch the edge first, pressure becomes concentrated, and it is harder to keep the tool perfectly inside the intended geometry.
The smaller the feature, the less material it takes to change it.
For a small radius mold insert, this is why repeated hand finishing can gradually turn a defined corner into a larger, softer radius.
The risk becomes higher when the previous machining stage leaves deep marks.
A technician then has to stay longer in the same area, use more pressure or switch to a more aggressive abrasive. Each of those actions increases the chance of changing the corner while trying to remove the defect.
The Best Protection Starts in Machining
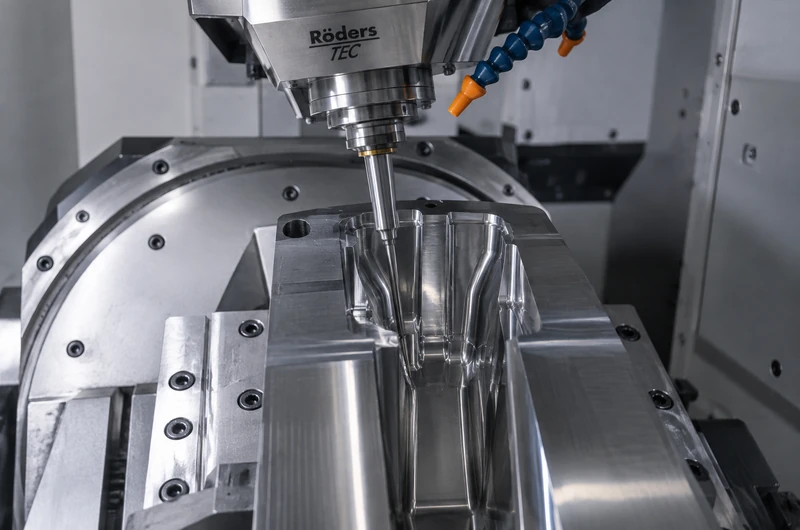
We prefer to make the corner as close as practical to the final geometry during machining.
That reduces the amount of correction required later.
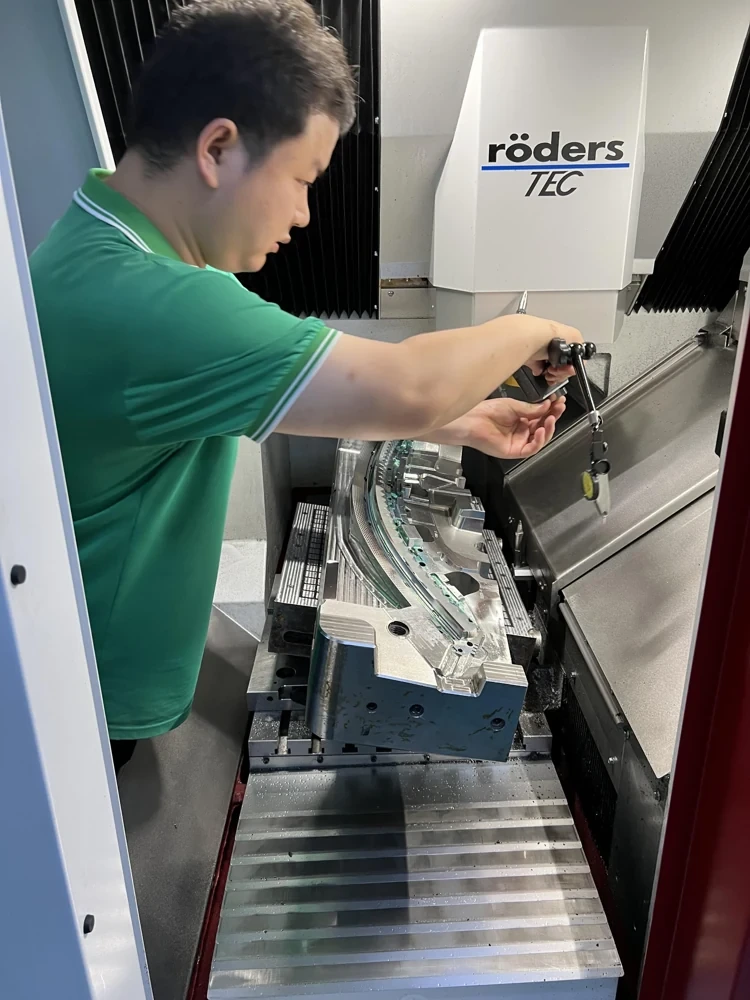
In open and accessible areas, precision CNC machining with a suitable small tool can often leave a much better starting condition than a rough process followed by heavy polishing.
The goal is not to eliminate every finishing step.
The goal is to make sure polishing only refines the surface instead of reshaping the feature.
On a small radius mold insert, that difference is important because even a small amount of unnecessary stock removal can change the functional corner.
Small Tools Help, but They Have Their Own Limits
Using a smaller cutter can reach a tighter radius, but it also changes the cutting condition.
The tool becomes less rigid.
Runout matters more.
Tool wear matters more.
The path, feed and local cutting load become more sensitive.
A very small tool can reach the geometry and still leave unstable marks if the process is not controlled.
So we do not select the smallest possible cutter automatically.
We look for the smallest tool that can reach the required feature while still giving us a stable machining condition.
For a small radius mold insert, that may mean separating the open surface, the corner and the narrow pocket into different machining zones instead of forcing one tool to do everything.
Some Internal Corners Are Better Evaluated for EDM
Not every corner is a good milling feature.
A narrow cavity, near-square internal corner or deeply enclosed detail may leave too little room for the cutter and holder.
In those cases, continuing to reduce cutter diameter may create more vibration and more finishing work instead of improving the result.
This is where we may evaluate mirror EDM as part of the process route.
A useful reference is our comparison of micro EDM and ultra-precision machining for complex microfeatures.
The decision is not “milling or EDM” for the whole insert.
Often, different regions need different processes.
Open surfaces may be better suited to high-speed milling, while inaccessible internal corners may be better handled by EDM, followed by only the amount of finishing that the geometry can safely tolerate.
Polishing Should Not Be Used to Create the Radius
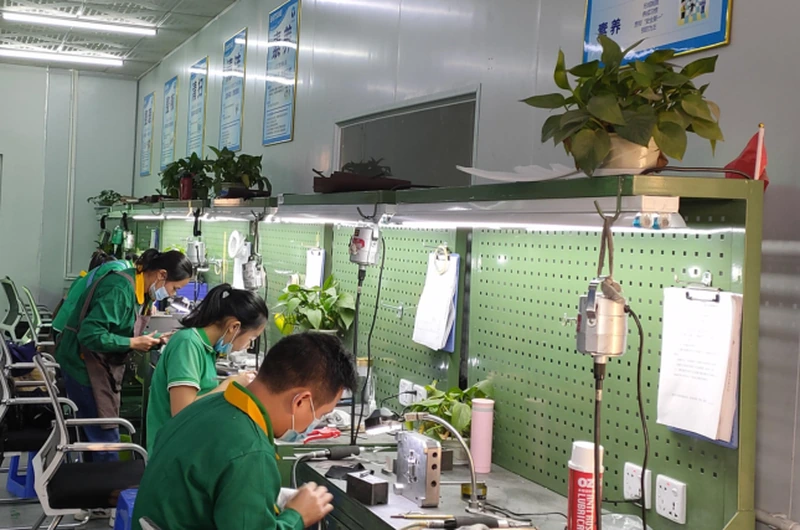
A polishing bench is not where we want to define the final corner.
If the radius is still being “made” by hand during polishing, repeatability becomes difficult.
Different technicians can apply different pressure.
The abrasive condition changes over time.
Access angle changes from one side of the corner to the other.
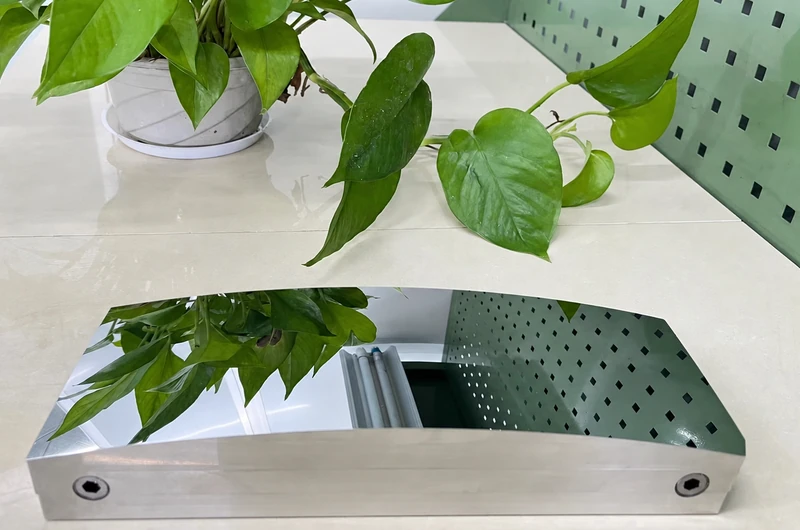
That is why we treat optical polishing services as a controlled finishing step, not as a substitute for incomplete machining.
For a small radius mold insert, the safest finishing route usually starts with low remaining stock, clear no-rounding boundaries and a known minimum radius.
This is closely related to the edge-rounding problem we discussed in mirror polishing edge rounding, but small-R features are even more sensitive because the entire functional geometry may exist within a very small area.
No-Rounding Areas Should Be Defined Before Production
One of the most useful notes a customer can add to the drawing is simple:
- Which edges must stay sharp?
- Which corners have a minimum radius?
- Which areas are cosmetic only?
- Which dimensions are functionally critical?
Those notes help us decide where polishing is allowed to remove material and where it should only lightly refine the surface.
They also help us choose inspection points.
A small radius mold insert with a critical corner should not be accepted only because the surface looks bright.
The radius, edge condition and neighboring geometry should still match the drawing intent.
Inspection Has to Confirm the Corner, Not Only the Gloss
A highly reflective corner can still be too large.
That is why final review should include both the surface condition and the geometry.
Depending on the feature, we may use dimensional measurement, magnified visual inspection, profile evaluation or another suitable method to confirm whether the corner remains within the project requirement.
The exact inspection method depends on access and feature size.
The important point is that the corner must be measured as a geometric feature, not judged only by reflection.
For a small radius mold insert, this is especially important after any local polishing or recovery work.
Re-Machining Can Be Safer Than More Polishing
When a small corner still contains a deep mark, continuing to polish is not always the best choice.
If removing the mark would enlarge the radius beyond the allowed limit, the surface problem has become a geometry problem.
At that point, we would rather review whether the area can be re-machined, locally reprocessed or handled with another method.
Trying to save time with more polishing can create a larger repair later.
This is one of the reasons we prefer to review the process before the insert reaches final finishing.
Small Radius Mold Insert Review Starts With the Drawing
When we receive a small-R project, the most useful information is the 2D drawing and 3D model together.
We want to see:
- minimum internal radius
- no-rounding edges
- narrow pocket width and depth
- material
- critical dimensions
- mirror-finish areas
- whether the corner is functional, cosmetic or both
With that information, we can decide which areas are suitable for small-tool milling, which may need mirror EDM, and how much polishing can be allowed without changing the geometry.
The objective is not to use one process everywhere.
It is to protect the corner before surface finishing turns into geometry correction.
Does Every Small Radius Mold Insert Need EDM?
No.
Open and accessible small-R features may be machined effectively with a suitable cutter and stable process.
EDM becomes more relevant when the feature is too enclosed, too square or too difficult to reach reliably by milling.
Can Polishing Restore a Small Corner After It Has Already Rounded?
Usually, polishing cannot make an enlarged radius smaller again.
Once too much material has been removed, the recovery route may require re-machining, local rework or replacement depending on the insert condition.
What Should Be Marked on the Drawing?
Mark the minimum radius, any no-rounding edge, the critical dimensions around the feature and the exact mirror-finish area.
Those notes make process selection and finishing control much clearer.
What Should Be Reviewed Before Quotation?
Send the 2D drawing and 3D model with the small-R areas highlighted.
We can review tool access, cutter size, EDM suitability, polishing allowance and inspection approach before the process route is fixed.