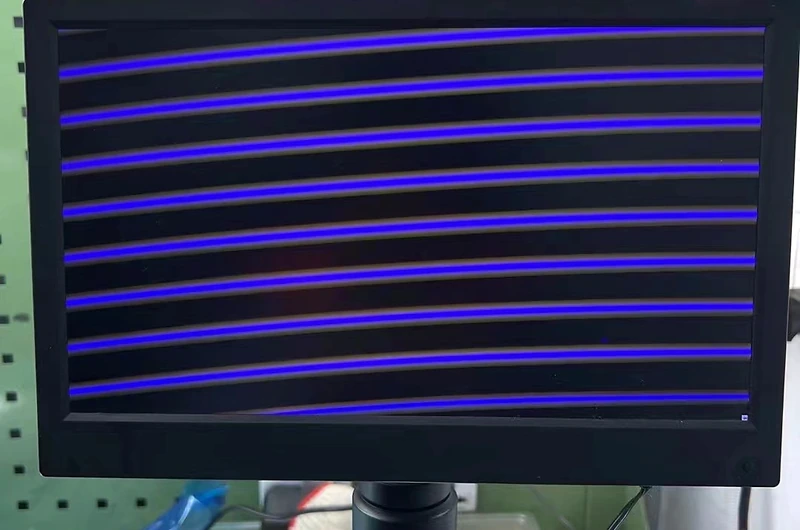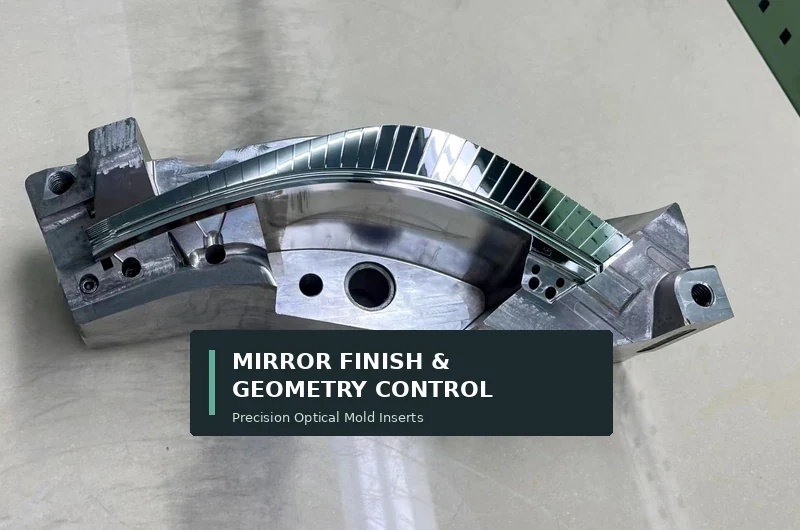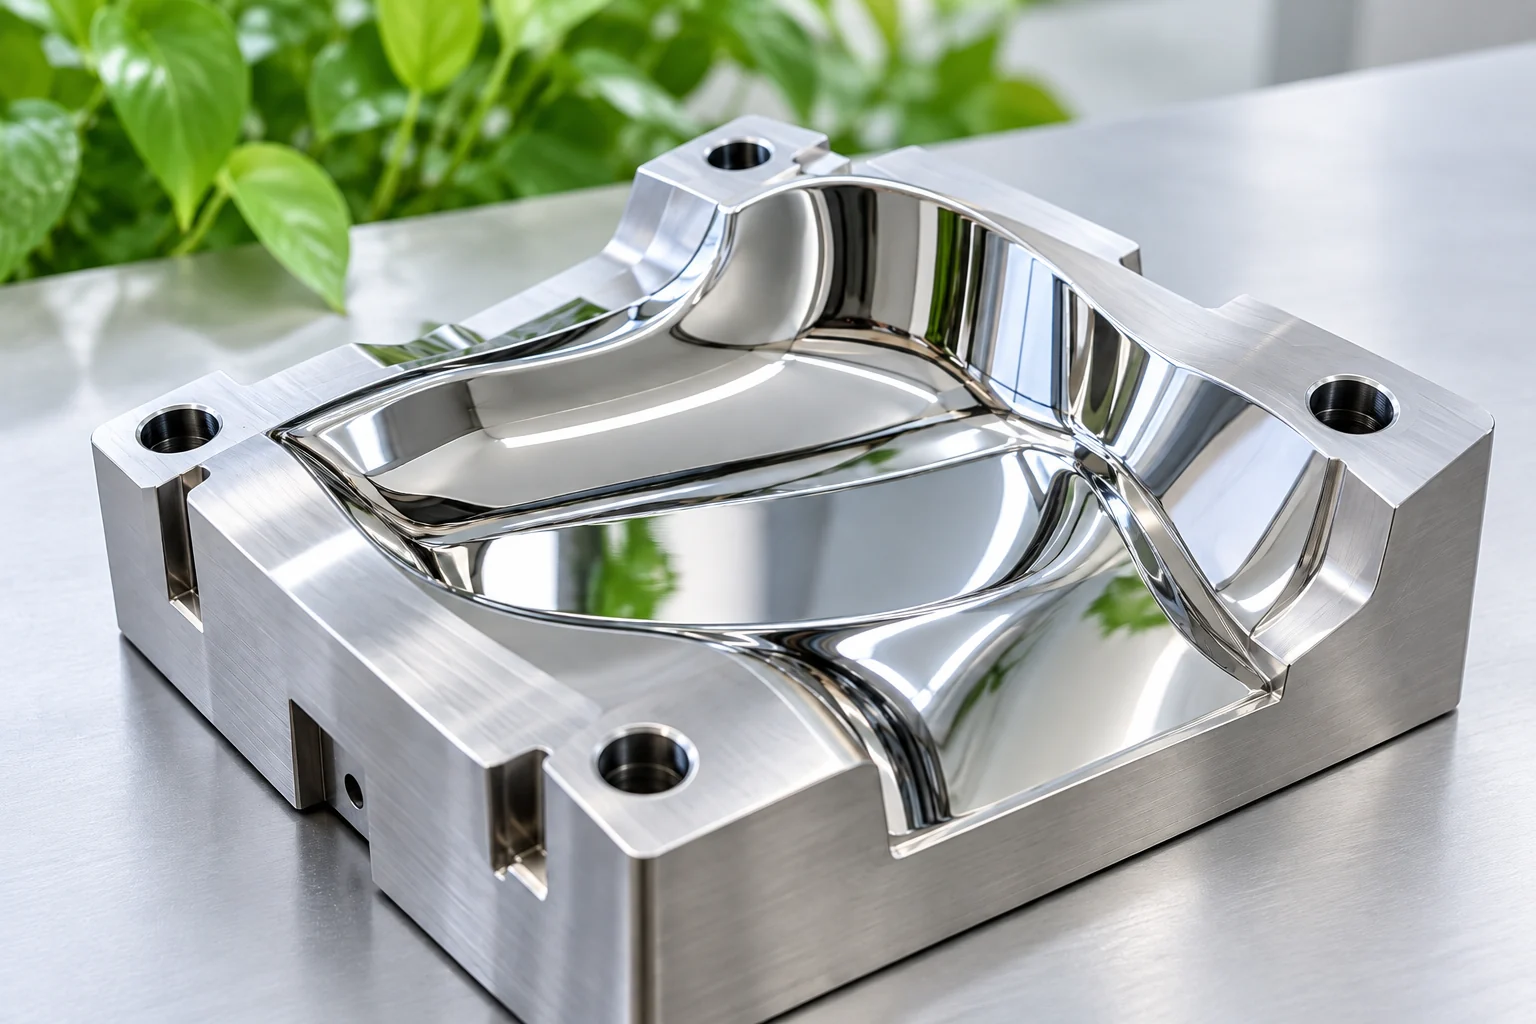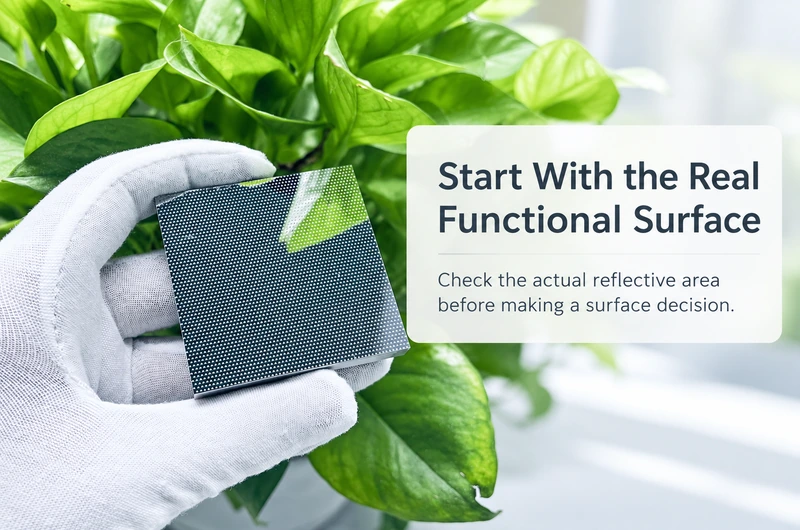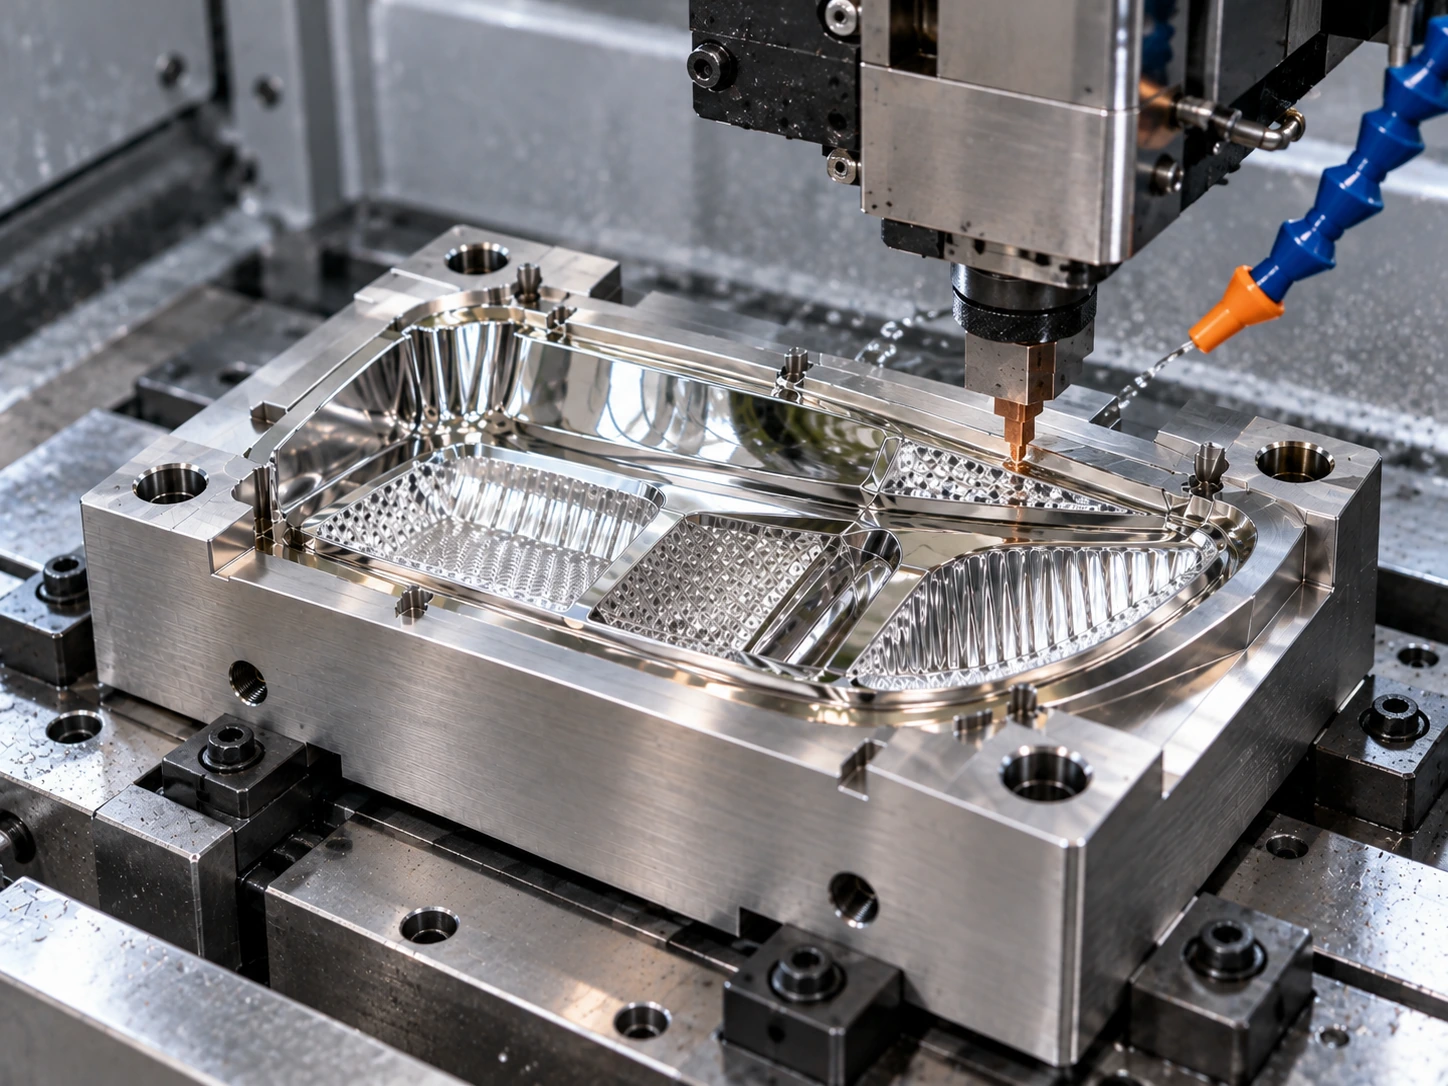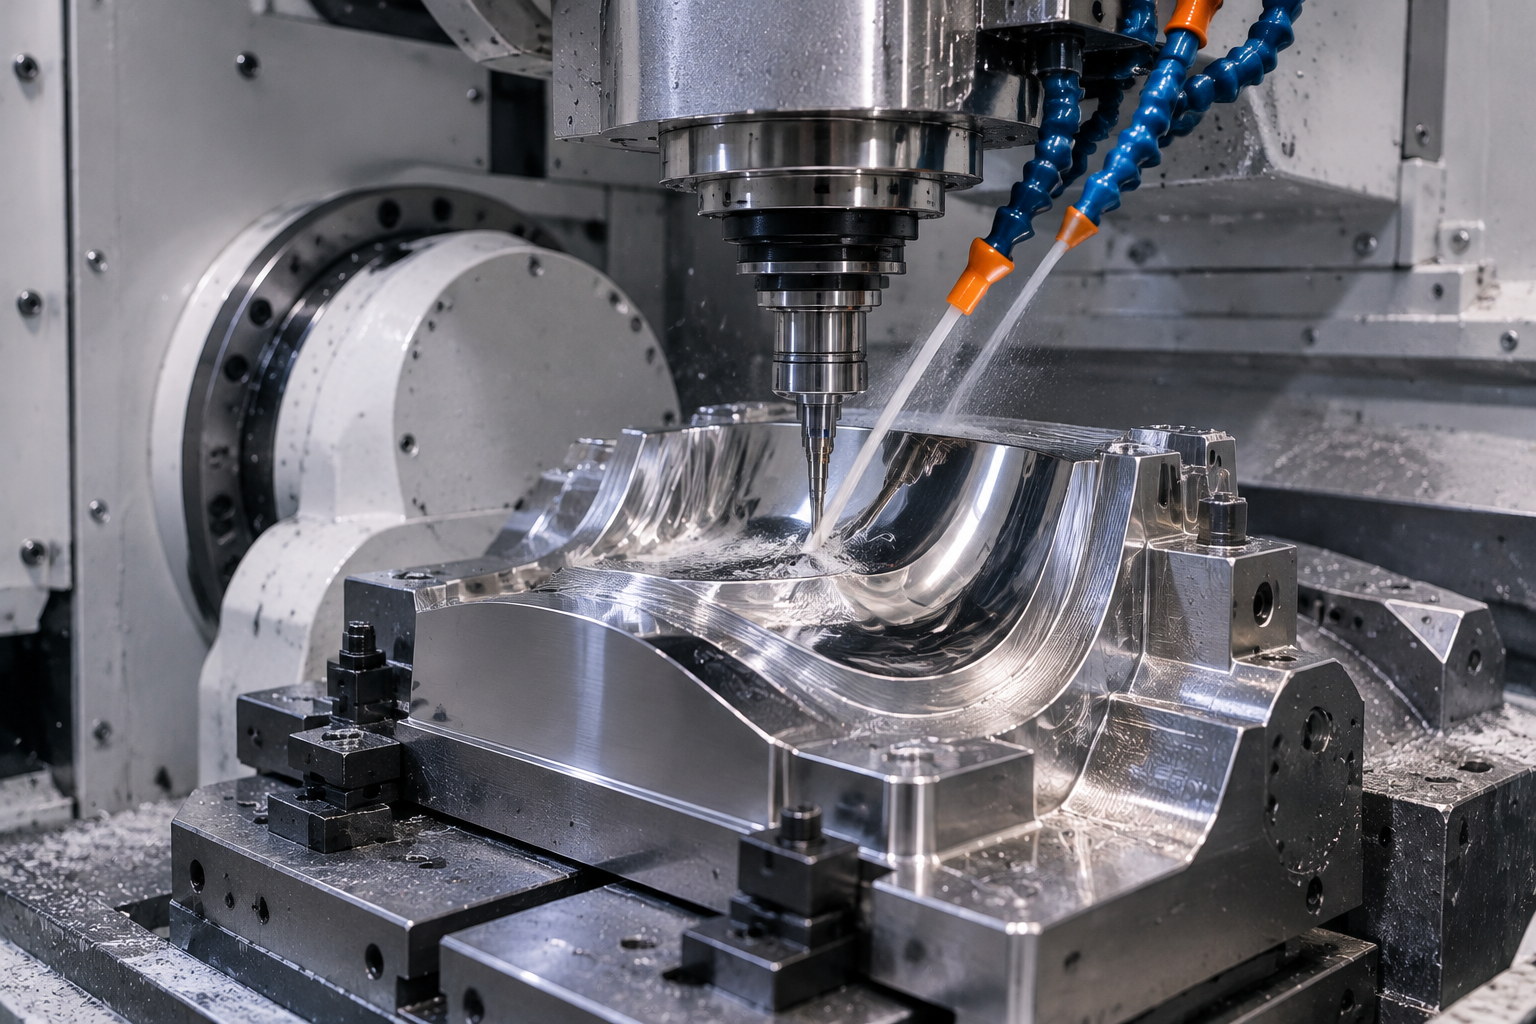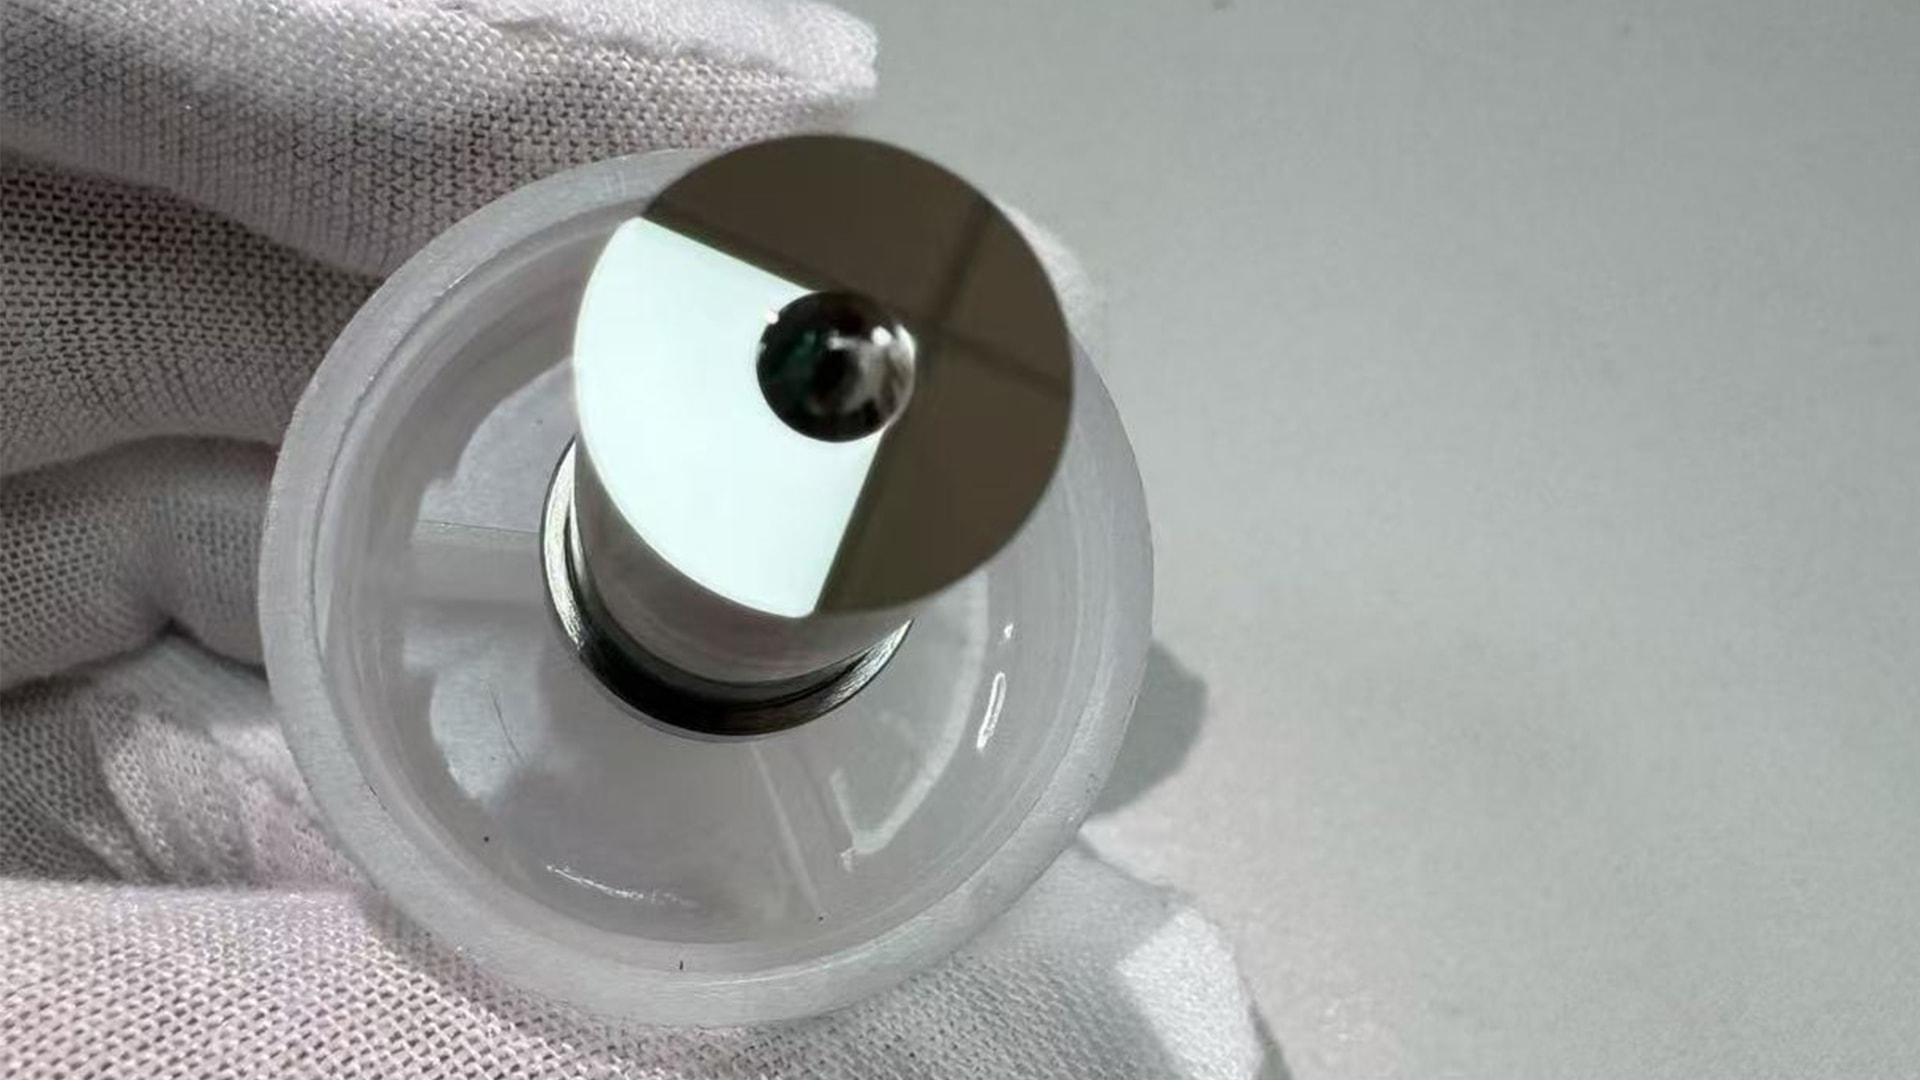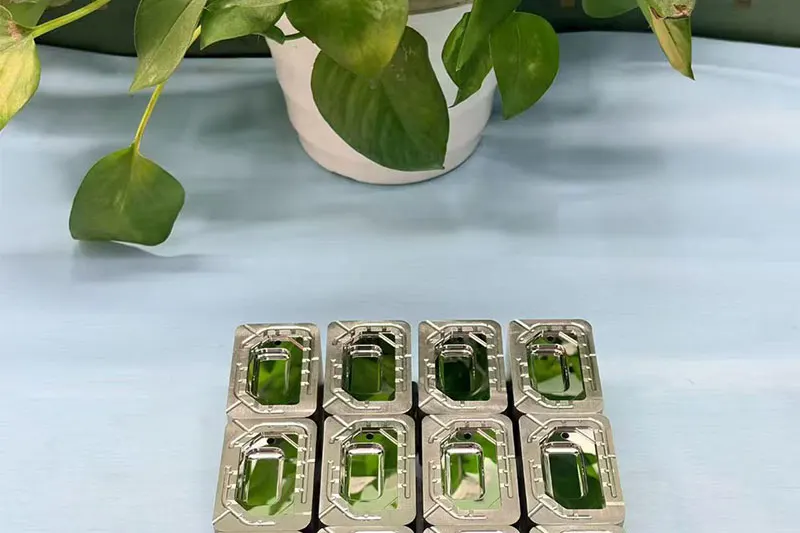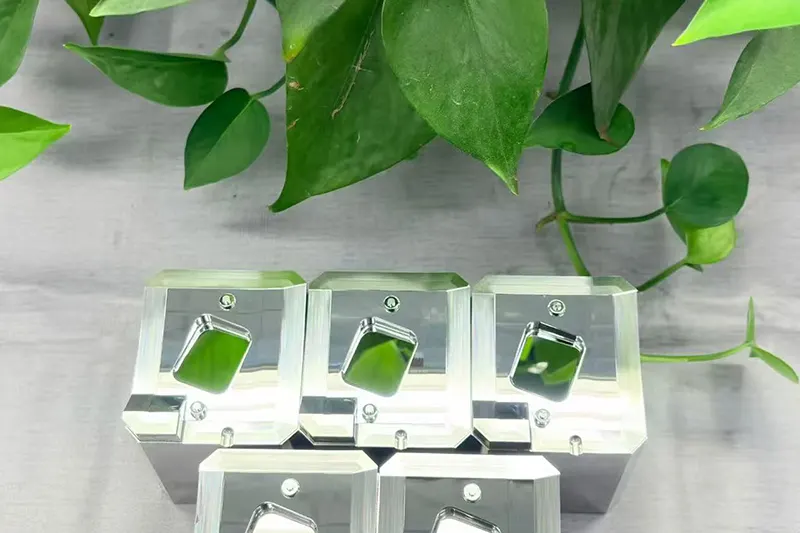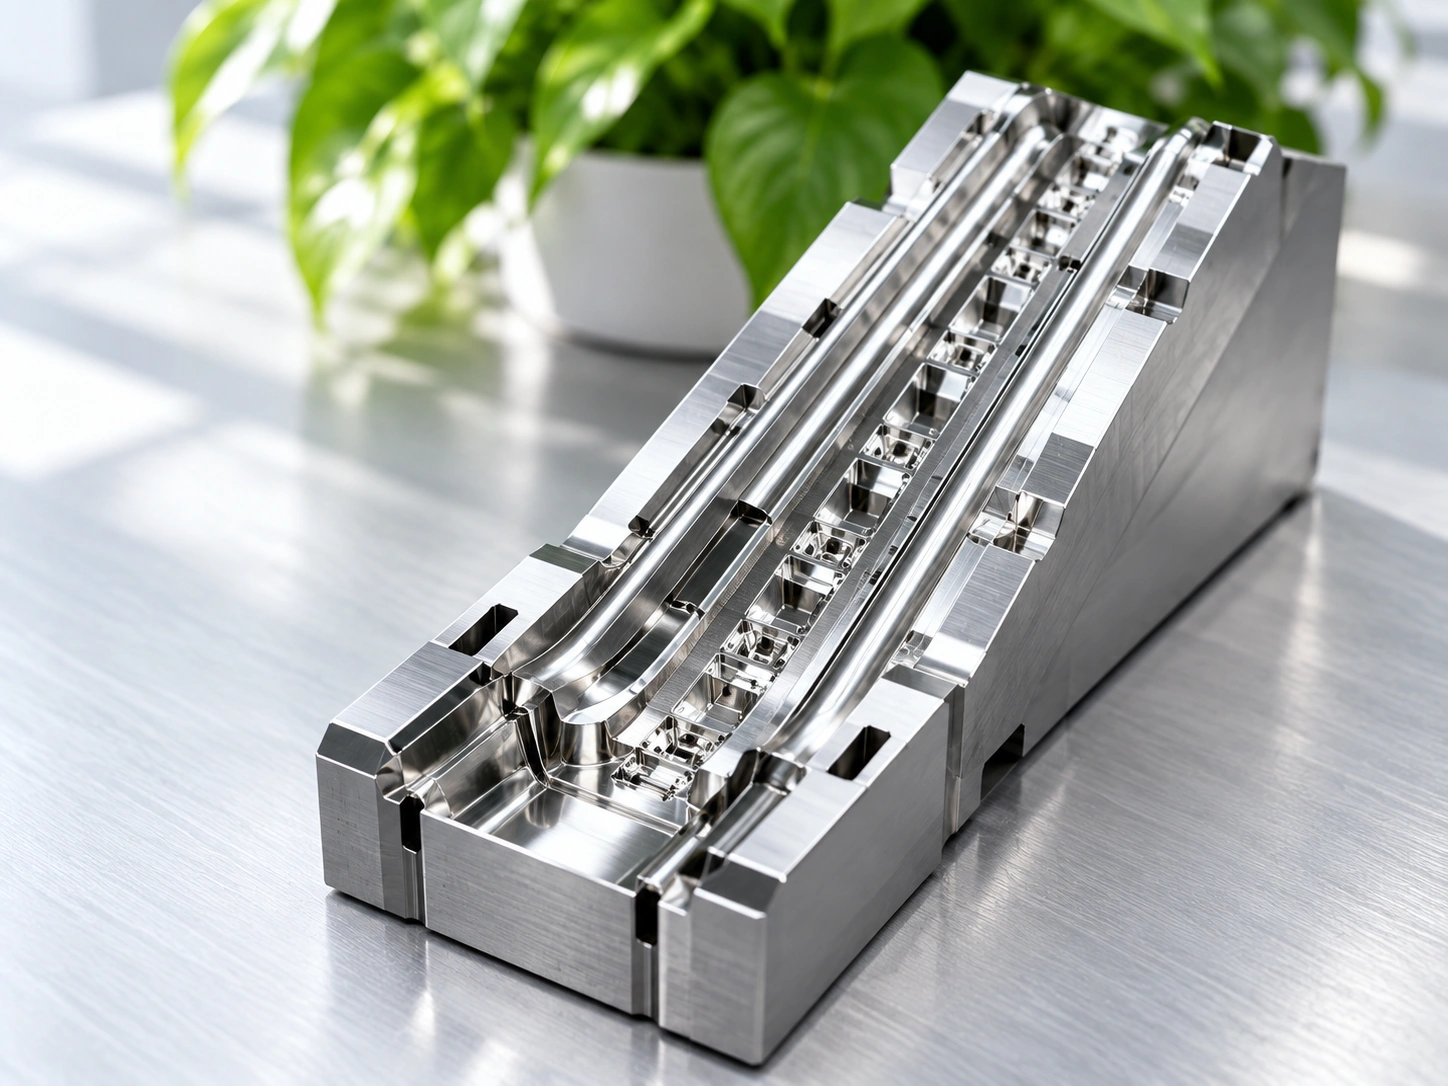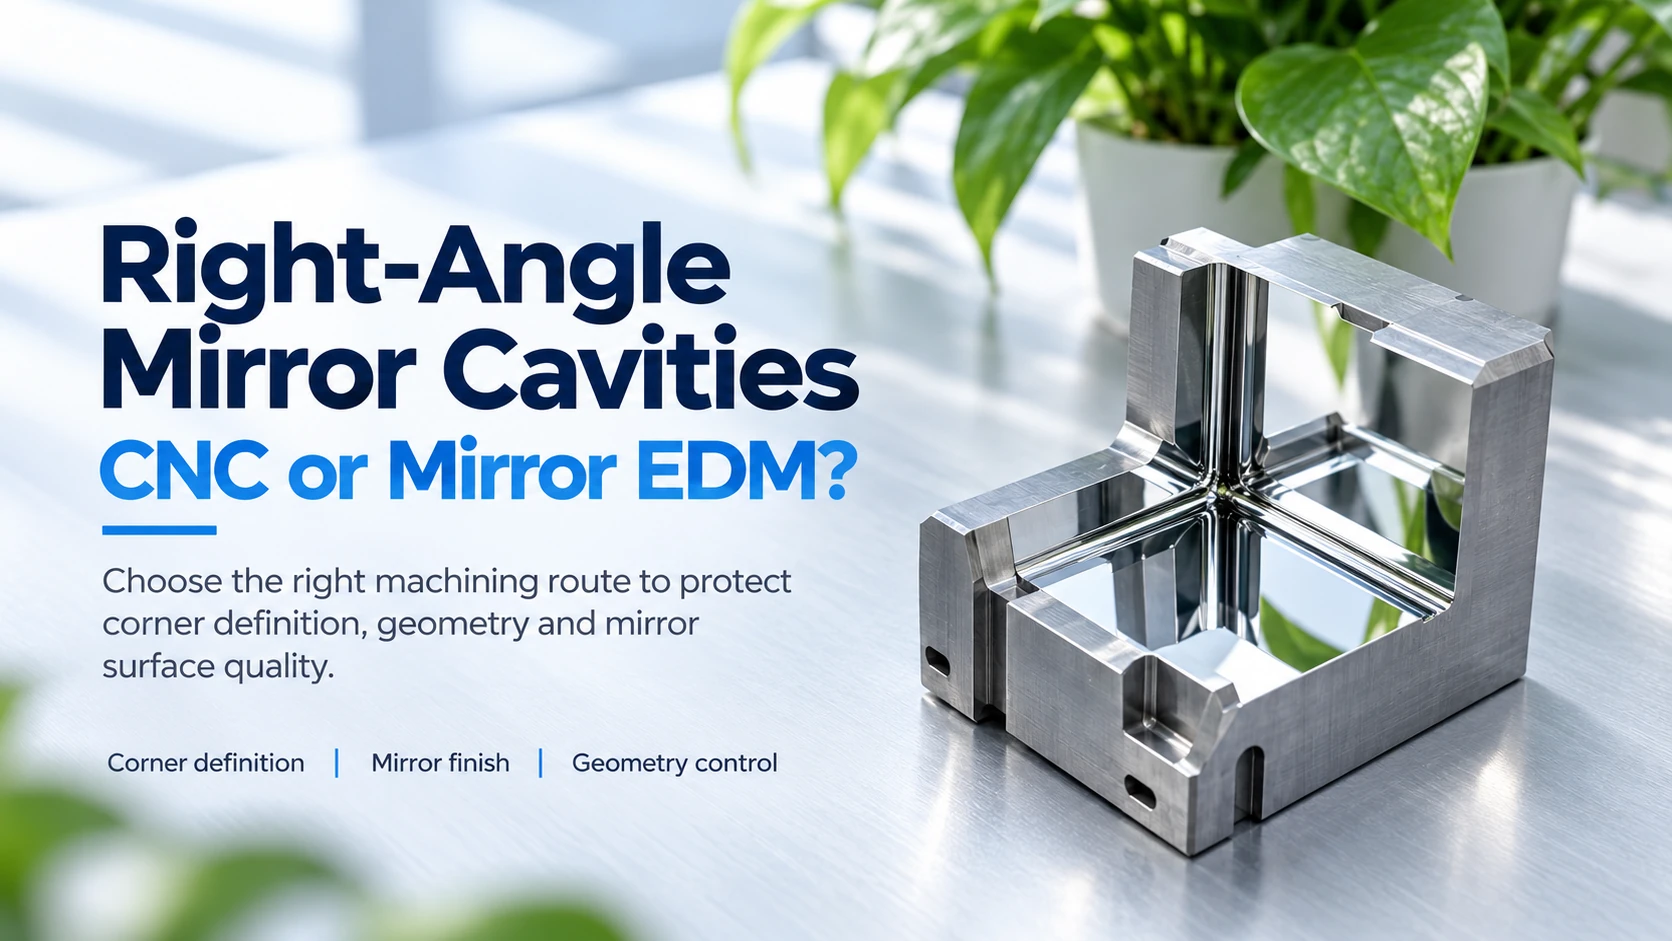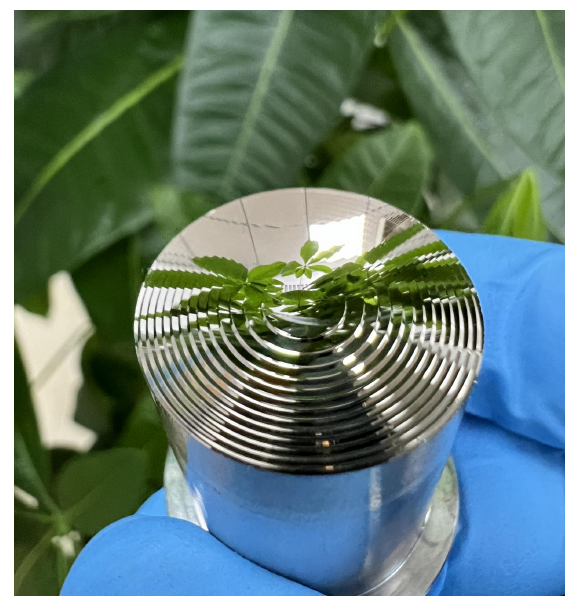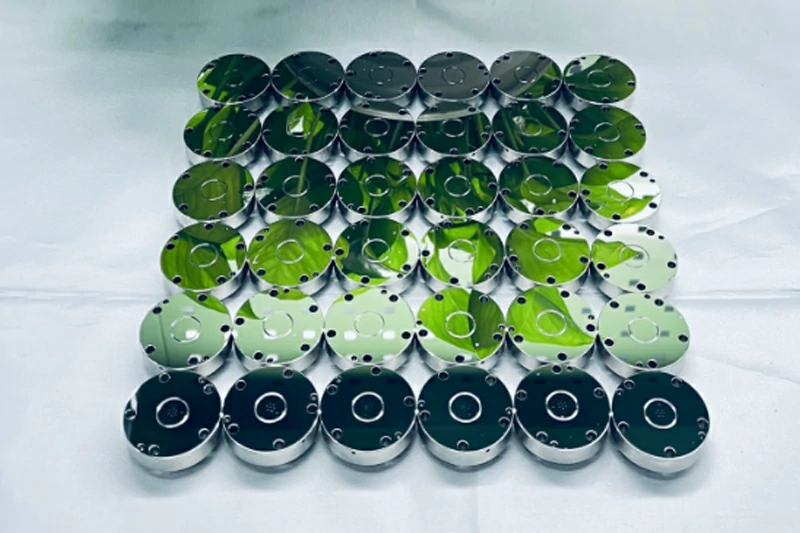
A mirror surface can look perfect, but the edge may already have changed.
This is one of the problems we often see with precision mold inserts.
The surface becomes brighter. The roughness improves. The reflection looks cleaner.
But after polishing, some important features are no longer exactly the same as the original design.
A sharp edge becomes softer.
A small radius becomes larger.
A fine transition area loses its original definition.
For many applications, especially optical and precision mold inserts, this change can directly affect the final product.
That is why mirror polishing edge rounding is not just a polishing issue. It is a geometry protection issue.
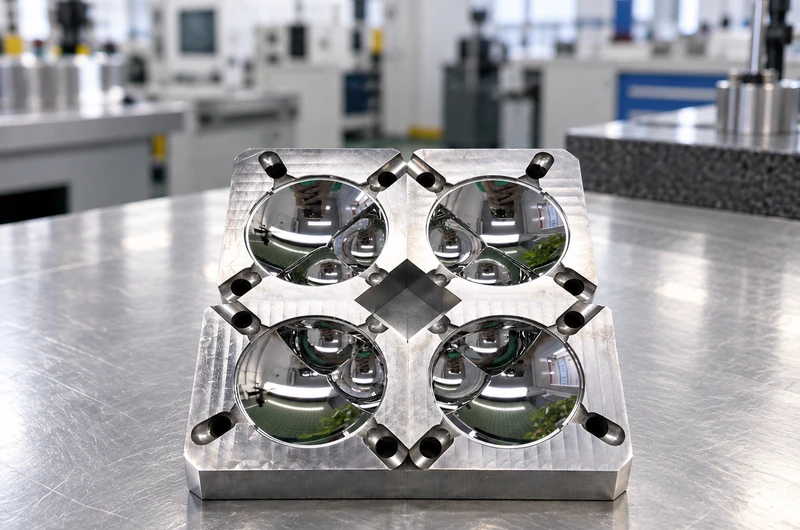
Edge Definition Is More Important Than Surface Shine
When customers evaluate a mirror mold insert, the first thing they usually notice is the surface appearance.
A bright reflection gives the impression of a good result.
But a mirror surface is only one part of the requirement.
The insert also needs to maintain:
- edge position
- corner definition
- radius control
- profile accuracy
- functional transitions
A surface can look excellent while the geometry has already changed.
This is why we always separate two questions:
“Does the surface look good?”
and
“Is the original shape still protected?”
For mirror polishing edge rounding, the second question is often the more difficult one.
Why Polishing Naturally Changes Sharp Edges
Polishing removes material.
Even when the amount is very small, the effect is not always evenly distributed.
Edges and corners naturally receive more attention during polishing because they are easier for the polishing tool or abrasive media to reach.
As a result, sharp features are usually more sensitive than flat areas.
For example:
A flat surface may tolerate a small amount of material removal.
A small corner radius may change noticeably with the same amount of removal.
A sharp edge may become slightly rounded.
This is why mirror polishing edge rounding often appears around:
- small R corners
- narrow grooves
- deep cavity transitions
- optical boundary areas
- sealing edges
The challenge is not making the surface bright.
The challenge is keeping the designed geometry while improving the surface.
Small Radii and Corners Need Special Control
Small features are where polishing experience becomes important.
A large open surface usually has more tolerance.
A small radius or narrow corner does not.
When the polishing direction, pressure or contact area changes slightly, the effect can become visible.
For these areas, the process needs more planning before polishing starts.
Questions we usually consider include:
- Is this corner functional or cosmetic?
- Is the radius critical?
- Can the area be machined closer before polishing?
- How much finishing allowance is actually necessary?
- How will the final geometry be verified?
Without these decisions, the polishing process can unintentionally create mirror polishing edge rounding.
The issue is not that polishing is wrong.
The issue is using the same polishing approach for every surface.
The Risk of Using Polishing to Remove Machining Errors
One common mistake is leaving too much correction work for polishing.
For example:
The machining process leaves heavy tool marks.
The surface is not uniform.
The corner transition is not stable.
Then the expectation becomes:
“Polishing will make everything perfect.”
But polishing is not designed to rebuild geometry.
When polishing has to remove too much material, the risk increases:
- edges become softer
- radii become larger
- profiles can shift
- dimensions become harder to control
This is why we often say:
Machining creates the shape.
Polishing improves the surface.
When these two responsibilities are mixed together, mirror polishing edge rounding becomes much more difficult to control.
This is also why we discussed in previous articles that polishing should not become a recovery process after every machining problem.
How to Protect Geometry During Mirror Polishing
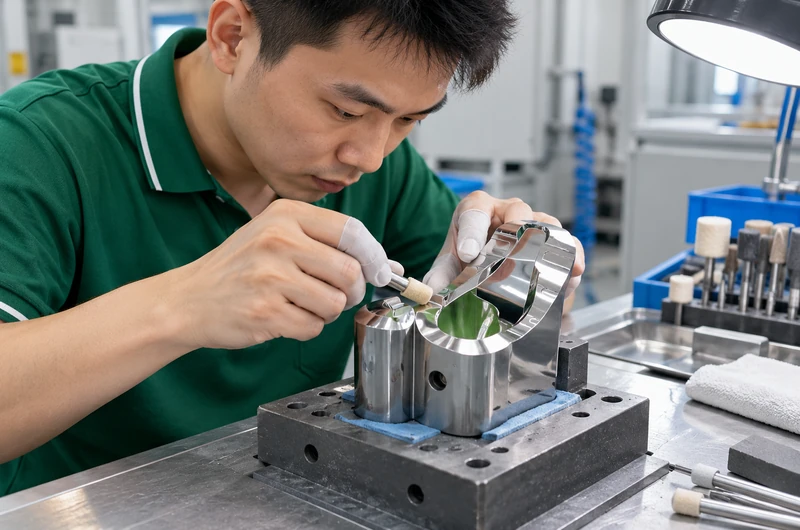
A stable polishing result usually starts before polishing begins.
The machining stage should already create a controlled surface condition.
The polishing allowance should be reasonable.
The critical geometry should already be protected.
For complex mold inserts, we often divide the surface into different zones.
Some areas may need stronger surface refinement.
Some areas may only need light finishing.
Some critical edges may need special protection.
This approach reduces unnecessary material removal and helps control mirror polishing edge rounding.
The goal is not to avoid polishing.
The goal is to make polishing predictable.
When Automated Polishing Helps and When Manual Correction Is Needed
Different polishing methods have different advantages.
Automated polishing can provide better consistency for repeated surface areas and complex curves.
Manual polishing still has value when experienced technicians need to handle local areas, small corrections or special transitions.
The key is knowing where each method fits.
For large and repeated surfaces, automation can improve stability.
For sensitive edge areas, process control and experience are still important.
A good polishing process is not simply:
“Use more pressure.”
or
“Polish longer.”
It is about controlling:
- contact condition
- polishing direction
- removal amount
- inspection timing
That is how we reduce unwanted mirror polishing edge rounding.
Inspection Should Confirm More Than Surface Gloss
A polished insert should not be accepted only because it looks bright.
Visual appearance is useful, but it does not tell the complete story.
The final inspection should confirm the features that actually matter.
Depending on the project, this may include:
- dimensional measurement
- profile verification
- radius inspection
- surface evaluation
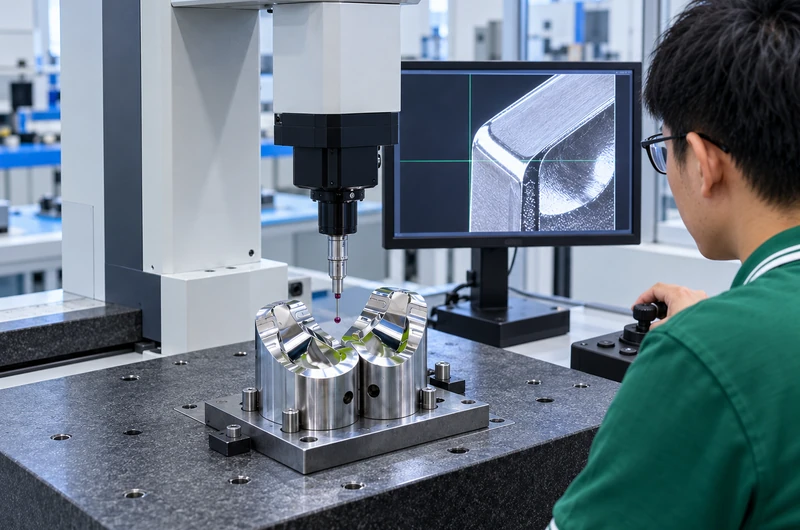
A good mirror finish without correct geometry is not a successful result.
For mirror polishing edge rounding, inspection is what confirms whether the finishing process achieved both goals:
a good surface and a protected shape.
A Better Process Starts Before Polishing
The best way to control polishing risk is to think about it before the first polishing step.
During project review, we need to understand:
- which areas require mirror finish
- which edges cannot change
- which dimensions are critical
- which areas need special protection
- how the final inspection will be performed
This information helps decide the correct machining and finishing route.
Sometimes the best solution is better machining before polishing.
Sometimes it is a different finishing method.
Sometimes it is simply controlling the polishing allowance more carefully.
The important point is that mirror polishing edge rounding should be managed before it becomes a problem.
Conclusion: Mirror Finish Should Not Come at the Cost of Geometry
A mirror mold insert is not successful because it only looks bright.
It is successful when the surface quality and the original design are both preserved.
Good polishing is not about removing as much material as possible.
It is about improving the surface while protecting the geometry.
For precision mold inserts, controlling mirror polishing edge rounding is one of the most important steps in achieving stable quality.
FAQ
Why do mold insert edges become rounded after polishing?
Because polishing removes material, and edges or corners usually receive more removal than flat areas.
Can polishing maintain sharp corners?
Yes, but the process needs proper allowance control, tool selection and inspection.
How much polishing allowance is safe?
It depends on the material, surface requirement, geometry and tolerance. There is no single value for every insert.
Should small radius areas be polished manually?
Some small or sensitive areas may require manual control, while others can benefit from controlled automated processes.
How can edge rounding affect optical performance?
Small geometry changes can affect light reflection, optical boundaries and final product appearance.
When should machining replace additional polishing?
When continued polishing starts creating a risk to dimensions, profile or edge definition.
What information should customers provide before polishing review?
Provide drawings, 3D models, material information, critical dimensions and areas requiring mirror finish.