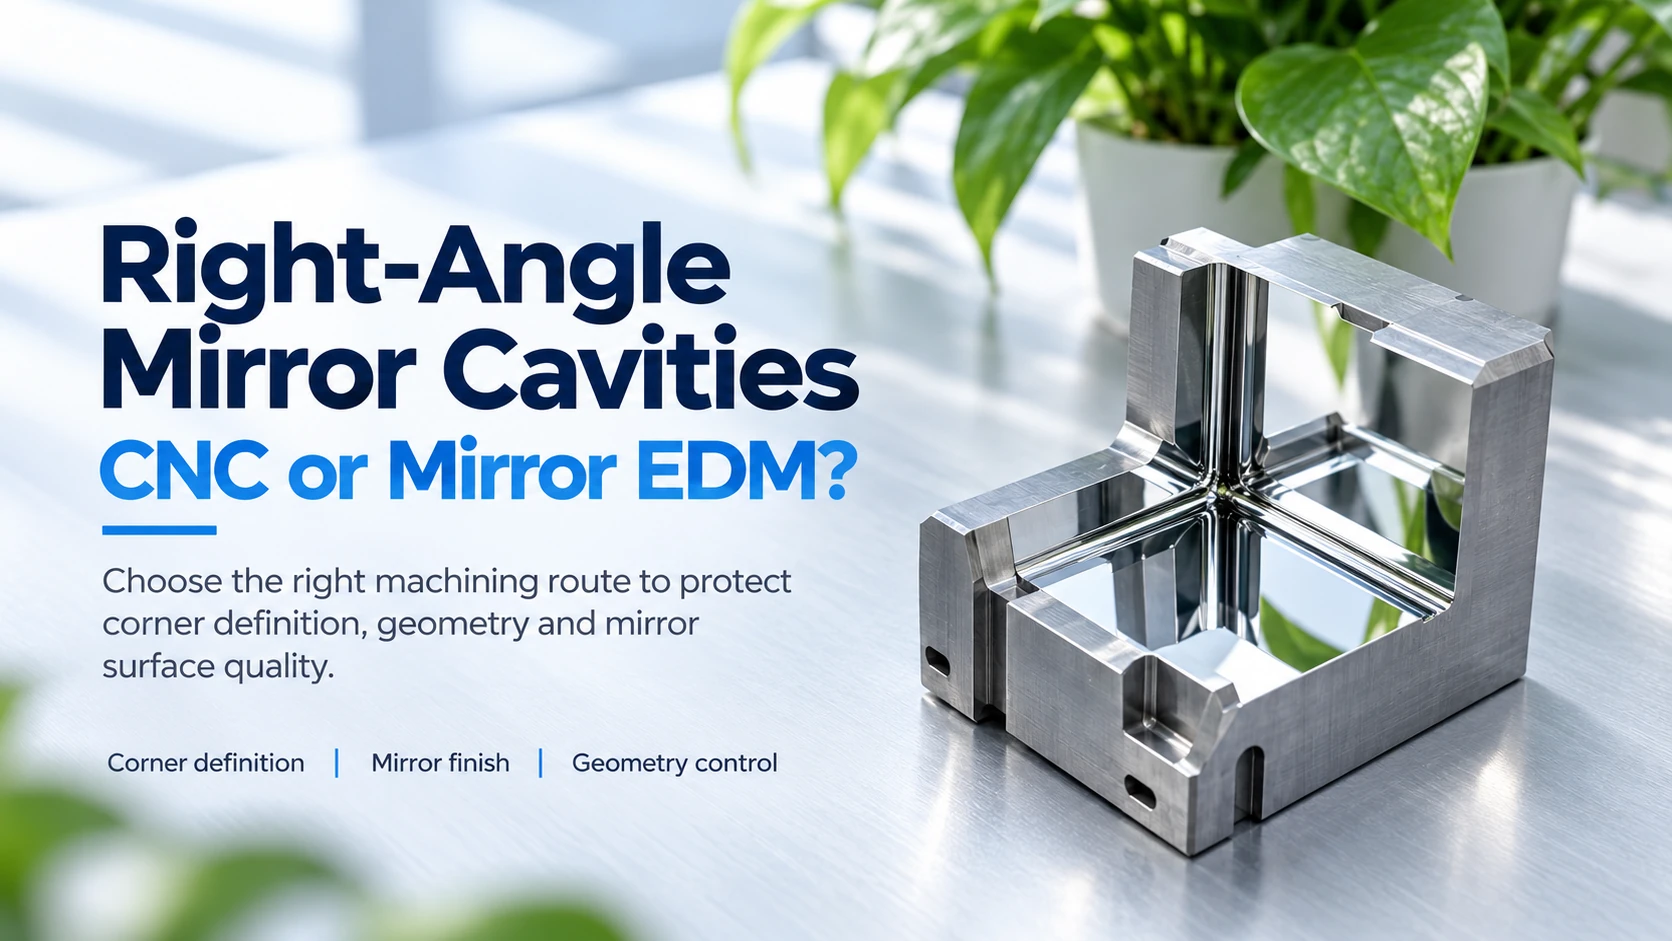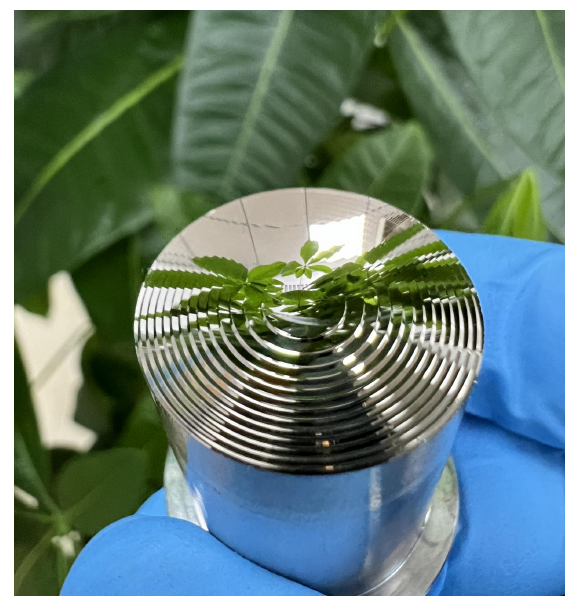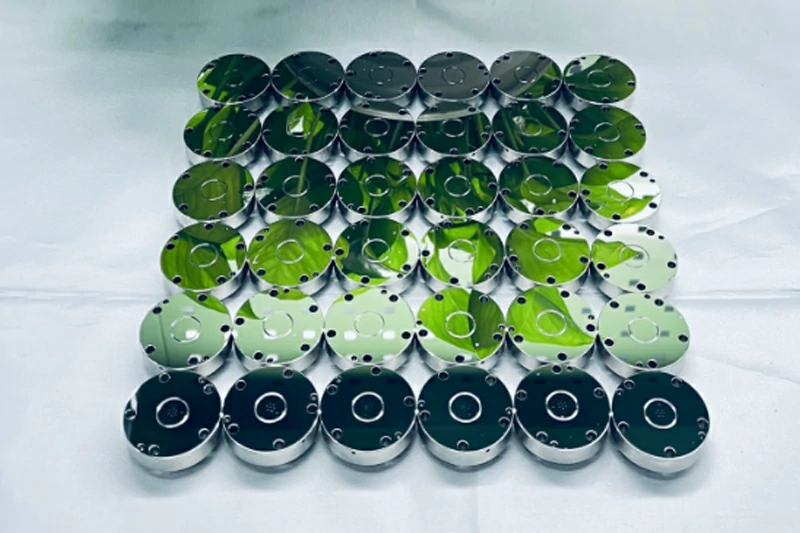
When a drawing includes a narrow groove or a very small cavity, the structure may look simple at first glance. But in real machining, these features are usually where the trouble starts.
Many customers first focus on the mirror finish requirement. What they often discover later is that the bigger issue is not only surface quality. It is whether the groove can be machined cleanly at all without vibration, deformation, edge damage, or too much manual correction afterward.
That is why narrow groove machining is not just about choosing a smaller tool. It is really about balancing tool reach, rigidity, chip removal, geometry protection, and finishing allowance. For small precision features, ultra-precision machining matters because the final result depends on how every step is controlled, not just on what happens during polishing.
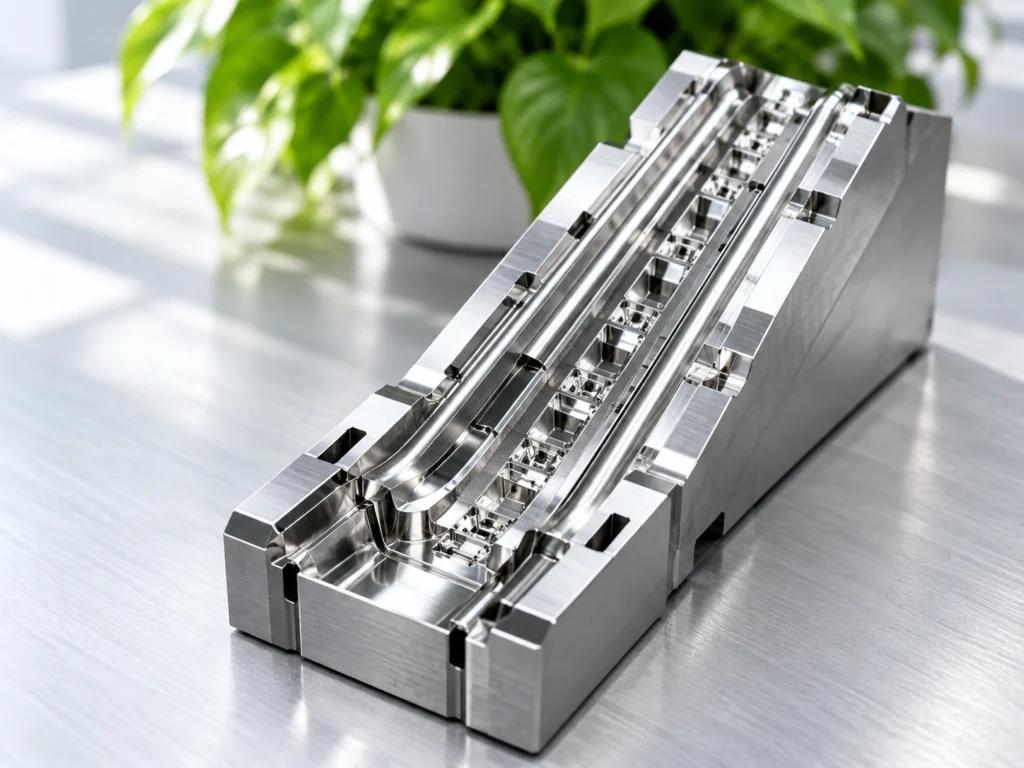
Why Narrow Grooves and Small Cavities Are Difficult
In narrow groove machining, the first limitation is usually the tool itself.
To enter a narrow slot or a small cavity, the cutter diameter has to become smaller. Once the tool becomes smaller, the overhang often becomes longer. And once the overhang gets longer, rigidity drops. This is where problems start to build up.
The most common issues include:
- tool deflection;
- chatter or vibration marks;
- unstable sidewall quality;
- poor chip evacuation;
- inconsistent bottom geometry;
- extra polishing work later.
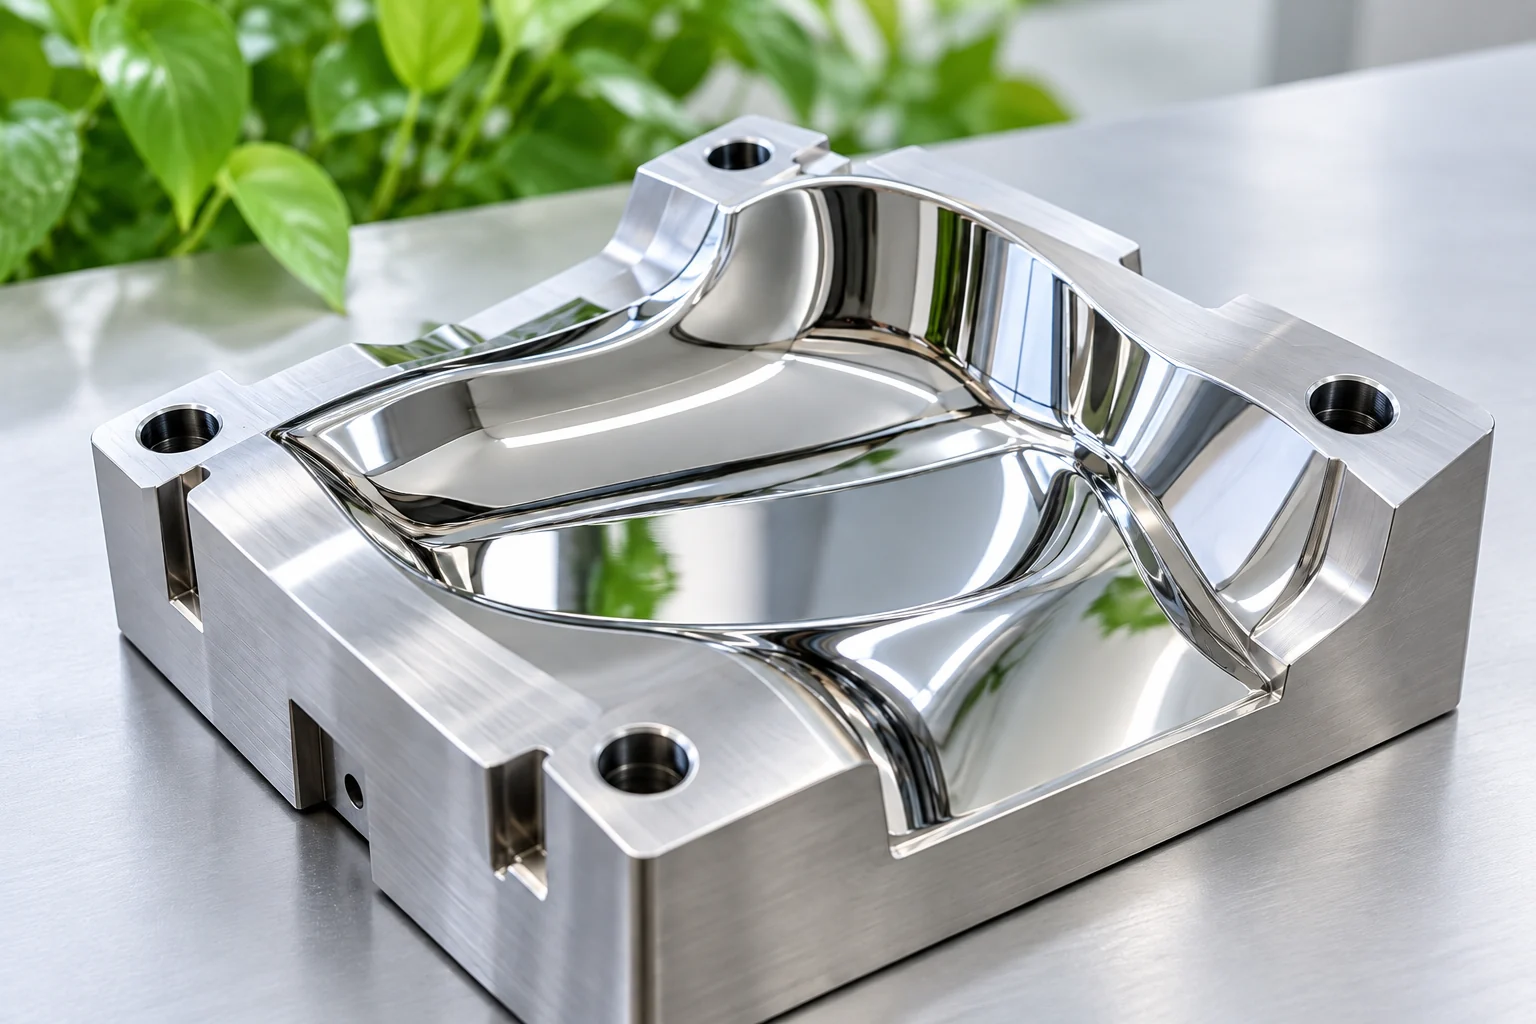
For a normal mechanical feature, these problems may still be manageable. But for a small cavity mold insert or a local high-gloss area, they quickly become critical. A slight vibration mark inside a narrow groove can be difficult to remove later. And when the groove is already small, any extra handwork can easily change the original shape.
This is why mirror cavity machining for narrow grooves needs to be planned from the beginning instead of being repaired at the end.
The Real Risk Is Often in the Finishing Stage
A lot of groove problems do not become obvious until finishing starts.
At the machining stage, the groove may already be slightly unstable, but the problem becomes much more serious when the finishing team tries to improve the surface.
This happens for a simple reason: polishing tools and manual finishing tools are harder to use inside narrow grooves and very small cavities.
In these areas:
- tool access is limited;
- contact is unstable;
- corner edges are easier to soften;
- sidewalls are easy to overwork;
- bottom transitions are easy to distort.
So if the earlier narrow groove machining step leaves too much material, too many marks, or poor geometry, the finishing stage becomes risky. The more material that has to be removed by hand, the greater the chance that the groove width, bottom R, or mirror sidewall condition will drift away from the drawing.
That is why in precision mold machining, the goal is usually not to leave more work for polishing. The goal is to leave as little risky manual correction as possible.
What Should Be Evaluated Before Machining Starts
For mirror finish machining for narrow grooves and cavities, several points should be checked early.
Groove width
The width decides whether a milling tool can enter the area at all, and how much rigidity can still be maintained.
Groove depth
Depth directly affects tool overhang, which affects stability and sidewall quality.
Bottom radius
The bottom R often decides whether the feature is realistic for milling only, or whether another process may be safer.
Sidewall mirror requirement
If the groove sidewalls need a real mirror finish, the process route has to protect both access and surface consistency.
Edge sensitivity
If the groove edges are functional or appearance-critical, excessive manual finishing becomes more dangerous.
These details matter because small cavity mold insert projects are rarely limited by one issue only. Most of the time, width, depth, R corner, and mirror requirement are all connected.
Where Small Tools Work Best
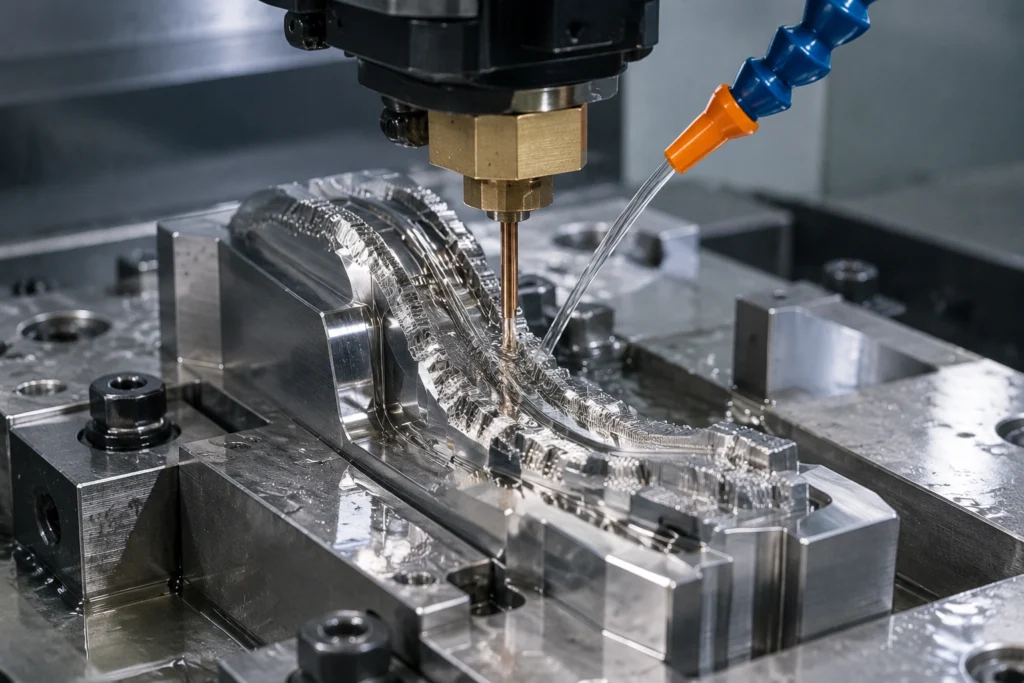
Not every narrow groove needs EDM.
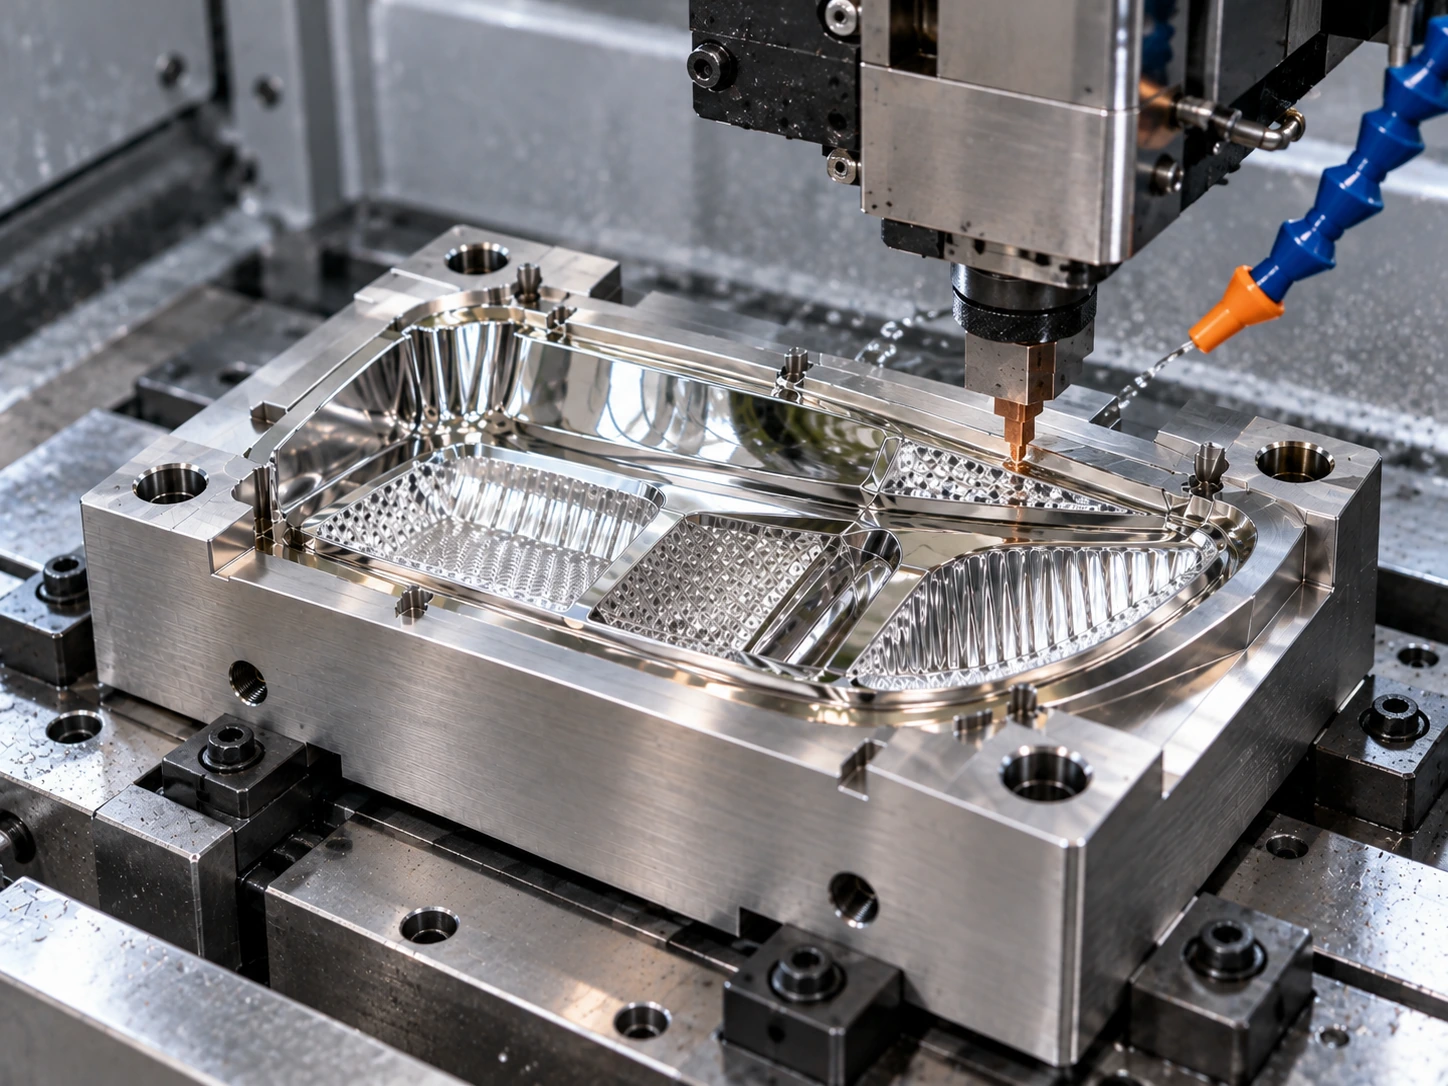
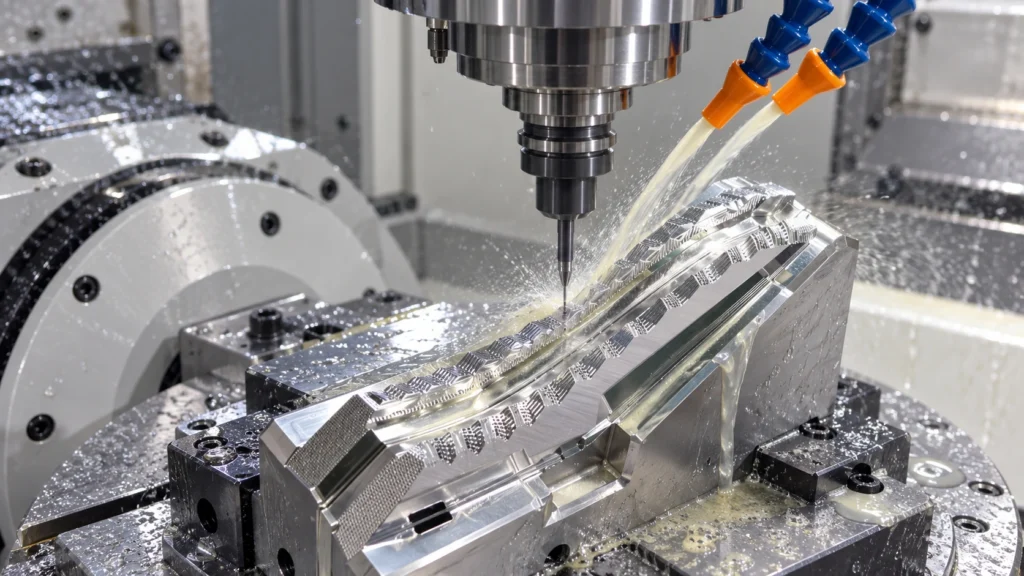
If the structure still gives enough access, small tools with stable machining conditions can do a very good job. In many cases, the best route is to use small-diameter tools for high-speed finishing on the accessible areas, then reduce later correction as much as possible.
This works best when:
- the groove is narrow but still reachable;
- the tool overhang is controllable;
- the sidewall requirement is high;
- the geometry can be protected through stable tool paths.
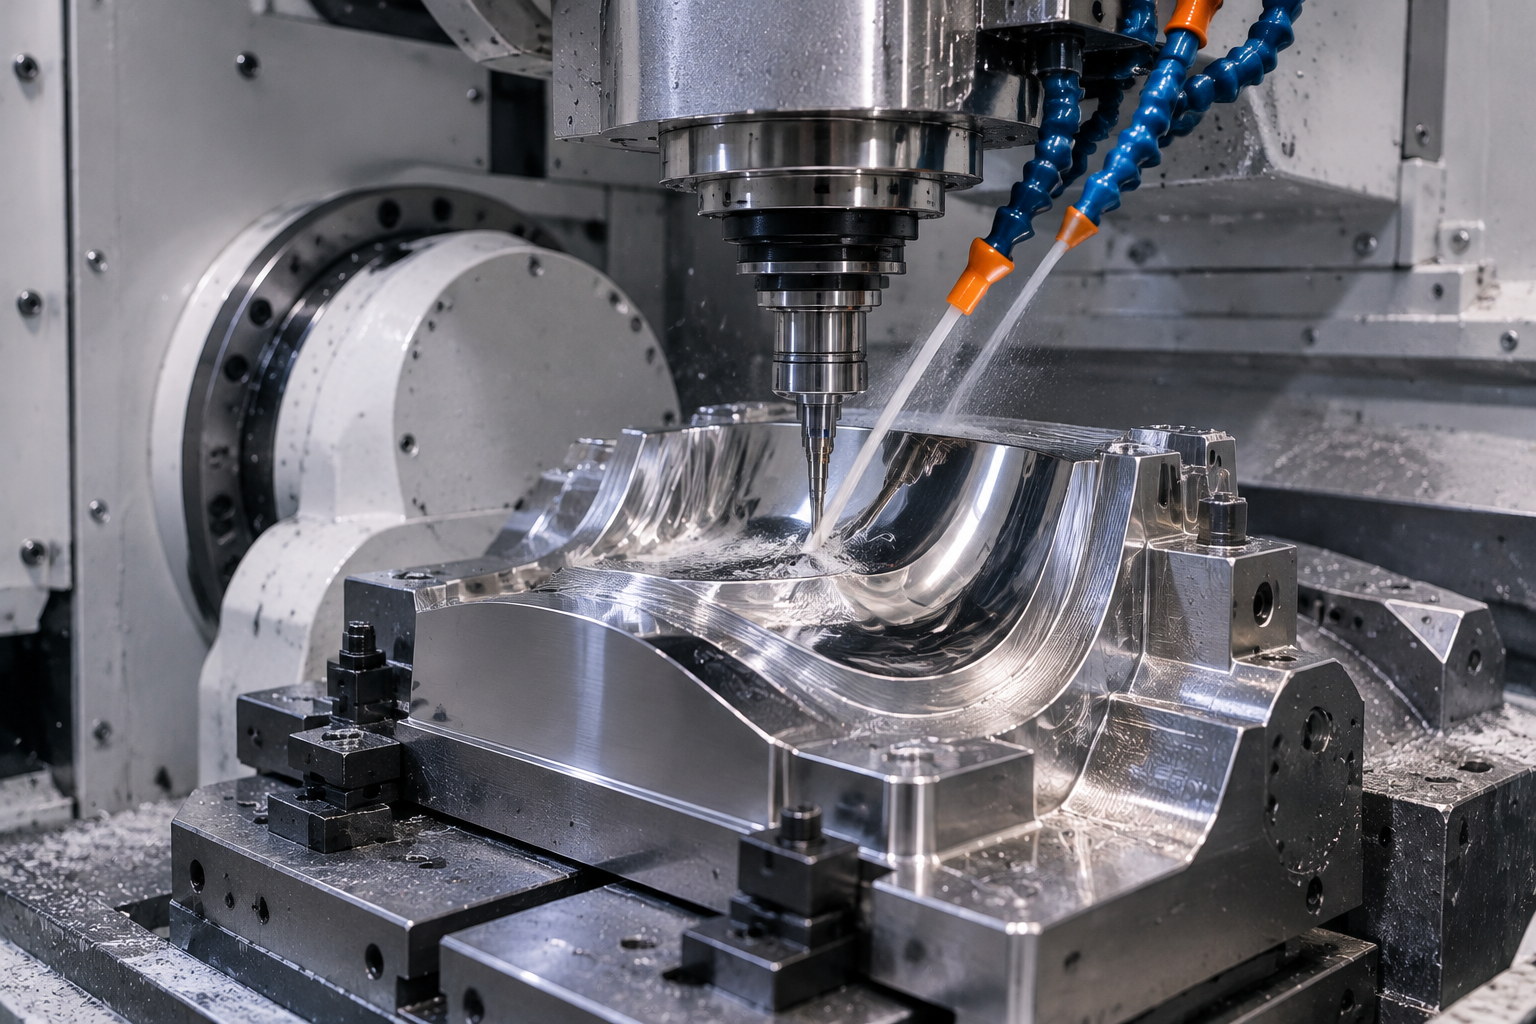
For complex narrow structures, High Precision 5-Axis Mold Machining can help improve tool approach angles and reduce access limitations. That does not remove every difficulty, but it can make narrow groove machining more stable when geometry is tight.
In practical terms, the better the milling result, the less risk there is in the final mirror finishing stage.
When Mirror EDM Becomes the Better Choice
Some narrow grooves and very small cavities simply push milling too far.
If the groove is too narrow, too deep, or too restricted for a stable small tool, forcing the milling route can create more problems than it solves. In those cases, mirror EDM becomes a more practical option.
Mirror EDM is especially worth evaluating when:
- the groove is too narrow for stable tool entry;
- the depth-to-width ratio is too high;
- the bottom transition is hard to cut cleanly;
- a local corner or hidden area cannot be finished safely by milling.
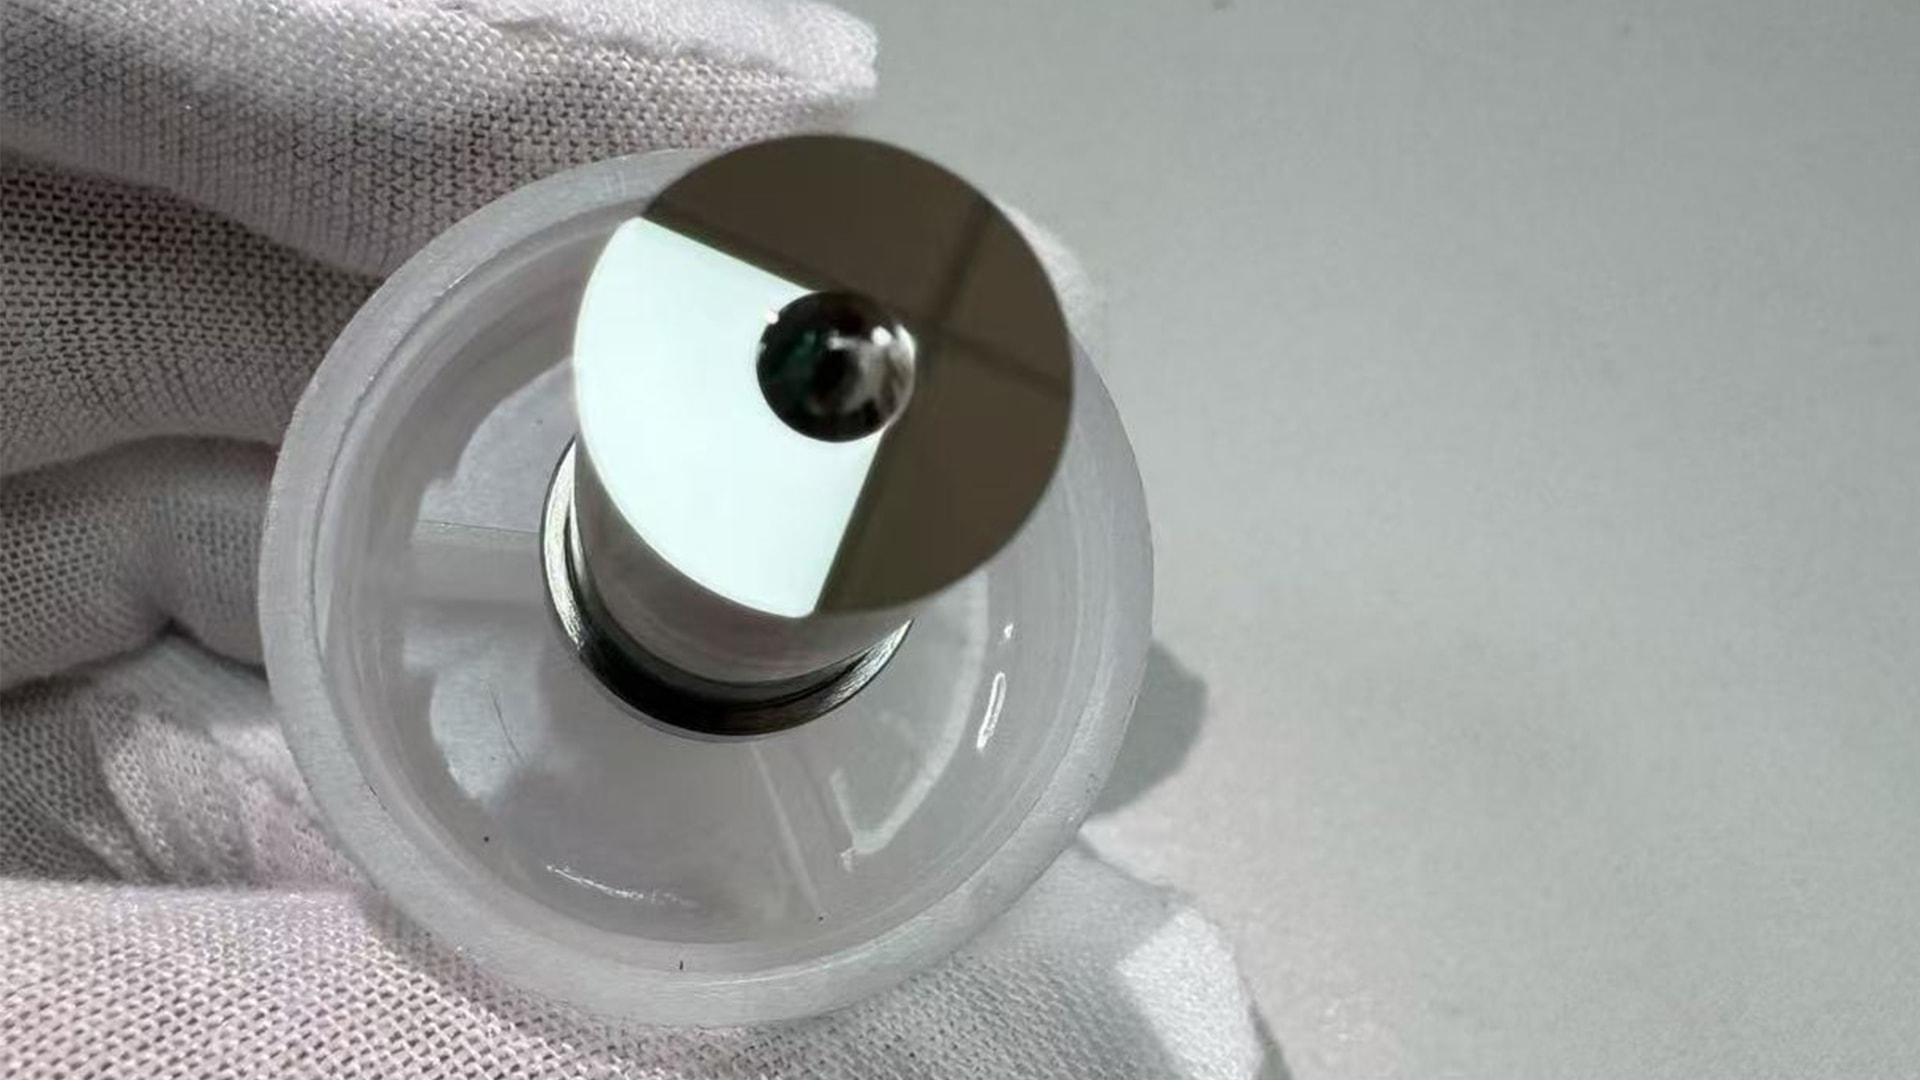
This does not mean mirror EDM replaces milling everywhere. Usually, the better solution is to combine both methods. Reachable areas can be controlled by milling, while the hard-to-access areas can be evaluated for mirror EDM. This is often the safer approach in mirror cavity machining, because it helps avoid over-reliance on either one process or excessive hand finishing.
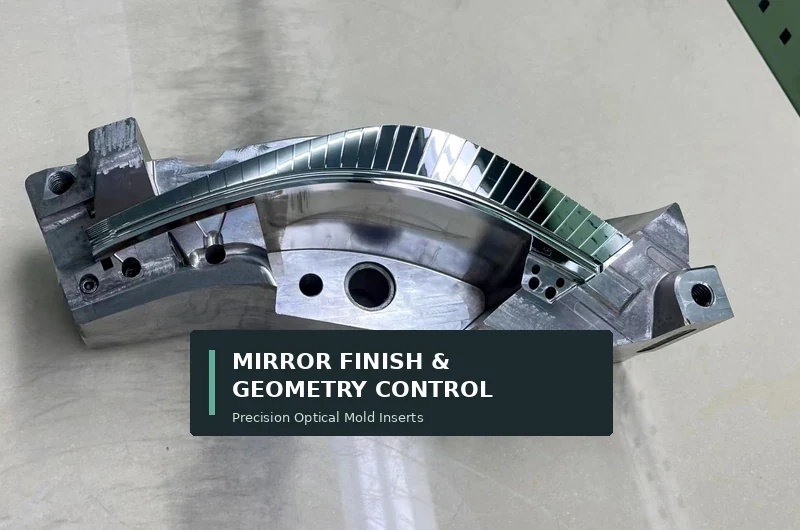
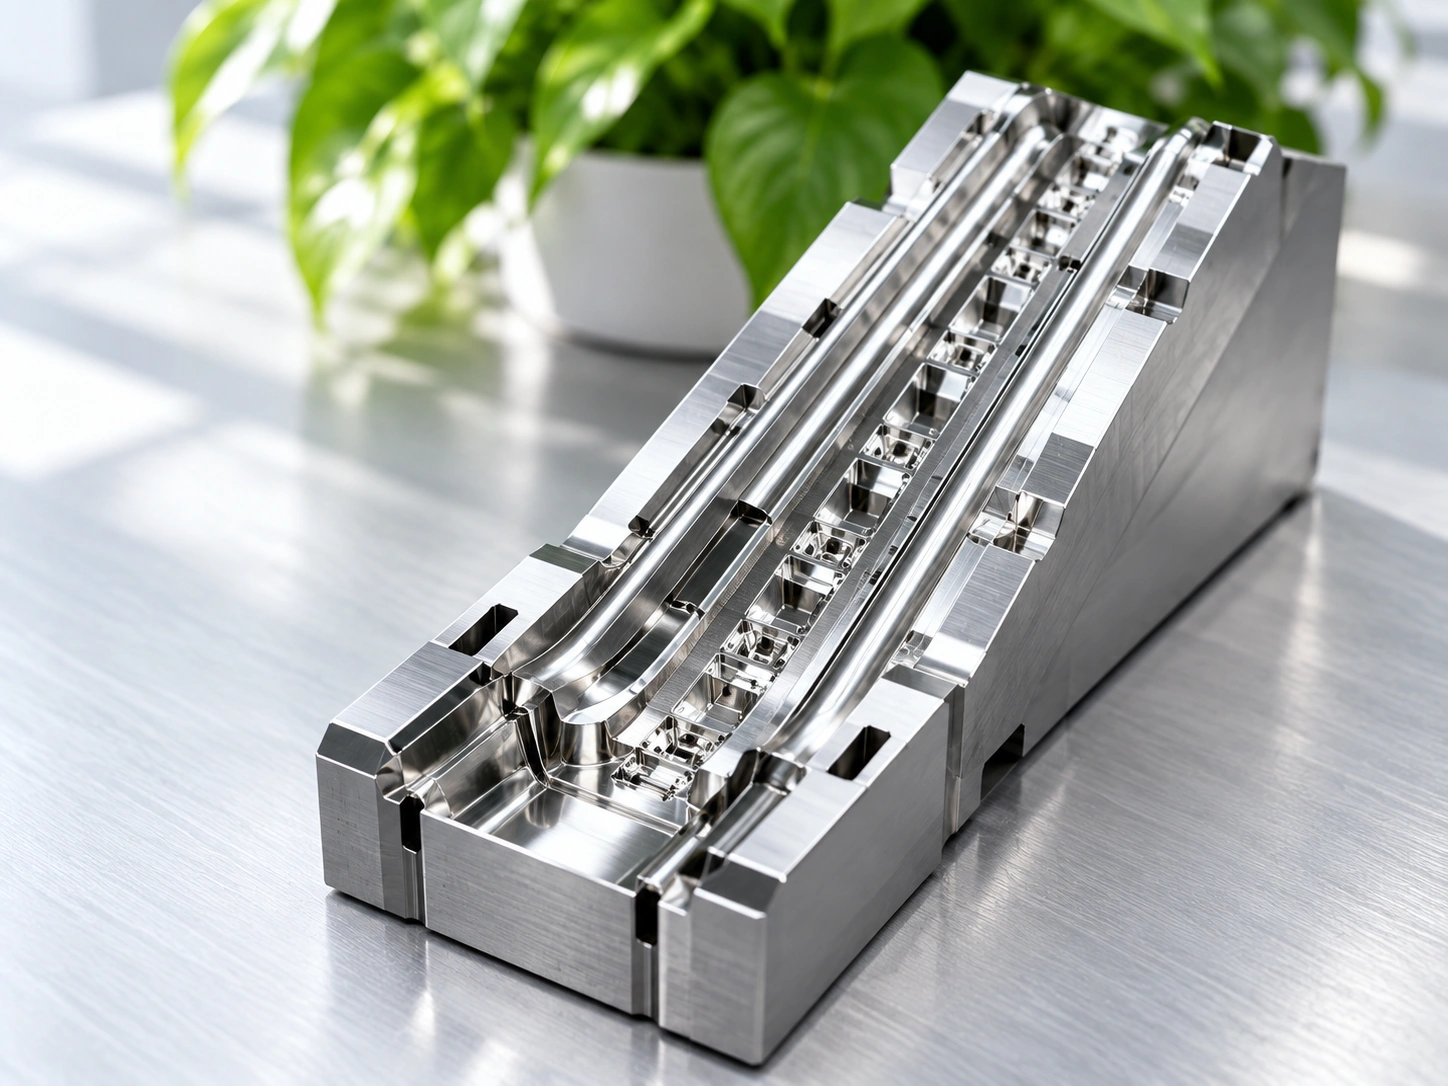
For inserts with strict surface and geometry requirements, Mirror Mold Insert projects are often built around this kind of process judgment rather than a one-method-only mindset.
Why Reducing Manual Removal Is So Important
In narrow groove machining, manual work is sometimes still necessary. But the final handwork should be minimal.
This matters because narrow grooves do not forgive aggressive manual removal. A little too much force, a slightly unstable contact angle, or a finishing tool that does not fit well can quickly cause:
- rounded edges;
- wider groove opening;
- changed wall profile;
- damaged bottom transition;
- inconsistent gloss.
For that reason, precision mold machining for narrow grooves is usually better when the earlier machining stages already leave a near-correct shape. The finishing step should refine, not rescue.
How the Final Shape Should Be Verified
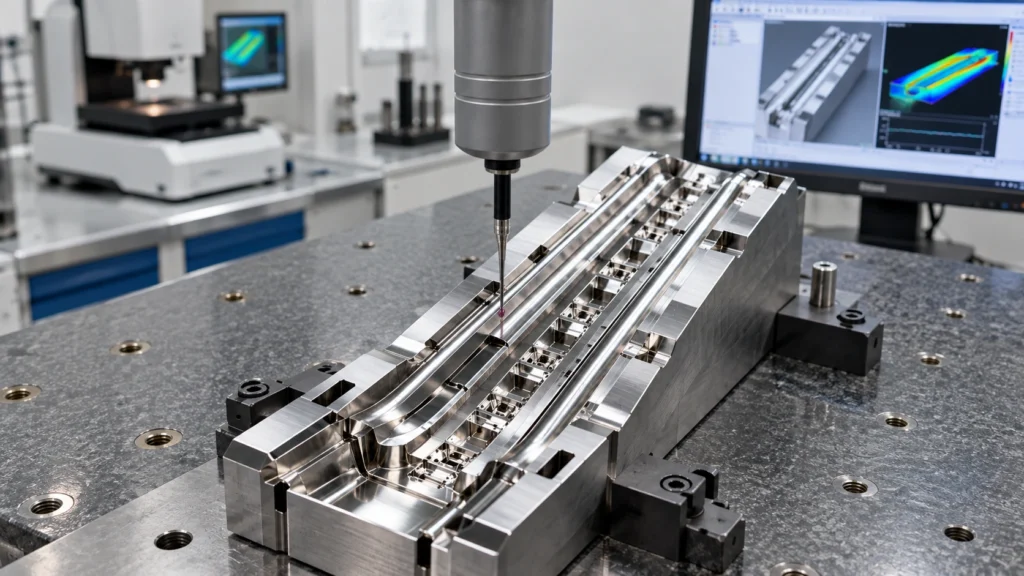
For a small cavity mold insert, visual appearance alone is not enough.
The final groove still needs to be checked for:
- width;
- depth;
- bottom radius;
- wall shape;
- section consistency;
- local mirror quality.
This is especially important when the groove is narrow and deep, because errors can hide inside the feature and only show up later during molding or assembly.
At the final stage, Quality Management is what helps confirm that the groove has not only a good-looking surface, but also the correct geometry.
Yishun’s Usual Approach for Narrow Groove Machining
At Yishun, narrow groove machining is usually evaluated by asking a simple practical question first: which areas can be machined stably, and which areas should not be forced?
From there, the route is typically judged around three priorities:
- use small tools where access and rigidity are still acceptable;
- evaluate mirror EDM for the areas that are too difficult to cut cleanly;
- reduce final manual removal as much as possible.
For mirror finish machining for narrow grooves and cavities, this is usually a more reliable path than trying to solve everything with polishing at the end.
Conclusion
Narrow grooves and small cavities are difficult not because they are large features, but because they combine limited access, weak tool rigidity, difficult finishing, and high geometry sensitivity in a very small space.
That is why narrow groove machining needs more than just a small cutter. It requires realistic evaluation of groove width, depth, bottom R, sidewall finish, and how much correction the structure can safely accept later.
When the accessible areas are machined well and the unreachable areas are judged correctly for mirror EDM, the final result becomes much easier to control.
If you have a small cavity mold insert project with narrow grooves or local mirror features, send the groove width, depth, corner radius, and mirror finish requirement first. That is usually enough to assess whether milling only is realistic or whether a combined process is the safer choice.
FAQ
Why is narrow groove machining unstable?
Because small tools often need long overhang, which reduces rigidity and makes vibration, deflection, and sidewall inconsistency more likely.
Why are small cavities harder to polish?
Because polishing tools have limited access inside very small spaces, and manual finishing can easily damage edges or change the groove shape.
Can every narrow groove be finished by milling only?
No. Some grooves are too narrow or too deep for stable tool access, so mirror EDM may be a better option for certain areas.
What dimensions should be reviewed before choosing the process?
Groove width, groove depth, bottom radius, sidewall finish requirement, and edge sensitivity should all be reviewed together.
Why should manual finishing be minimized?
Because narrow grooves are easy to overwork, and too much hand removal can change width, corner shape, and mirror quality.
How should narrow grooves be inspected?
The final check should confirm groove width, depth, bottom radius, wall shape, and local surface quality, not just visual gloss.